Media Walls · 12 min read · 10 April 2026
Media wall cable management: hidden routes you can still service
How to hide media wall cables so they stay replaceable: conduit sized for plugs, HDMI choice, separate power, pull cords, service panels, cabinets, and concrete walls.

By Ali Haider Basra, Founder, Al Tareeq Decor · Contact our workshop

Key takeaways
- Size the signal conduit for the plugs, not the cables: an HDMI plug is 13.9 × 4.45 mm, and two must pass.
- Use certified Ultra High Speed HDMI for 4K at 120 Hz, and keep the TV and console close.
- Give mains and signal separate routes, and leave a pull cord in every conduit.
- Put a lift-off service panel where routes meet the console, and the LED driver behind it.
- No media wall? A paintable surface channel, screwed as well as stuck, hides wires without cutting.
On this page
- Key takeaways
- Hidden cables that you can still replace
- Where the cables go
- List every device and every lead first
- Conduit sized for the plug, not the cable
- Which HDMI cable, and how long it can be
- Keep power and signal apart
- Pull cords and spare capacity
- Service panels: where they go and how they open
- Equipment cabinets: air and remote controls
- How to hide TV wires on a concrete wall without cutting
- Soundbar, subwoofer and speaker cables
- Router, Wi-Fi and network points
- What we draw, and the handover test
- Common questions
Hidden cables that you can still replace
Hiding the cables is the easy part of a media wall. Any panel will cover a tangle of leads. The hard part is hiding them in a way that still lets you change one: when the HDMI cable fails, when the new games console needs a different lead, or when the internet company moves the router. A wall that has to be broken open to replace a three-metre cable was planned for the photograph, not for the next ten years.
This guide covers how we route cables inside a media wall so they stay serviceable: the size of the conduit, which cable to choose, keeping power and signal apart, pull cords, service panels, ventilated cabinets and remotes. It also covers the question flats without a media wall ask most often, how to hide TV wires on a concrete wall without cutting it.
Where the cables go
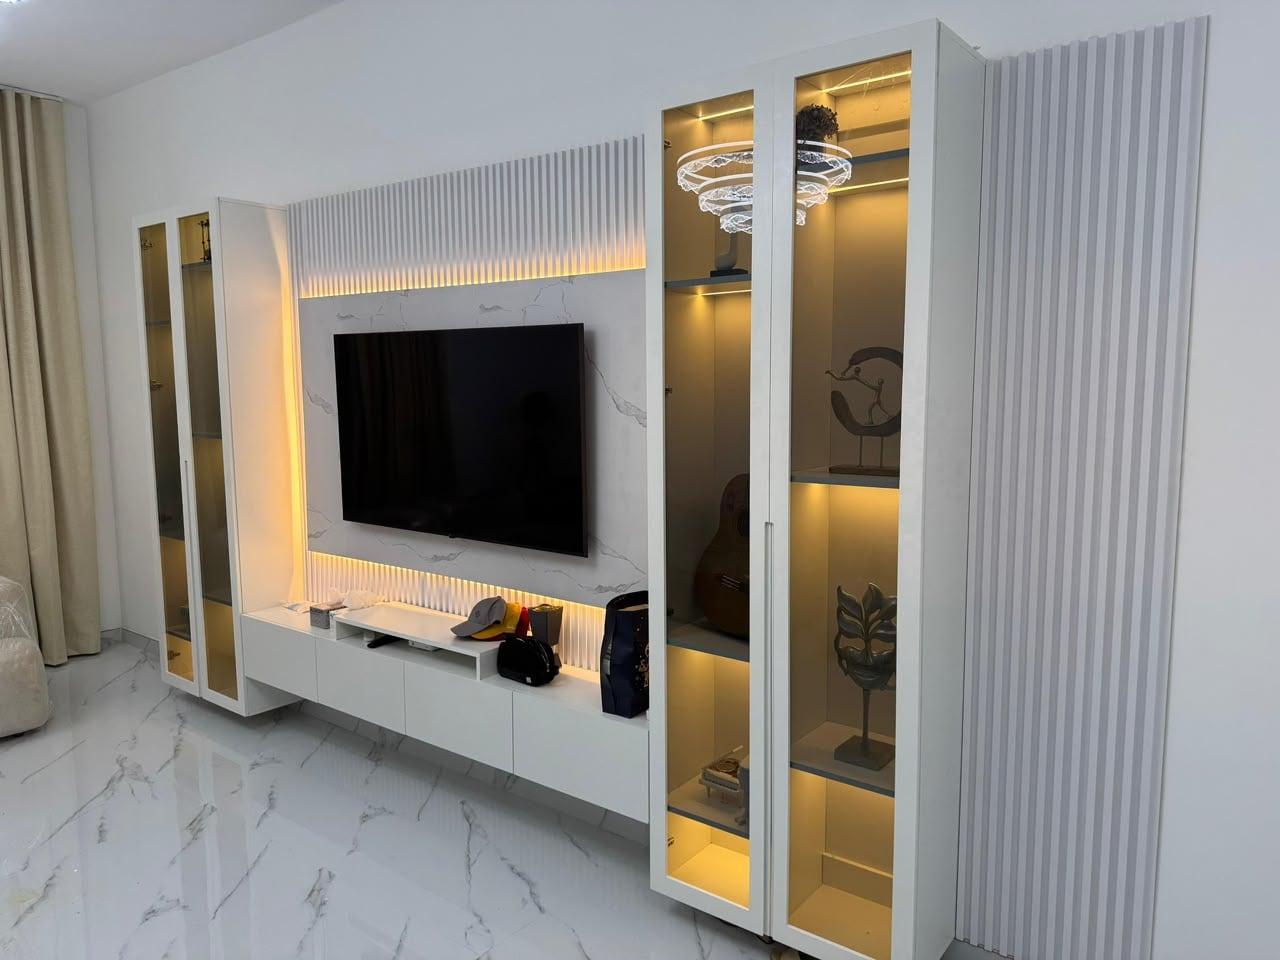
The drawing shows the routes we draw on a typical wall. Behind the TV sit a power socket and an AV plate. From the plate, a conduit runs down inside the wall to the console, wide enough for plugs, with a cord left inside it. Power has its own route beside it. Where both meet the console there is a panel that lifts off, and the cabinet below has air gaps so the equipment can breathe.
None of this shows on the finished wall. Every item is settled on paper first, long before the workshop cuts a panel, and every item on it has a reason you can test: could a new cable be pulled through, could someone reach the joint, could the receiver stay cool with the door shut?
- 1. Signal conduit sized for the plug, not the cable: an HDMI plug is 13.9 × 4.45 mm
- 2. Power on its own route, kept apart from signal
- 3. A pull cord left inside, so a new cable can follow the old one
- 4. A lift-off service panel where the routes meet the console
- 5. A ventilated equipment cabinet, with air round every device
- 6. No media wall? A paintable surface channel, screwed as well as stuck
List every device and every lead first
Before a single route is drawn, write down what connects to what. A typical living room has the TV, a soundbar and perhaps a subwoofer, a receiver or streaming box, a games console, the internet router or a mesh point, and a set-top box. Between them run HDMI leads, power cords, an ethernet cable or two, sometimes an optical audio lead and a subwoofer cable. Count them; the number decides how big the conduit and the cabinet must be.
Then mark where each device lives. The TV is on the wall, the soundbar under it, and everything else usually in the console, so most cables run vertically between the TV and the console. If the router must stay near the front door because that is where the fibre enters, say so: a long ethernet run inside the wall is easy to plan and impossible to add later.
Conduit sized for the plug, not the cable
The commonest mistake is a pipe that fits the cable but not its plug. An HDMI Type A plug is 13.9 mm wide and 4.45 mm thick according to the HDMI standard, and the moulded housing around it is larger still. Push two of those through a 25 mm conduit at once, or one through a tight bend, and it will jam. An installer's help page from Intelligent Home notes that HDMI plugs often will not pass a 25 mm conduit and suggests a 25 × 50 mm duct or slim-head plugs instead.
Our rule: size the signal route for at least two plugs passing side by side, keep bends gentle and few, and add one spare empty route if the wall is long or the household changes equipment often. A conduit costs little on the drawing. Opening a finished slatted wall to add one costs a great deal more.
Which HDMI cable, and how long it can be
HDMI cables are sold in tiers by bandwidth: High Speed at 10.2 Gbit/s, Premium High Speed at 18, Ultra High Speed at 48 and the newest Ultra96 at 96. For a 4K TV with a modern games console running at 120 Hz, choose Ultra High Speed. HDMI.org requires those cables to carry a certification label that can be scanned with a phone app, which is the easiest way to avoid fakes.
Length is the other limit. The HDMI specification sets no maximum length, but Wikipedia's summary notes that certifying passive cables gets difficult beyond about 13 m, and in practice the highest speeds work reliably over much shorter passive runs. For longer distances there are active cables up to about 30 m, HDBaseT over network cable to around 100 m, and optical fibre further still. Keep the TV and the console close on the drawing, and most of these problems disappear.
Cables that live inside a wall should also be rated for it. Blue Jeans Cable, a US cable maker, explains the US in-wall ratings CL2 and CL3, which cover fire behaviour for cables run inside walls; ask for an in-wall-rated cable rather than the thin lead that came in the box.
Buy each cable a little longer than the measured route, so the plug can reach the port without strain and the lead can be pulled out of the service panel to connect it. A cable cut to the exact length on the drawing will always be ten centimetres short on the day.
Keep power and signal apart
Power cables and signal cables should not share one bundle. Mains wiring carries a different risk and is installed to different rules, and running HDMI and network cables tightly alongside it invites interference. Blue Jeans Cable notes that US rules keep video cable out of the same raceway or box as power circuits. Whatever the local wording, the practice is the same: separate routes.
On our walls the power for the TV comes from a socket behind it, and the signal route runs beside it, not inside the same pipe. Our fitters move or add sockets and the quotation prices that work separately; which sockets can stay explains how we decide.
Pull cords and spare capacity
A pull cord is a length of strong cord left inside an empty or partly filled conduit, tied off at both ends. When a new cable is needed, you tie it to the cord and pull it through, and pull a fresh cord in behind it. It costs almost nothing and turns a wall-opening job into a five-minute one.
Label both ends of every cable as it goes in: "TV HDMI 2", "console", "router". A strip of tape costs nothing, and the next person to open the service panel, perhaps you, will know which lead to pull without tracing it by hand.
Leave spare capacity too. Not every route needs to be full on day one: a conduit with one HDMI and a cord in it today can take a second lead next year. If you are planning a bigger screen later, the margins on the panel and the bracket are covered in our guide to a future TV.
Service panels: where they go and how they open
A service panel is a section of the wall that lifts off without tools, or with a simple catch, to reach the joints where cables enter the console. We put it where routes meet, usually just above or behind the console, and finish it to match the panelling around it so it reads as part of the design. Ask on the drawing which panel lifts off and how it is held: clips, magnets or a concealed hook.
LED drivers belong behind the same kind of access, or inside the console, since a driver is often the first electrical part to fail. Seal it behind a fixed panel and the wall gets damaged on the day the light stops. For where each light layer sits and how to dim it, see LED lighting ideas for a TV wall.
Equipment cabinets: air and remote controls
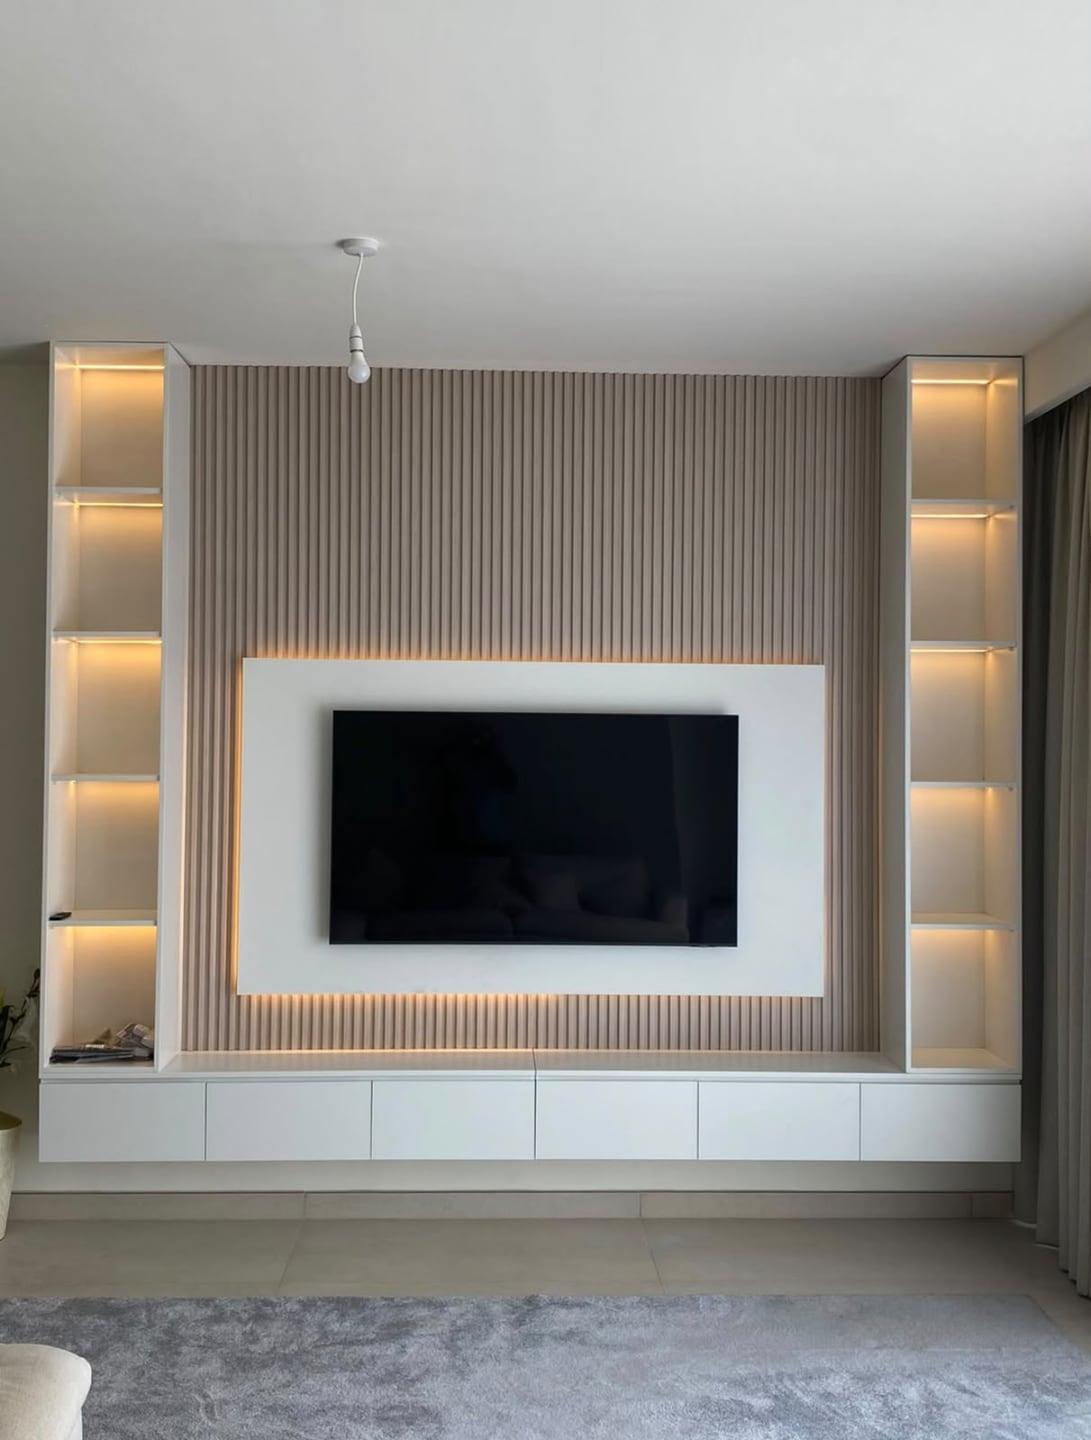
Receivers, amplifiers and games consoles make heat, and a closed cabinet traps it. Follow each device's own manual: Sonos, for example, asks for at least three inches of clearance on all sides of its Amp on a shelf and an operating range up to 40 °C. Give the cabinet vents or a gap at the back, keep devices off one another, and do not seal a router in a box lined with metal. A boardroom or reception screen follows the same cabinet logic; see office media wall design.
Remote controls are the other question. Infrared remotes need a clear line to the device, so solid doors in front of a set-top box will stop them working. Glass or perforated fronts help; HDMI-CEC lets one remote control several devices through the TV; and many streaming boxes now use Bluetooth or Wi-Fi remotes that work through doors. Decide which devices are controlled how before the cabinet fronts are chosen.
How to hide TV wires on a concrete wall without cutting
Not every flat needs a media wall, and many rented flats in the UAE have block or concrete walls that owners do not want chased. The clean answer there is a surface channel: a slim plastic raceway that runs from behind the TV down to the socket and can be painted the colour of the wall. Legrand's CordMate II kit, for example, comes as 12 feet of channel in three lengths with corner pieces, paintable and self-adhesive, rated for power cords and low-voltage cables.
Two cautions. Legrand's own advice is to add screws, because adhesive alone can let go, especially on a wall that gets warm. And a channel carries cords, not fixed wiring: the plug lead of the TV can run in it to an existing socket, but a new socket behind the TV is electrical work for an electrician. If you want to avoid a channel altogether, a console under the TV that hides the socket and the boxes often does most of the job.
Before buying a channel, look at where the existing socket is. If it sits low and directly below the TV, a short vertical run is all you need; if it is a metre to one side, the channel gets longer and more visible, and moving the TV a little may be the better fix. A channel painted the wall colour and kept straight and plumb is far less noticeable than one that bends round the skirting.
Soundbar, subwoofer and speaker cables
A soundbar usually connects to the TV's HDMI port marked eARC or ARC, which carries sound back from the TV, so its lead joins the TV's in the signal route; its power lead goes in the power route. If it sits on a shelf under the screen, the plate behind the TV should be low enough for that lead to reach without showing. A wireless subwoofer still needs power, so plan a socket in the console or at floor level where it will stand.
Wired surround or in-wall speakers need speaker cable routed before the panels close, and the route should be drawn even if the speakers come later; an empty conduit with a cord costs little. Ask the speaker maker which cable gauge they recommend for the length of the run, and label both ends.
Router, Wi-Fi and network points
If the router lives in the media wall, give it a cabinet with a non-metal front and some air, and keep it near the top of the console rather than at floor level. Wi-Fi passes through wood and glass far better than through metal or a dense stack of equipment, and a router squeezed behind a games console tends to cover the flat poorly.
Better still, run a network cable to the TV and the console from wherever the router sits, and let a separate access point handle Wi-Fi. A spare network cable in the wall costs little at drawing stage and saves a lot of frustration with streaming later.
What we draw, and the handover test
When we visit (free of charge), we list your equipment, note the sockets, the router and the wall type, and laser-measure; the drawing then shows every route, plate, panel and cabinet, and the quotation lists the electrical work line by line. Our media walls start from AED 3,500 per project, and most are fitted roughly ten days after the order; the price guide explains the rest.
When the wall is installed, test it before the installer leaves. Workmanship is under our written 24-month warranty for orders agreed from 10 October 2026, while drivers and other parts we buy in follow their manufacturers' terms. To begin, message a picture of your wall via the media walls page.
- Every device works, and the remotes control them with the cabinet doors shut.
- The service panel lifts off and the cable joints are reachable.
- A pull cord is in place in the signal conduit.
- Signal and mains cables follow different paths.
- Cabinet vents are clear and devices are not stacked on each other.
- The LED driver is reachable without tools or with a simple catch.
Common questions
Do I need new sockets for a media wall?
Not always; sockets already behind the TV or console can often stay. Where one must move, our fitters handle it and price it separately. Which sockets can stay.
Will a bigger TV later need new cables?
Usually not, if today's conduit has room for extra plugs and the bracket stays reachable. Planning for a future TV.
Where should the soundbar's cable run?
Down the same signal route as the TV's HDMI, with its power in the separate power route. Planning a media wall.
Which parts of a media wall should be named on the quote?
Frame, boards, faces, hardware, bracket, lighting and every electrical item. The media wall materials list.
Does cable work change the media wall price?
Conduits and plates are part of the wall; moving sockets is a separate line. Walls start from AED 3,500 per project. What a media wall costs.
Can you hide the cables of an existing wall-mounted TV?
Yes, usually with a slim console or a new panel behind the screen. TV wall units and floating consoles.
Do you build media walls in Sharjah?
Yes, from our own workshop there, and we fit across the UAE. Media walls in Sharjah.

Sources & specifications
Manufacturer information applies to the named products and systems. Sources reviewed on 28 October 2026.
- HDMI on Wikipedia (Type A plug size, cable tiers, length)en.wikipedia.org(opens in a new tab)
- HDMI.org: Ultra High Speed HDMI cable (48 Gbps, certification label)hdmi.org(opens in a new tab)
- Blue Jeans Cable: in-wall cable ratings (CL2, CL3, separation from power)bluejeanscable.com(opens in a new tab)
- Legrand Wiremold: CordMate II cord cover kit (paintable surface raceway)legrand.us(opens in a new tab)
- Sonos: Amp guide (clearance on all sides, operating temperature)sonos.com(opens in a new tab)
Want this planned for your home?
Consultation and measurement are free. Tell us the rooms, location and what you need; we arrange a sample visit and define the measured quotation.