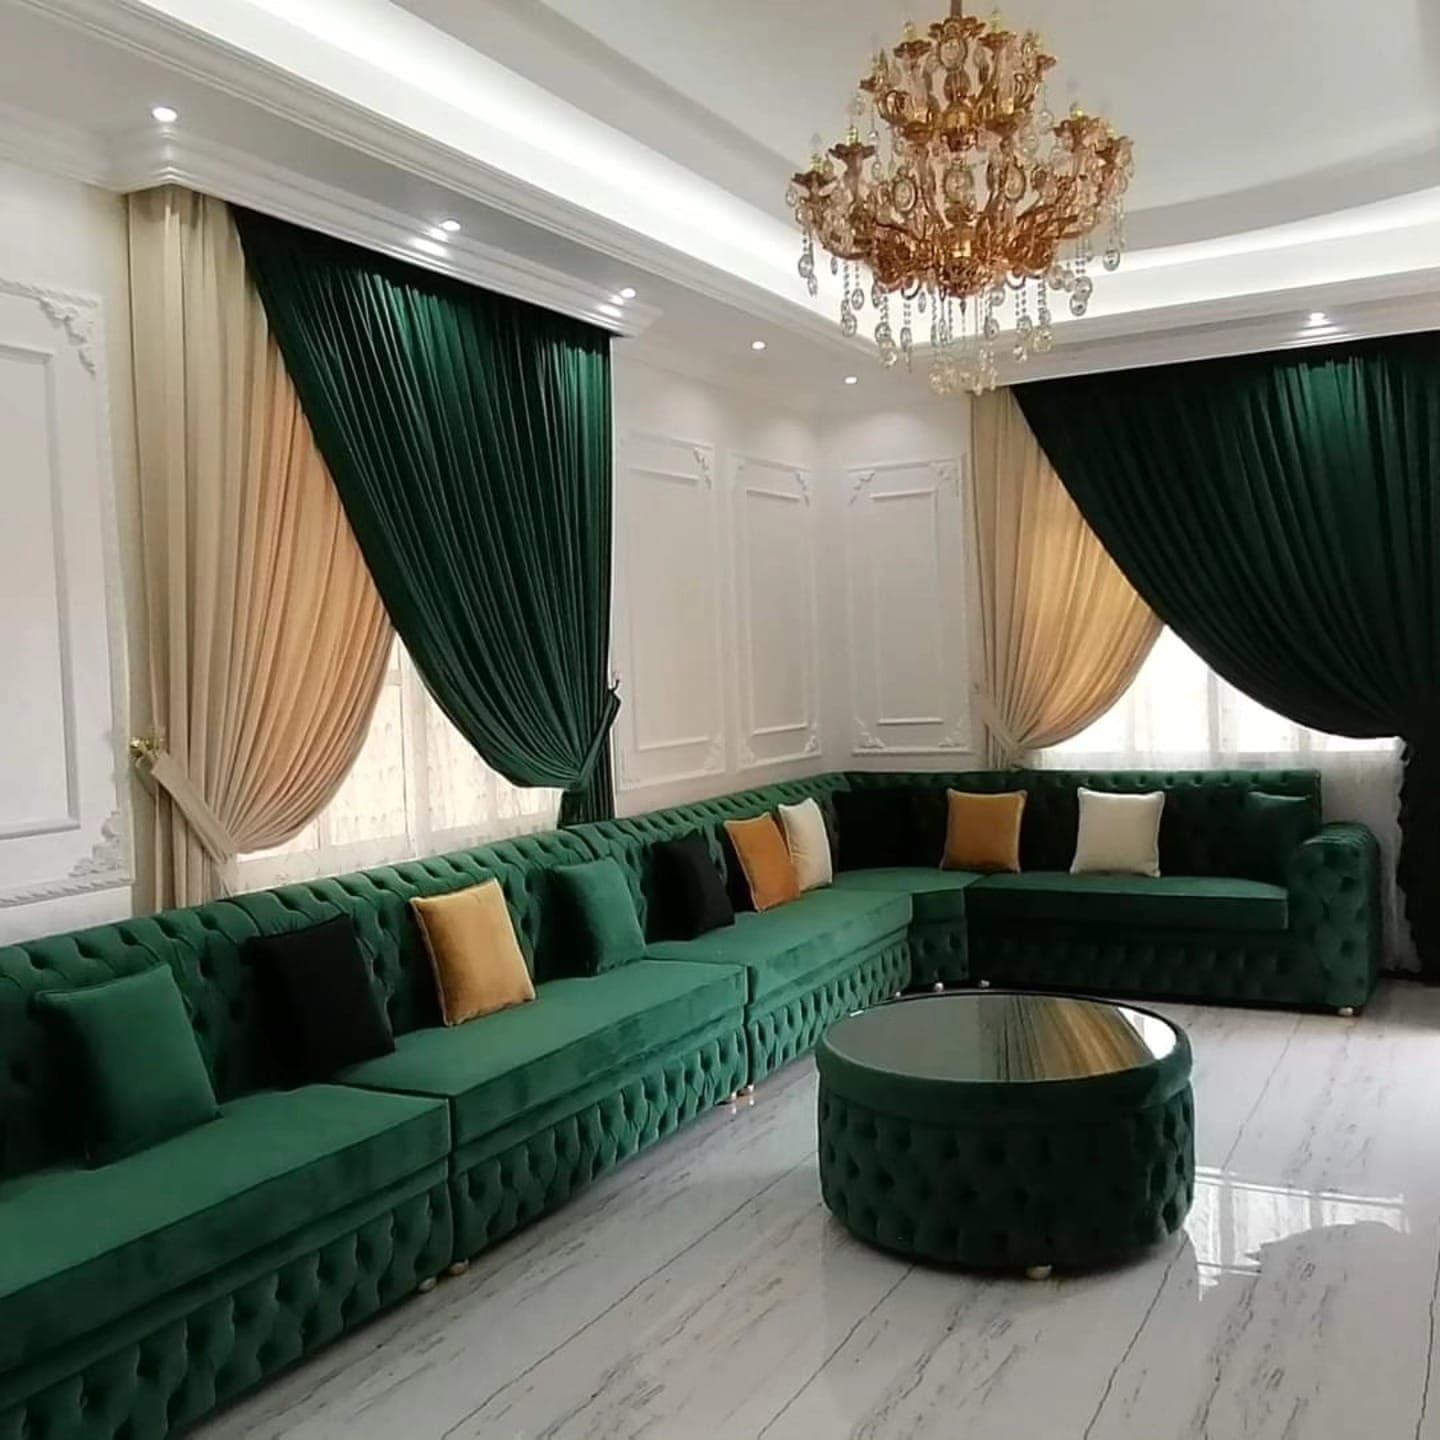
Media Walls · 7 min read · 11 August 2026
The wall is the easy part. Screen size, cables, ventilation and light are what decide whether it works.
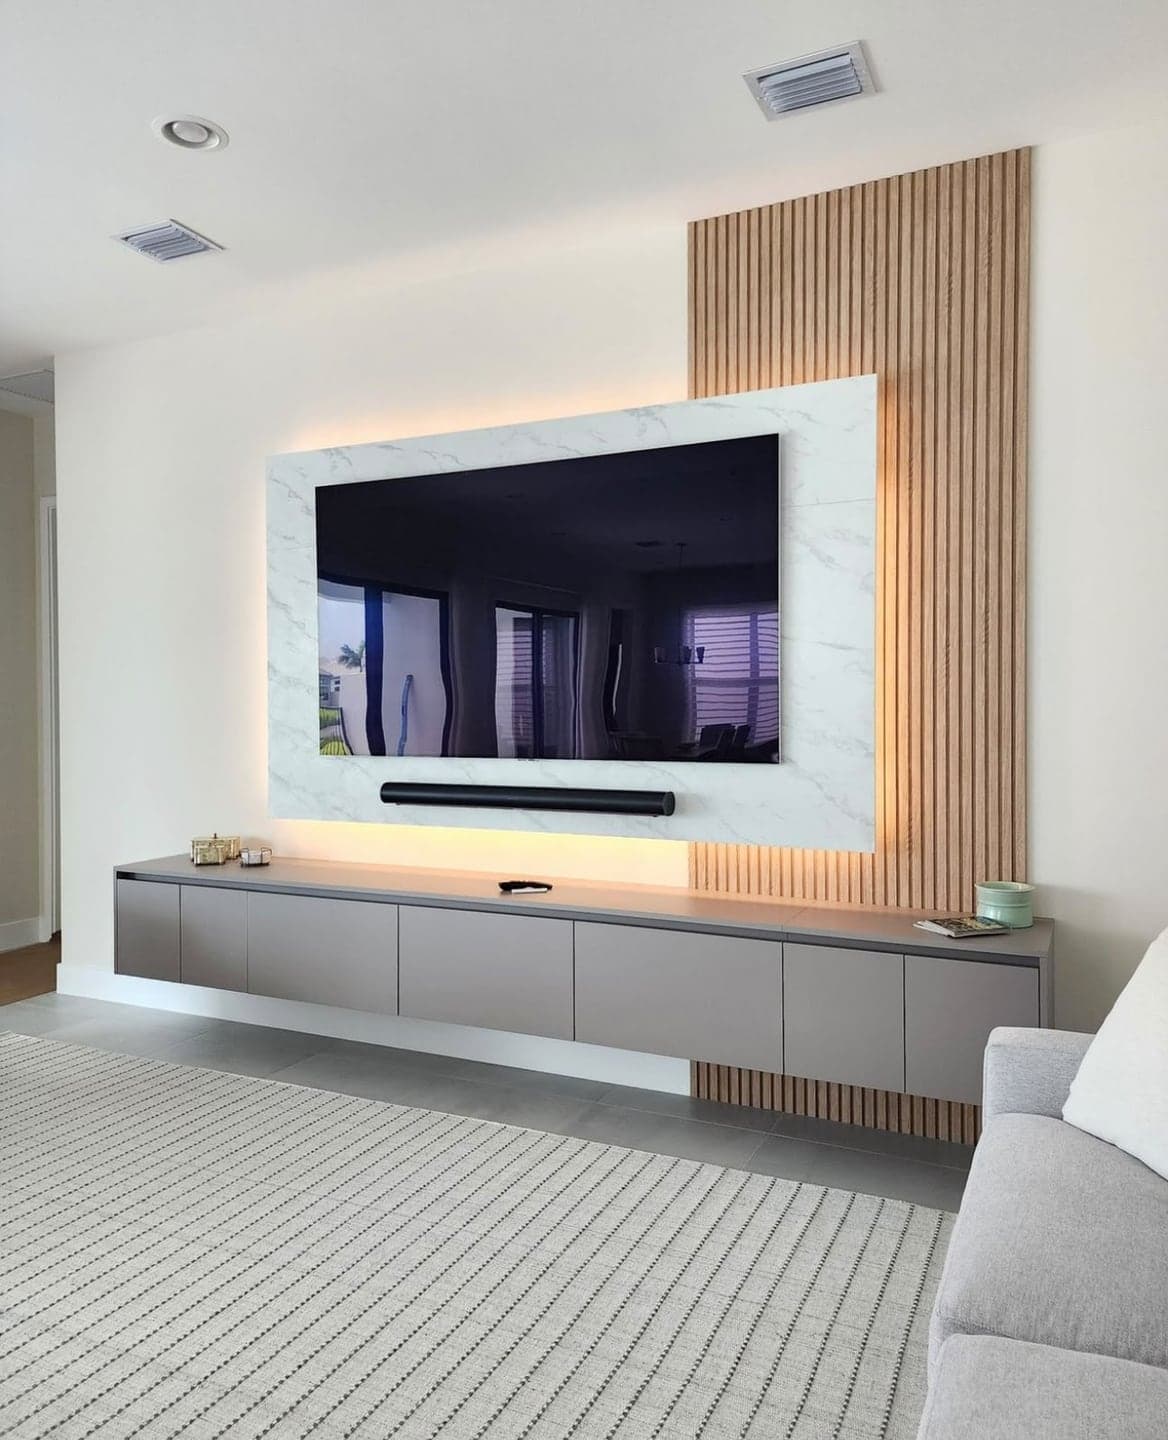
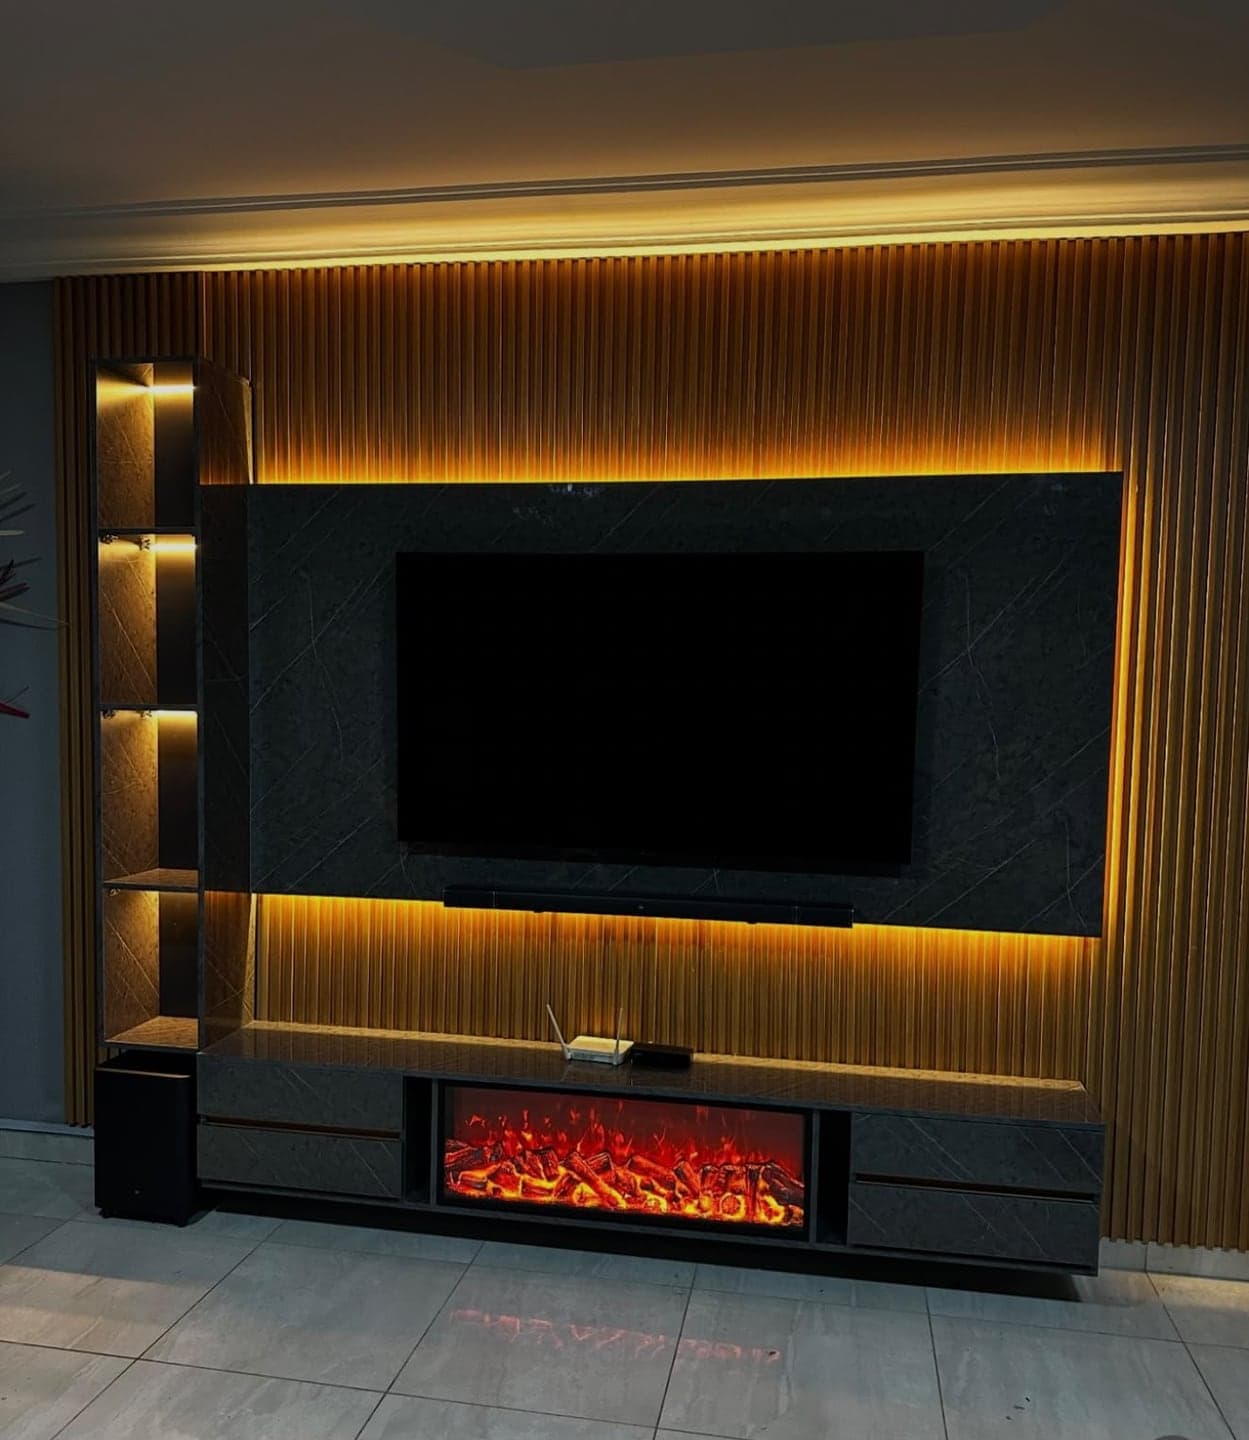
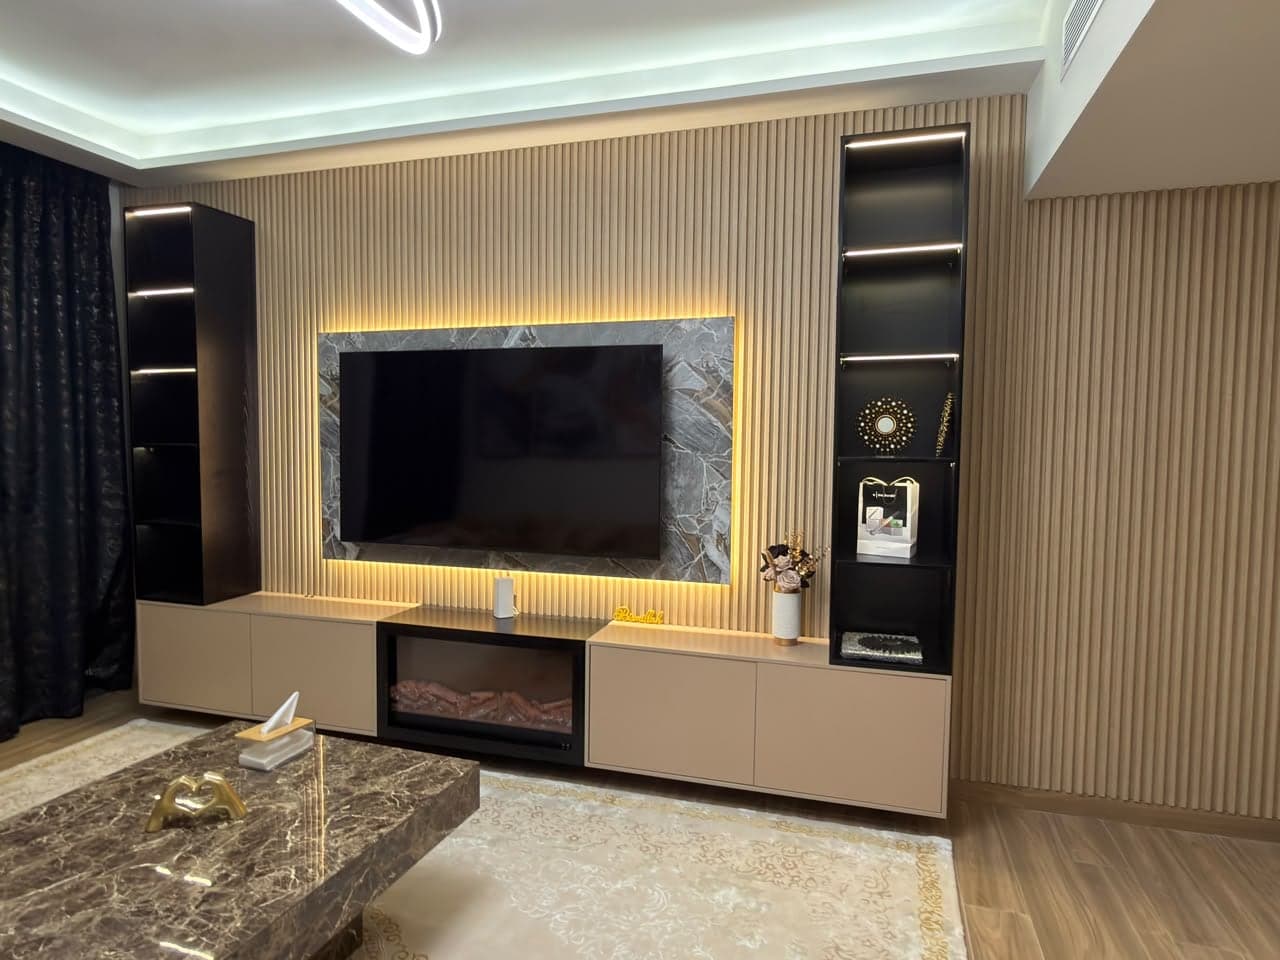
A media wall is often the first thing anyone sees in a living room, so it is tempting to start with the look: the marble-effect panel, the fluted wood, the fireplace. Start instead with what has to live behind and inside it.
Screen first. Decide the screen size and viewing distance before the design is drawn, and leave room to go larger. Televisions change far faster than joinery, and a niche cut tight to today's screen becomes a limitation later.
Cables and ventilation next. Power, HDMI and network runs need conduit into the wall so nothing is ever visible, and AV equipment needs airflow. A closed cabinet packed with a receiver and console will run hot, especially in a warm apartment, so vents or open sections belong in the design from the start.
Storage should be honest about what it holds. Open display shelves suit books and objects; closed doors suit routers, boxes and clutter. Most successful designs use both.
Lighting is what makes the wall feel finished. Warm LED channels behind shelving and along the edges add depth, and dimmers let the wall go quiet during a film. Warm white generally suits living rooms better than cool white.
Finally, material. Fluted wood slats add texture and can soften sound; marble-effect panels add polish; a mix of the two is common. Because the wall is made to your own measurements in the workshop, none of these choices needs to be compromised to fit a standard unit.