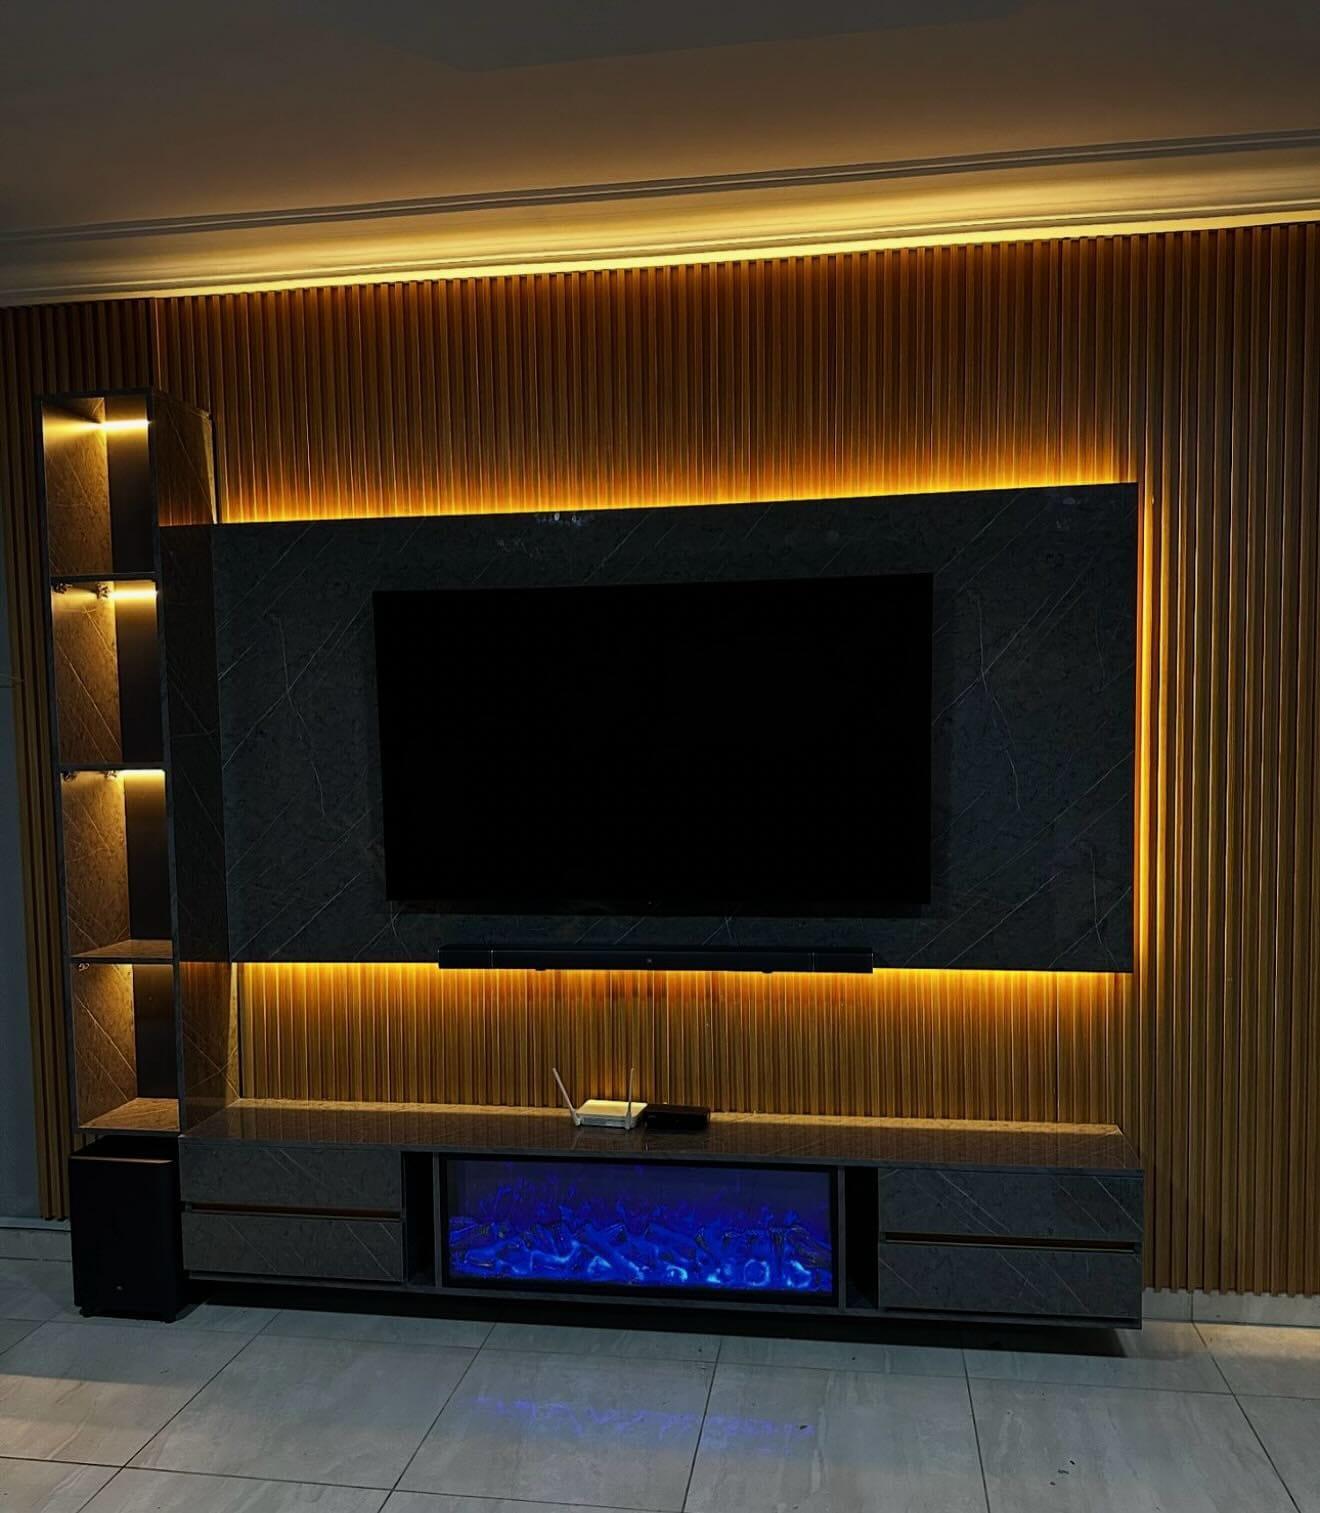
Media Walls · 16 min read · 19 May 2026
Media wall lighting ideas: backlight, shelf, groove and cove LEDs
Backlight, shelf, groove and cove LEDs for a media wall: the colour, dimming and hiding that work, and how to keep light off the screen. Four layers with a glare check.

By Ali Haider Basra, Founder, Al Tareeq Decor · Contact our workshop
Key takeaways
- Plan four separate layers, each on its own switch: backlight behind the TV, shelf and niche strips, groove light in slats, and a dimmed cove.
- Make the backlight neutral 6500K and weak, at 10% or less of the screen's peak white; make every other layer warm, about 2700–3000K, in one colour.
- Hide every strip in a profile or behind a lip, and never leave a bare strip facing the sofa.
- Specify dimmable drivers matched to the dimmer, with a PWM frequency and lowest dimming level on the datasheet, and keep them reachable.
- Check glare from the sofa with the TV on a dark scene: aim, shield or dim any light that shows in the glass.
On this page
- Key takeaways
- Media wall lighting ideas: think in layers, not in strips
- Four light layers and a glare check, switched on one by one
- The four layers at a glance
- Backlight behind the TV: how bias lighting works and why it helps
- Shelf and niche lighting: warm light that shows things, not the strip
- Groove light in slats: a line of glow between the slats
- Cove lighting and the ceiling: the soft fill that ties the room together
- Colour temperature and CRI: choose one family of whites
- Dimming, drivers and flicker: what to specify
- Glare on the screen: where lights must not be
- Drivers, wiring and heat: plan access before the panels close
- From idea to a switch plan and a quotation
- Common questions
Media wall lighting ideas: think in layers, not in strips
The usual way to light a media wall is to buy a roll of LED strip and stick it wherever there is a gap. It produces bright lines, a few glare spots on the screen and a wall that is only comfortable with the lights off. The better way is to treat the wall like a small stage with four jobs, each done by its own light on its own switch: a soft glow behind the TV, light that shows what is on the shelves, a line of light that gives the slats depth, and a gentle wash from the ceiling.
Each layer has its own colour, its own strength and its own place, and the rules for them are different. Light behind the screen should be neutral and weak. Light inside the shelves should be warm and clear. Light in the grooves should be thin and hidden. The ceiling light should be dimmable and kept away from the glass. We go through them in that sequence, then turn to colour, dimming, driver access and the glare check.
The style of the wall itself is covered in our media wall design ideas, and how a wall is planned in planning a media wall. Here we stay with the light.
Four light layers and a glare check, switched on one by one
The drawing below puts the same dark room in front view and side view and switches on the layers one at a time: the screen alone, bias light, niche strips, groove light and a dimmed cove. Watch how the room changes with each, then watch the last step, the glare check on the side view. It shows a light behind the sofa bouncing off the glass into a viewer's eye, and the fix.
The temperatures on the drawing are the ones we recommend as starting points. The 6500K and 10% figures for the backlight come from video bias-lighting practice, explained in the next section; the 2700 to 3000K for the warm layers is our own advice for rooms in the evening.
The four layers at a glance
Backlight (bias light)
- Colour and strength
- 6500K, weak: 10% or less of the screen's peak white
- Where it goes
- Behind the panel edges, light spilling onto the wall
- Watch for
- Strip visible from the sofa; too bright
Shelf and niche strips
- Colour and strength
- Warm, about 2700–3000K, clear light
- Where it goes
- Front edge of each shelf, in a hidden profile
- Watch for
- Bright dots; light glaring into the eyes
Groove light
- Colour and strength
- Warm, dimmable, thin
- Where it goes
- In the gaps between slats, on the backing
- Watch for
- Gap too narrow for the strip; dust
Cove or ceiling wash
- Colour and strength
- Warm, dimmed
- Where it goes
- Gypsum cove above the wall or the room
- Watch for
- Reflection in a glossy panel or the glass
Colour figures are our starting points; the 6500K and 10% for bias light come from the CinemaQuest paper listed in the sources. We confirm every light colour against a sample on site.
- 1. Bias light: neutral 6500K light behind the TV, at 10% or less of the screen's peak white
- 2. Niche and shelf strips: warm 2700–3000K light from inside, with the strip hidden
- 3. Groove light: a thin warm line in the gaps between slats, no bright dots
- 4. Cove: a dimmed wash on the ceiling, kept off the glass of the screen
- 5. Glare check: a lamp behind the sofa reflects in the glass; aim it down or dim it
Backlight behind the TV: how bias lighting works and why it helps
Light behind a TV is called bias lighting, and the reason to have it is simple. A bright screen in a dark room is a harsh contrast for the eye, and a soft glow around it eases the jump. The CinemaQuest paper on video bias lighting, written for people who calibrate screens, says correct bias light reduces or removes eye strain and fatigue in dark viewing, and that surrounding light also keeps the picture's contrast looking higher.
Its practical rules are worth copying. Use light close to the video white point, about 6500K, with good colour rendering: it asks for a CRI of at least 90. Keep the reflected light to 10% or less of the screen's brightest white. Put the lamp behind the front plane of the screen so it lights the wall and is never seen directly, and do not worry about lighting the whole surround: a glow along some of the edges is enough.
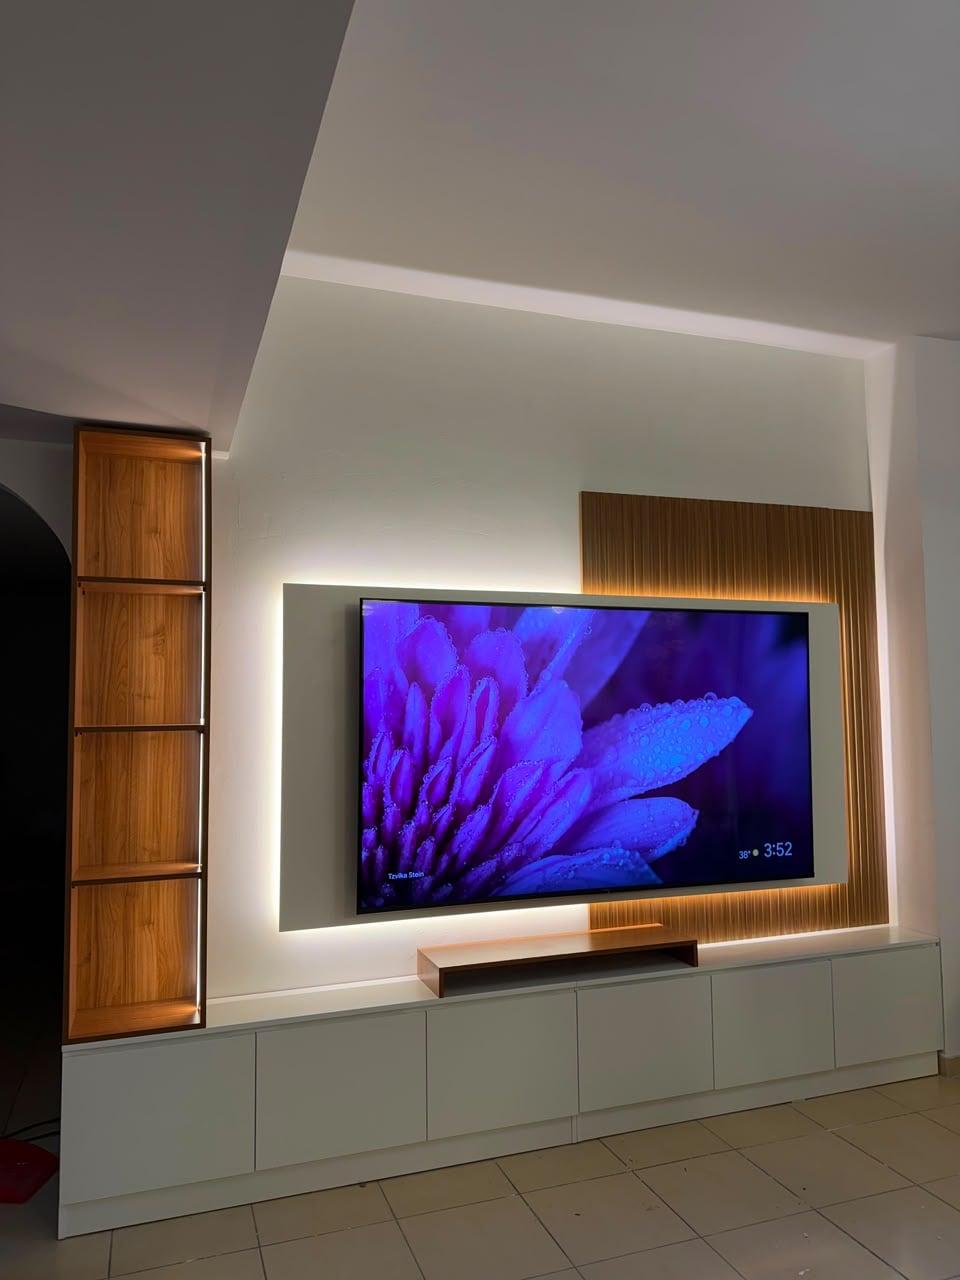
On a media wall this means a strip fixed to the back edge of the panel, so that light spills onto the wall behind it and forms a halo. In a floating panel the strip sits a few centimetres in from the edge, a depth Design Cafe suggests of about 5 cm, so nothing shows from the front. Three sides is usually enough; the base of the panel can be left to the console. If the wall behind the panel is coloured, the halo takes its colour, so a neutral wall behind gives the truest result.
Two practical points. A cool, white backlight next to warm shelf light looks odd in a photograph and natural in a room, as long as the backlight is weak. And the backlight should switch with the TV. A strip powered from the TV's USB port may stay on or go off depending on the model, a point the LEDYi guide makes, so we usually wire it to the same switch or sensor as the TV's own socket. Sockets and power on a media wall explains where that supply comes from. The video below goes through bias lighting along with shelf lighting.
Shelf and niche lighting: warm light that shows things, not the strip
Shelf and niche strips are what people picture when they say media wall lighting, and they are easy to get wrong in one specific way: the strip is seen. A bare strip stuck on a shelf edge throws a line of bright dots in the eye of anyone sitting nearby, and the objects on the shelf end up lit from the wrong side. The fix is a hidden position and a diffuser.
Put the strip on the front edge of the shelf above, tucked behind a small lip or in a recessed aluminium profile, so the light falls down and slightly back onto what is displayed. A frosted diffuser in the profile spreads the individual LEDs into one even line; the dots show most on a niche or a shelf that is viewed from close by. The profile also takes the heat away from the strip. Heat shortens the life of an LED, which is the main reason an aluminium channel is worth the small cost, though the exact gain differs from one product to another, so we look at the datasheet.
For colour, warm white around 2700 to 3000K suits objects, wood and fabrics in an evening room, and Design Cafe's own example for a recessed back strip is a 3000K warm white. Ask for a CRI of 90 or above so a green plant, a gold frame and a blue vase still look like themselves. Keep one colour across all the shelves: a niche at 2700K beside a shelf at 4000K looks like a mistake, even if each is fine alone.
Behind glass doors, strip lighting looks richer and keeps dust off the objects. In an open niche it shows the wall at the back, so the finish of the niche matters as much as the light. Decide the finish and the light together, using a sample under the real strip. Our custom media walls are built with the profiles and driver positions drawn in.
Groove light in slats: a line of glow between the slats
Groove lighting is the effect in which a thin line of warm light runs in the gaps between slats, so that the wall seems to glow from inside. It is the most dramatic of the four layers, and it needs the most planning, because the light sits in the construction of the wall itself.
In practice a strip is fixed to the backing panel in the gap between two slats, and the slats stand in front of it. The gap has to be wide enough to take the profile, and the strip has to sit back far enough that nobody sees the LEDs, only their glow on the sides of the slats. That makes it a decision about slat width, slat gap, backing and wiring at once, so ask for it at the first visit; trying to add grooves to a finished wall rarely ends well. The slat styles and widths themselves are covered in our guide to media wall panel materials.
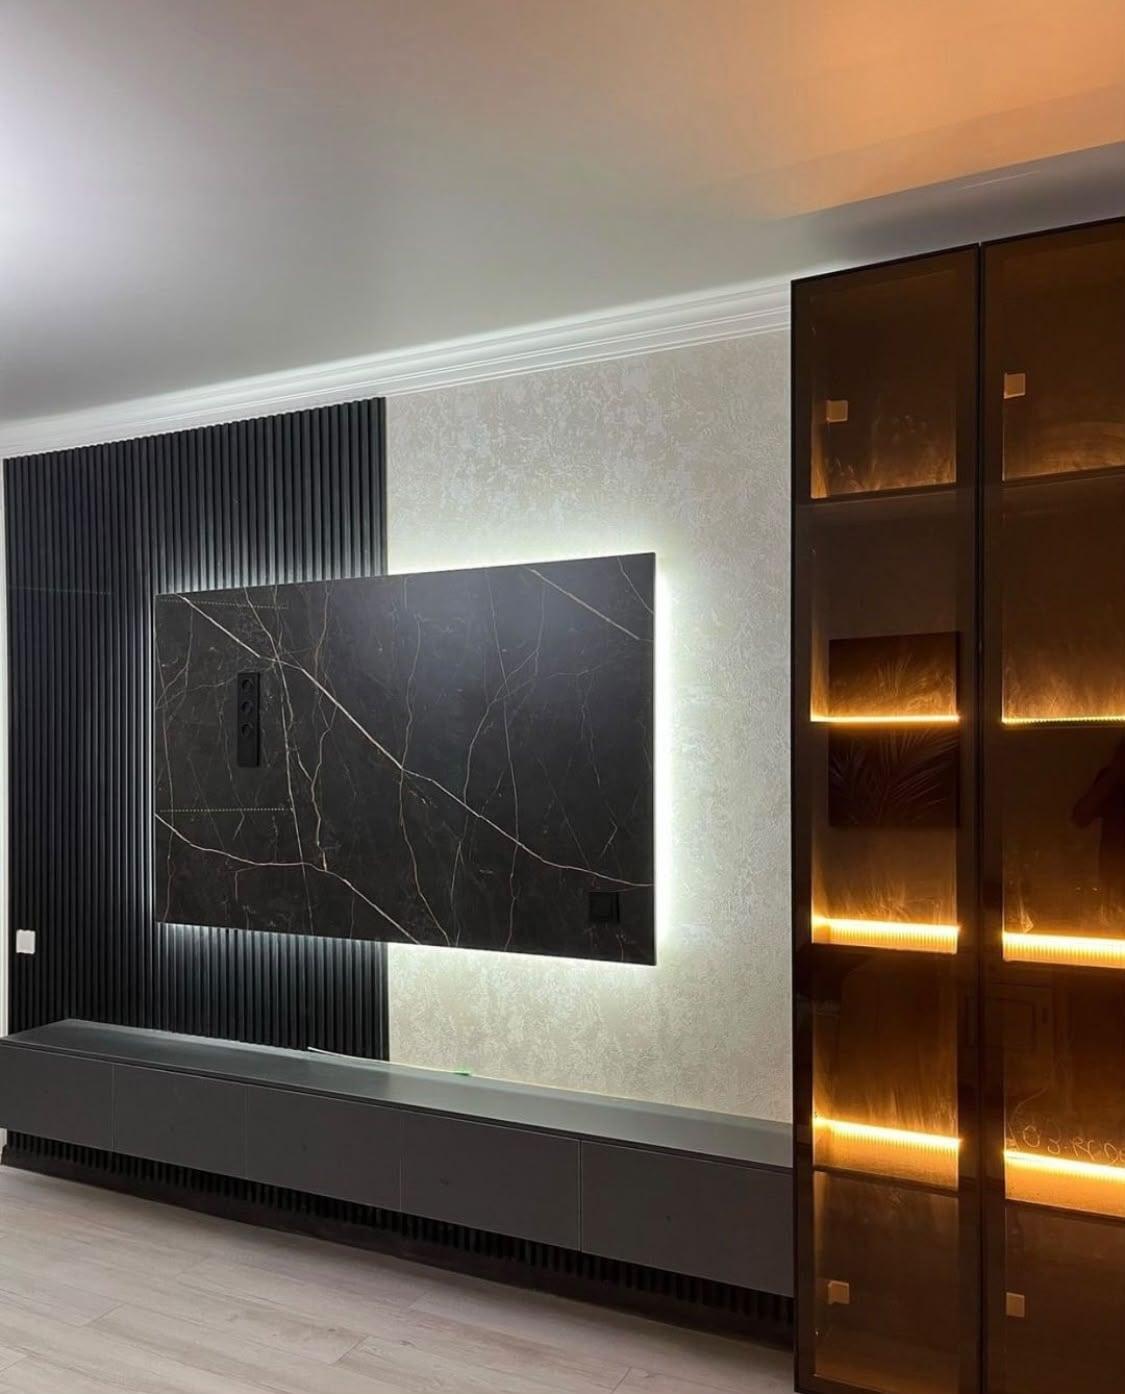
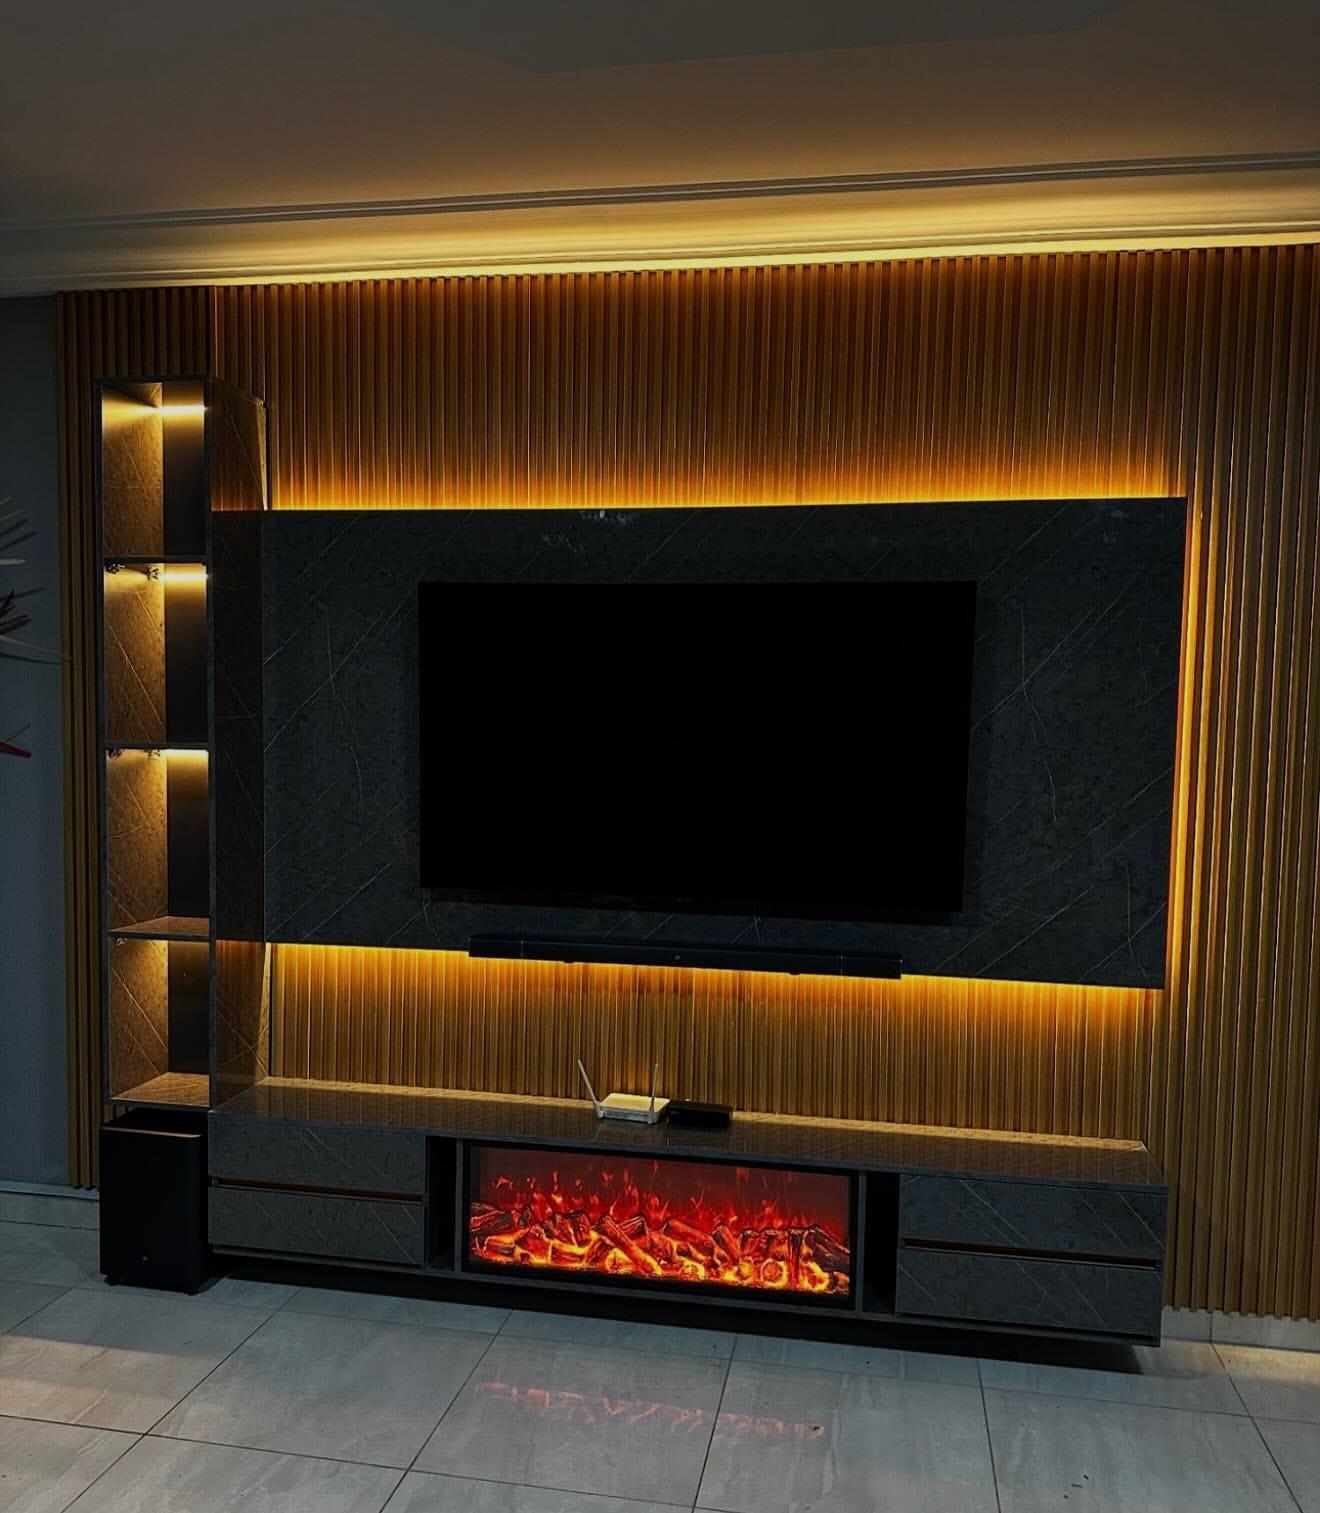
Light every groove only if the wall is simple. A whole slatted wall glowing from top to bottom looks theatrical and competes with the picture. A better result lights the grooves in a band around the panel or on a single tall strip beside it, and leaves the rest of the slats lit by the glow itself. As in the photograph below, warm light tucked along the upper and lower edges of a dark panel brings out the texture of the slats with no visible dots.
Remember the upkeep. The fine dust of UAE homes settles in deep grooves, and light makes it show. Run a soft brush along each groove when you clean, and use the dimmer to lower the glow when nobody is in the room. Slat widths and gap sizes that suit a lit groove are covered in fluted wall panels with LED grooves.
Cove lighting and the ceiling: the soft fill that ties the room together
The fourth layer is the gentlest. A cove in the gypsum ceiling above the TV wall, or along the room, washes light over the ceiling and the wall edge, so that the room reads as one space instead of one bright screen in a dark box. It is where the room's general light comes from when you do not want a central fitting, and it is best left dim.
Two cautions apply to a media wall. A cove directly above a slatted wall will graze the slats with light and show every slight imperfection in their alignment, which is lovely when the slats are straight and a pain when they are not. And a cove can reflect in a glossy panel or in the screen itself, so we check the reflection from the sofa before the cove is closed in. Our guides to gypsum ceiling lighting basics and to the false ceiling design guide set out how cove troughs are built.
If the ceiling is new work, plan the cove and the media wall together: the cove's depth, the strip position and the wall's top edge should line up, and the power for both can come from one planned point. Our own team builds the gypsum ceiling and the wall, which keeps the lighting lines consistent; see our gypsum ceiling work.
Colour temperature and CRI: choose one family of whites
Colour temperature is measured in kelvin: below about 3500K light looks warm and yellowish, around 5000K cooler, and 6500K is the neutral to bluish white of daylight. The LEDYi guide to bias lighting lists 2000K to 3500K as warm and notes that a 6500K strip matches most screens' white. CRI measures how faithfully a light shows colours, and 90 or above is the sensible floor for anything you look at.
The simplest scheme for a media wall is two families. Neutral 6500K for the weak bias light behind the screen, because it matches the screen's own white and does not tint the picture. Warm 2700 to 3000K for everything else, because it is kind to skin, wood and fabrics in the evening. Avoid a third colour in the middle: a 4000K strip in the grooves between those two just looks like the wrong bulb.
Colour-changing RGB strips are fun for parties and fine for a child's room, but they are not the base layer of a living room. An accurate fixed 6500K strip behind the screen is easier to live with, and you can add a separate colour effect later if you want one. Ask for the colour temperature of every strip to be written on the quotation, and for a sample to be shown beside the finish.
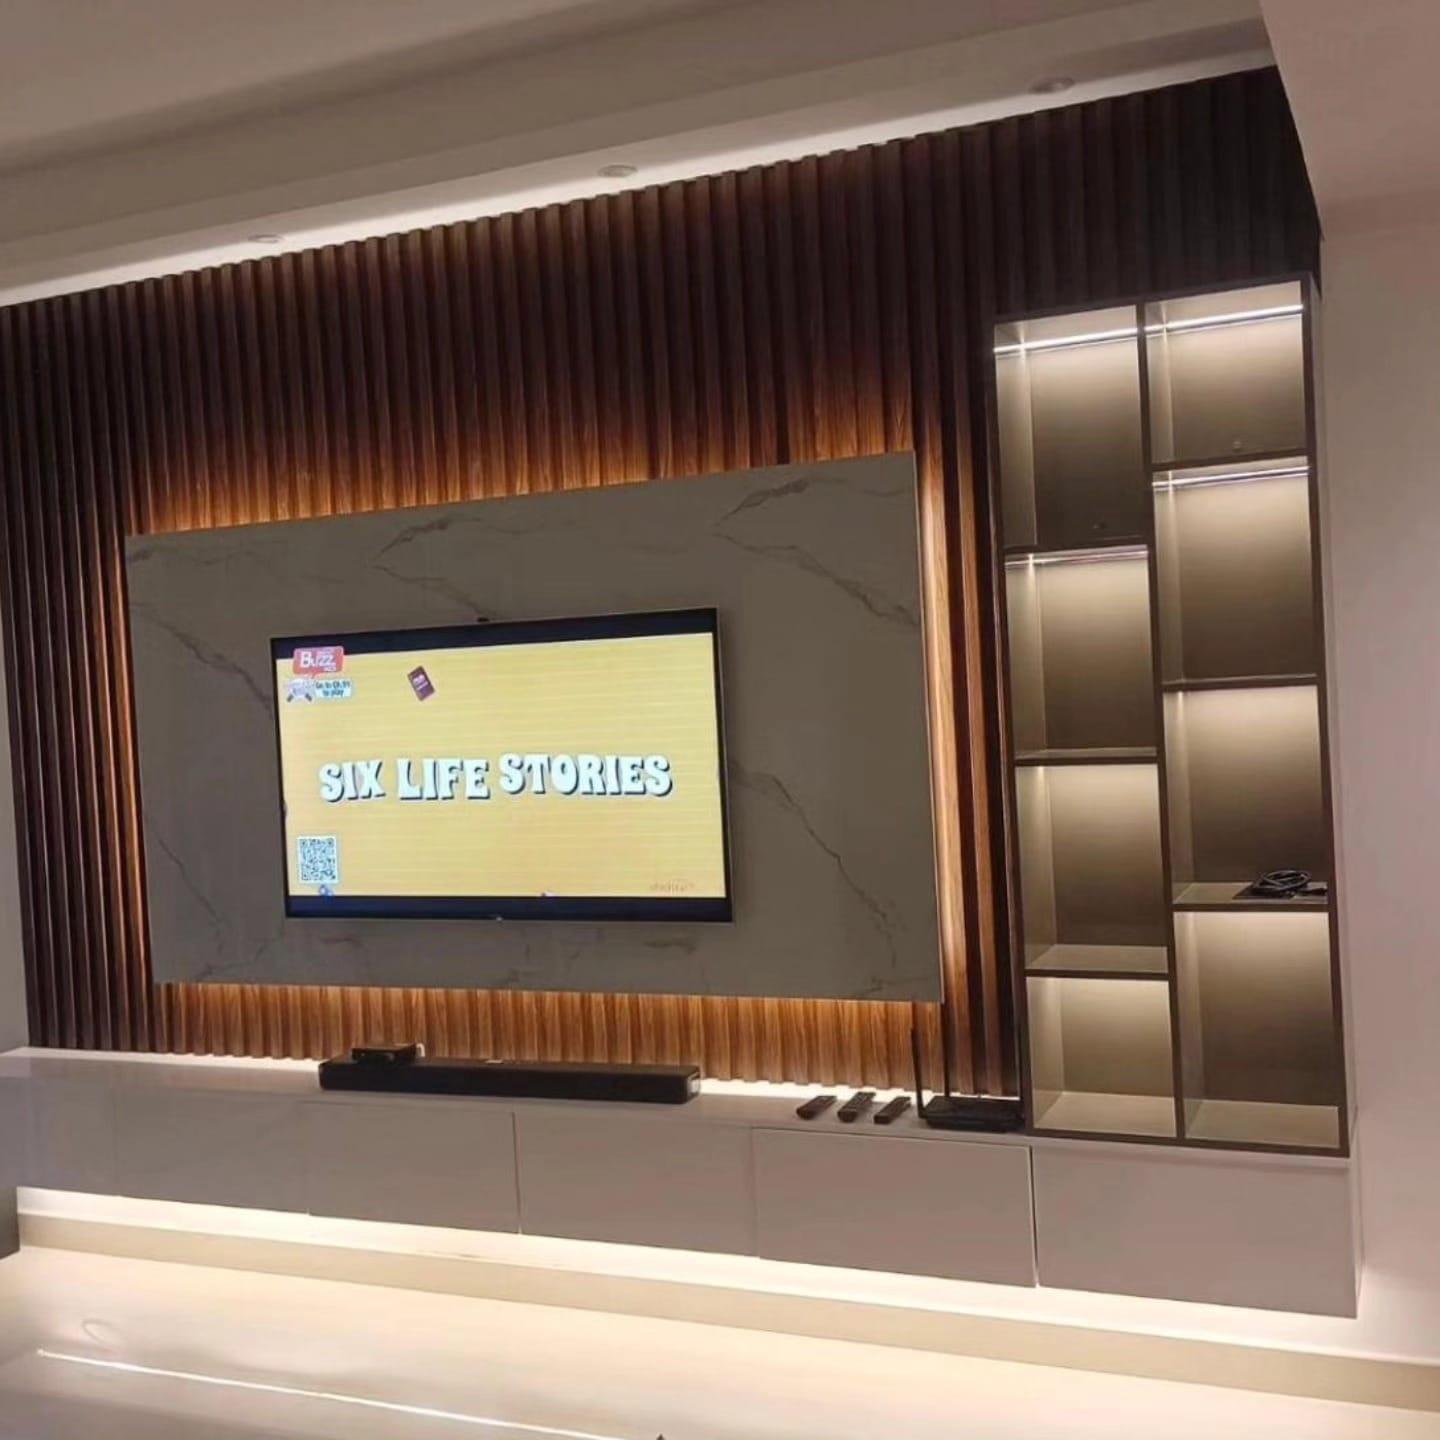
Dimming, drivers and flicker: what to specify
A media wall needs dimming more than most rooms, because the same lights serve a bright afternoon, a film night and a quiet late evening. Give each layer its own dimmer or its own channel, so the backlight can stay weak while the shelf light is raised for a guest. At minimum the wall's lighting should switch separately from the ceiling lights.
The driver, the box that turns mains power into the low voltage the strip runs on, must be dimmable, and it must match the dimmer. A non-dimmable driver on a dimmer flickers. Hitlights points out that not all drivers support high-frequency PWM dimming and that low-quality ones can cause visible flicker, and recommends frequencies ideally above 1 kHz; we ask for the PWM frequency and the lowest dimming level on the datasheet before we choose a driver, and look for a range from 1% to 100%.
Long runs bring voltage drop: the far end of a strip glows weaker than the near end. Wired4Signs advises keeping the drop under 3%, running 24V strip up to about 8 m per feed and 12V strip typically 3 to 5 m, and feeding long runs from both ends. On a wall of normal size the answer is easy, which is to use 24V strip, keep each run short, and feed each section from the driver with its own cable. Check the figures on the strip's own datasheet, because they vary with LED density.
Finally, think about control. A wall switch is enough for most homes, a scene dimmer suits a media room, and a smart control adds timers. Whatever you choose, tell us before the panels are closed, because the wiring depends on it.
Glare on the screen: where lights must not be
A TV's glass is a mirror when it is dark and a weaker one when it is lit. Any bright light that sits where its reflection reaches your eye will show on the screen: a lamp behind the sofa, a bright window, a downlight overhead near the wall. Design Cafe lists badly placed lighting among the common causes of glare; the drawing earlier in this guide shows the geometry, with a ceiling light behind the sofa reflecting off the glass into the seated viewer's eye.
The checks are easy once you know them. Sit where you will sit, turn on every light layer, switch the TV on to a dark scene and look for reflections of lamps, strips and windows. Then switch it off and look again. Anything bright and visible in the glass needs one of three moves: aim it, shield it or dim it. A light behind the sofa can be aimed down at the seats; a spotlight can be changed for a wall washer; a strip beside the screen can be moved back behind the panel.
Be especially careful with wall lights and bare strips next to the screen: they sit in the viewer's sightline and put a hot spot on the glass. Glossy panels reflect lights too, so a gloss marble-effect face next to a bright cove can look like a second screen. Our guide to planning a media wall covers daylight reflections from windows, and TV height on a media wall shows how the screen's angle changes where a reflection lands. Marble TV wall options explains why a matt or honed face suits a screen wall.
Drivers, wiring and heat: plan access before the panels close
Every LED strip needs a driver, and a driver is an electronic part that can fail one day. Put it where it can be reached, not inside a sealed box behind the wall. A removable panel, a drawer front or a ventilated compartment in the console is enough, and it must be shown on the drawing. A driver buried behind a fixed slatted wall means opening the wall for a part that costs very little. The same rule applies inside a wardrobe; see wardrobe lighting ideas.
Give drivers air. They warm up in use, and one wedged among cables in a sealed box will run hotter and wear out sooner. The same goes for the devices the wall hides: our cable and service-access guide explains conduit and removable panels, and it applies to lighting cables just as much as to HDMI.
Run the low-voltage cables through the same planned routes as the signal cables, but keep the strip cables away from sockets and power leads where the drawing allows it, and label both ends of each run so that a future electrician can follow it. Our own team does the electrical side, moving or adding sockets and wiring the LEDs, and the lighting is priced as a separate line on the quotation. Sockets and power covers the supply.
From idea to a switch plan and a quotation
When you bring a wall to us, bring the room's own light too: where the windows are, where you sit in the evening, and what you do on the sofa. Our free home visit brings finish samples; we measure the wall by laser, record the sockets and any AC grille, and then draw the elevation. The drawing shows each light layer, its colour, its place and its control, and you approve it before the workshop starts.
Media walls start from AED 3,500 per project for the entry brief, a compact laminate panel with a wall-hung console. Lights are an addition and are priced as their own line: backlight, shelf strips, groove light and a controller each change the total, so say at the first visit which layers you want. Most walls are fitted in about 10 days from your order confirmation, and our 24-month written warranty covers the workmanship.
To begin, look at our media walls service, our custom media walls or Sharjah media walls if you are near the workshop. Before you sign a lighting drawing, check it against this list:
- Each layer is separate on the drawing: backlight, shelves and niches, grooves, cove.
- The backlight is neutral 6500K and weak; every other layer is warm and of one colour.
- Every strip sits in a hidden position or a profile with a diffuser, and no bare strip faces the sofa.
- Drivers are dimmable, matched to their dimmer and reachable without opening the wall.
- Each layer has its own switch or dimmer, and the wall's lights switch separately from the ceiling.
- You have checked reflections from the sofa with the TV on a dark scene and the lights on.
Common questions
Should you have a light behind your TV?
Yes, a weak one. A soft glow behind the screen eases the jump between a bright screen and a dark room. Keep it neutral and at 10% or less of the screen's peak white. Media wall design ideas.
What colour light should go behind a TV?
Neutral white, around 6500K, with a CRI of 90 or more, so it matches the screen's own white. Warm colours behind the TV tint what you see. Media walls from our workshop.
What colour temperature is best for media wall lighting?
Use 6500K for the backlight and one warm white, about 2700–3000K, for shelves, niches, grooves and cove. Do not add a third colour in between. Gypsum ceiling lighting basics.
How do I stop LED lights causing glare on my TV?
Sit where you sit, switch the TV to a dark scene and look for reflections. Aim, shield or dim any light that shows in the glass. Planning a media wall.
Can the lights on a media wall be dimmed?
Yes. Use dimmable drivers matched to the dimmer, ask for a high PWM frequency, and give each layer its own control. Sockets and power on a media wall.
Where do the LED drivers go, and can I reach them?
In a ventilated compartment or behind a removable panel, shown on the drawing, so a failed driver can be swapped without touching the finished wall. Cable and service access.

Sources & specifications
Manufacturer information applies to the named products and systems. Sources reviewed on 28 October 2026.
- CinemaQuest: D65 video bias lighting, fundamental theory and practice (6500K, CRI 90+, 10% of peak white, light from behind the screen)cinemaquestinc.com(opens in a new tab)
- LEDYi: the ins and outs of LED bias lighting (6500K, CRI, power supply and USB power notes)ledyilighting.com(opens in a new tab)
- Design Cafe: floating TV unit design ideas (3000K recessed strip, glare from poorly placed lighting)designcafe.com(opens in a new tab)
- Wired4Signs: feeding long LED strips (voltage drop under 3%, run lengths, dual-end feed)wired4signsusa.com(opens in a new tab)
- HitLights: what is PWM dimming (high PWM frequency, driver and dimmer compatibility)hitlights.com(opens in a new tab)
Want this planned for your home?
Consultation and measurement are free. Tell us the rooms, location and what you need; we arrange a sample visit and define the measured quotation.