
1 / 4
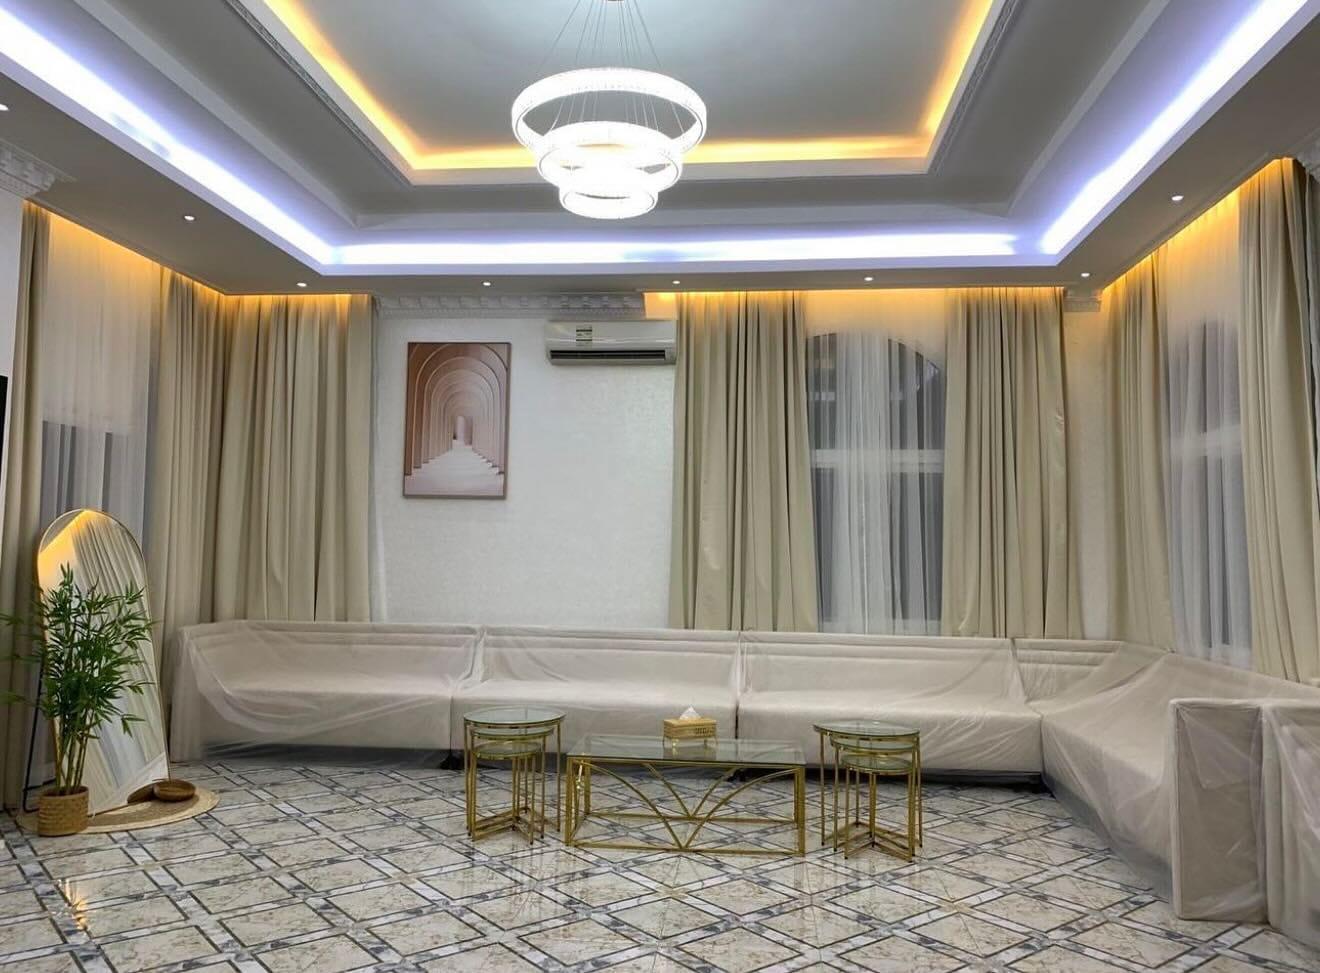
A majlis ceiling with cool white light in the outer cove and warm light in the inner one, around a ring chandelier.
Gypsum & False Ceilings
Decorative Ceilings & Cove Lighting
Majlis · Gypsum Board · Design & Build
From AED 70
per sqm · entry specification
Scheduled after the site visit and design approval, and coordinated with any AC work in the room; a typical room takes about two days.
Starting prices reflect entry specifications and standard materials. Final quotation is provided after on-site laser measurement, fabric/wood selection and design confirmation. Excludes complex structural alterations or specialised electrical MEP unless itemised.
Estimate your budget
An indicative starting figure from our published entry rate — not a quotation.
Quick start
Indicative, from
AED 1,120
16 sq m × AED 70 per sq m, entry specification.
What moves the real number: Length × width of the room. Multi-level designs, cove lighting, CNC accents and high ceilings add to the flat-ceiling entry rate.
Starting prices reflect entry specifications and standard materials. Final quotation is provided after on-site laser measurement, fabric/wood selection and design confirmation. Excludes complex structural alterations or specialised electrical MEP unless itemised.
About decorative ceilings & cove lighting
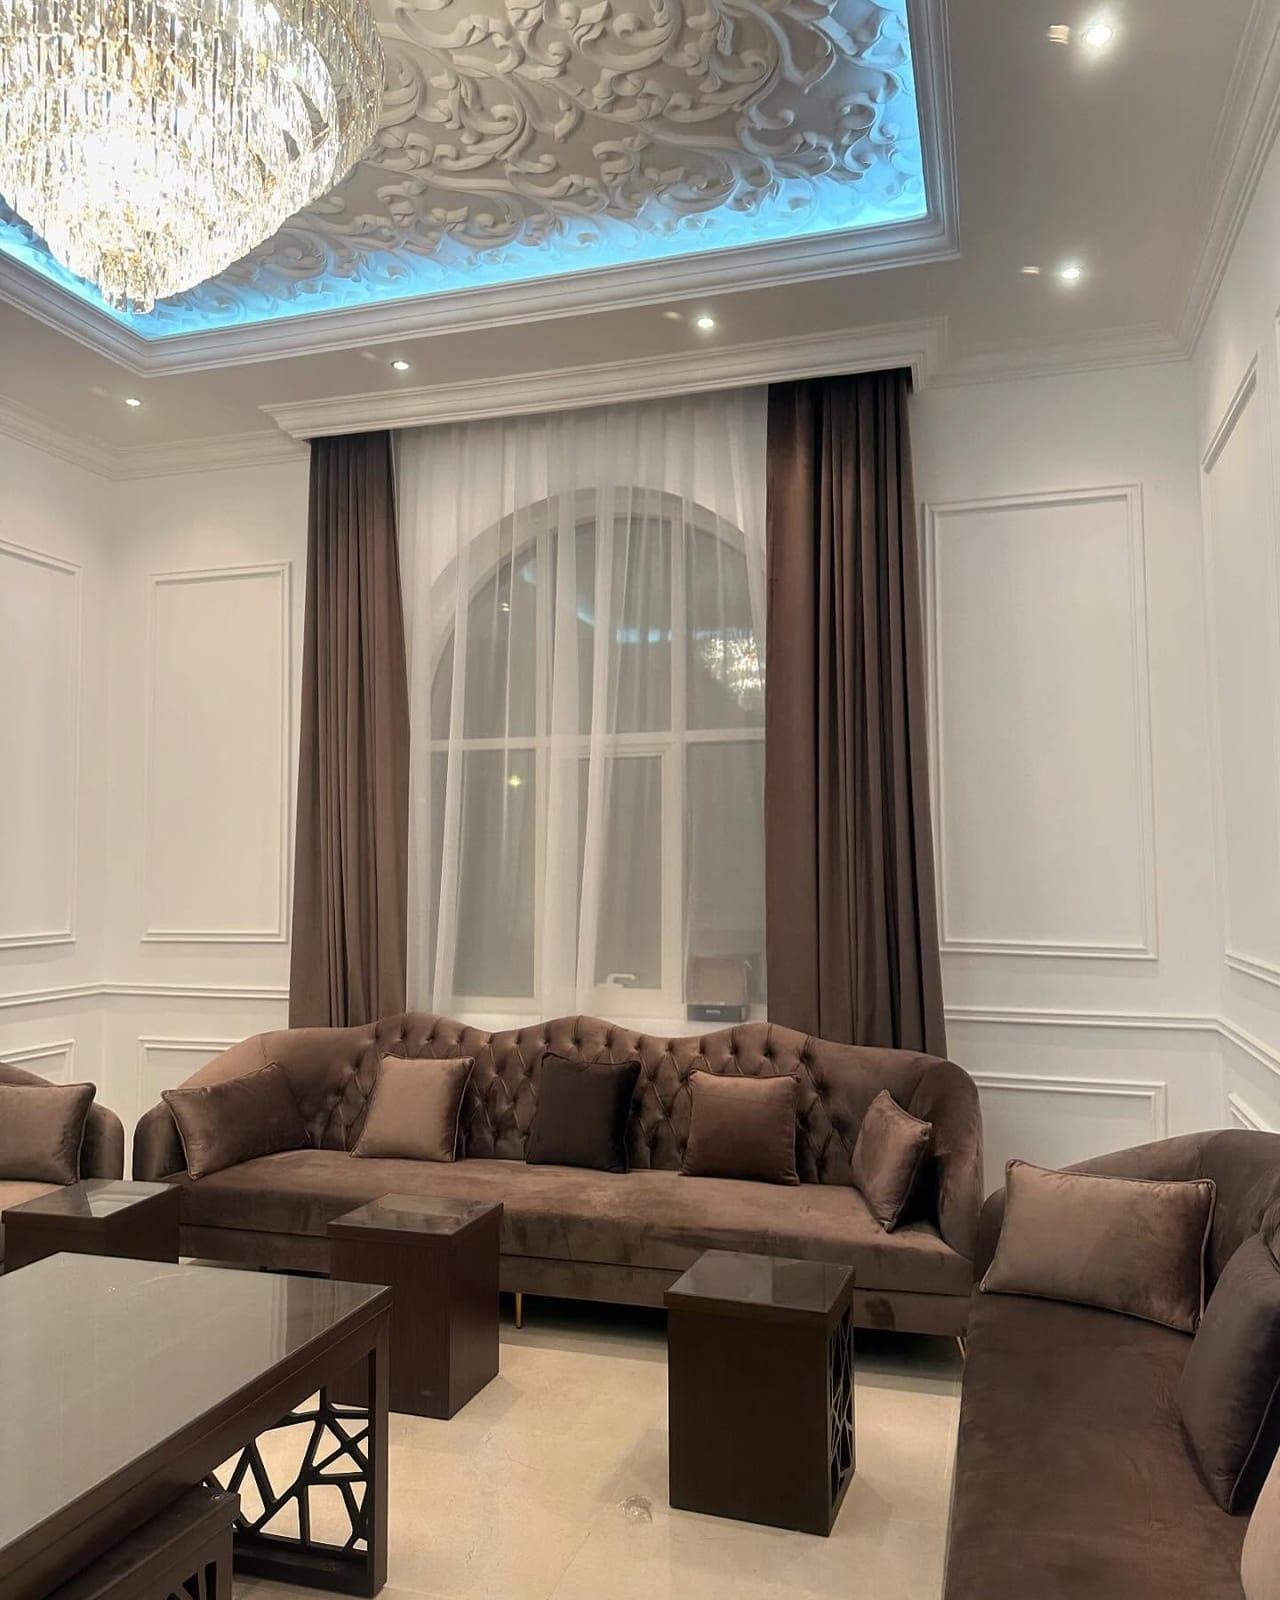
Some ceilings are meant to be looked at. Carved ornament in a recessed panel, a cornice that frames the room, and a hidden strip of light that makes the whole surface glow. The majlis pictured first shows what the light alone can do, with a cool cove and a warm one on two levels around a ring chandelier; further down, a formal sitting room adds sculpted scrollwork lit in blue.
Getting a decorative ceiling right is mostly about light. The ornament only reads when light grazes across it, and the cove only looks seamless when the strip is set far enough back that you see a wash rather than a row of dots. This page covers the ornament, the cove and the controls behind them; layouts and tiers for whole rooms are on our layered ceilings page.
Settle these first
Worth thinking about before we meet.
Ornament scale
Choose carving that reads from where you sit: fine detail is lost on a high ceiling, while bold scrolls overwhelm a low one.
Light colour
Decide between warm white, neutral and colour-changing strips before the cove is built, since each needs different drivers and controls.
Separate switching
Put cove light, downlights and the chandelier on their own switches or dimmers, so the room has an evening setting.
Driver access
Agree where the LED drivers will live, because they eventually need replacing and must be reachable without breaking the ceiling.
In more depth
Ornament: carved, moulded or CNC-cut
Decorative ceiling work comes in a few forms. Cornices and mouldings run along the wall line or the edge of a recess and give a classic room its finished frame. Ornamental panels, like the scrollwork in the sitting-room photo, fill a recessed centre with relief. CNC-cut detailing produces repeated patterns and crisp geometric outlines that would be slow to shape by hand.
The style should agree with everything else in the space. Scrollwork and layered cornices belong with panelled walls, tufted seating and crystal; a modern living room usually looks better with a clean recess, a shadow line and no ornament at all. On the drawing, ask to see the ornament at its real size against the room's height, not as a thumbnail.
Cornices: profile and proportion
A cornice is the moulding where wall meets ceiling, and its size should follow the room. A deep, many-stepped profile suits a tall formal room and looks heavy in a standard apartment; a slim profile disappears in a double-height hall. The sitting room pictured uses a layered cornice at the wall and a second moulding around the ornamental recess, so the eye moves from the walls up to the lit centre.
Cornices also hide things: the joint between ceiling and wall, small cracks from movement, and sometimes a curtain track or an uplight. Decide what each run of moulding is there to do before choosing its profile.
How a cove is shaped
A cove is a trough, open towards the ceiling, that hides an LED strip so its light spills across the surface beside it. Its proportions decide the result. Too shallow, and the strip itself is visible from the far side of the room. Too tight to the ceiling face, and the light stops in a bright band instead of fading out gradually.
The lip of the cove also matters. A straight, clean edge gives a sharp line between shadow and glow, which suits modern rooms. A cornice-style lip softens that line and suits classic ones. Both are built in gypsum during framing, so the shape has to be settled before the boards go up rather than adjusted after.
Choosing the light
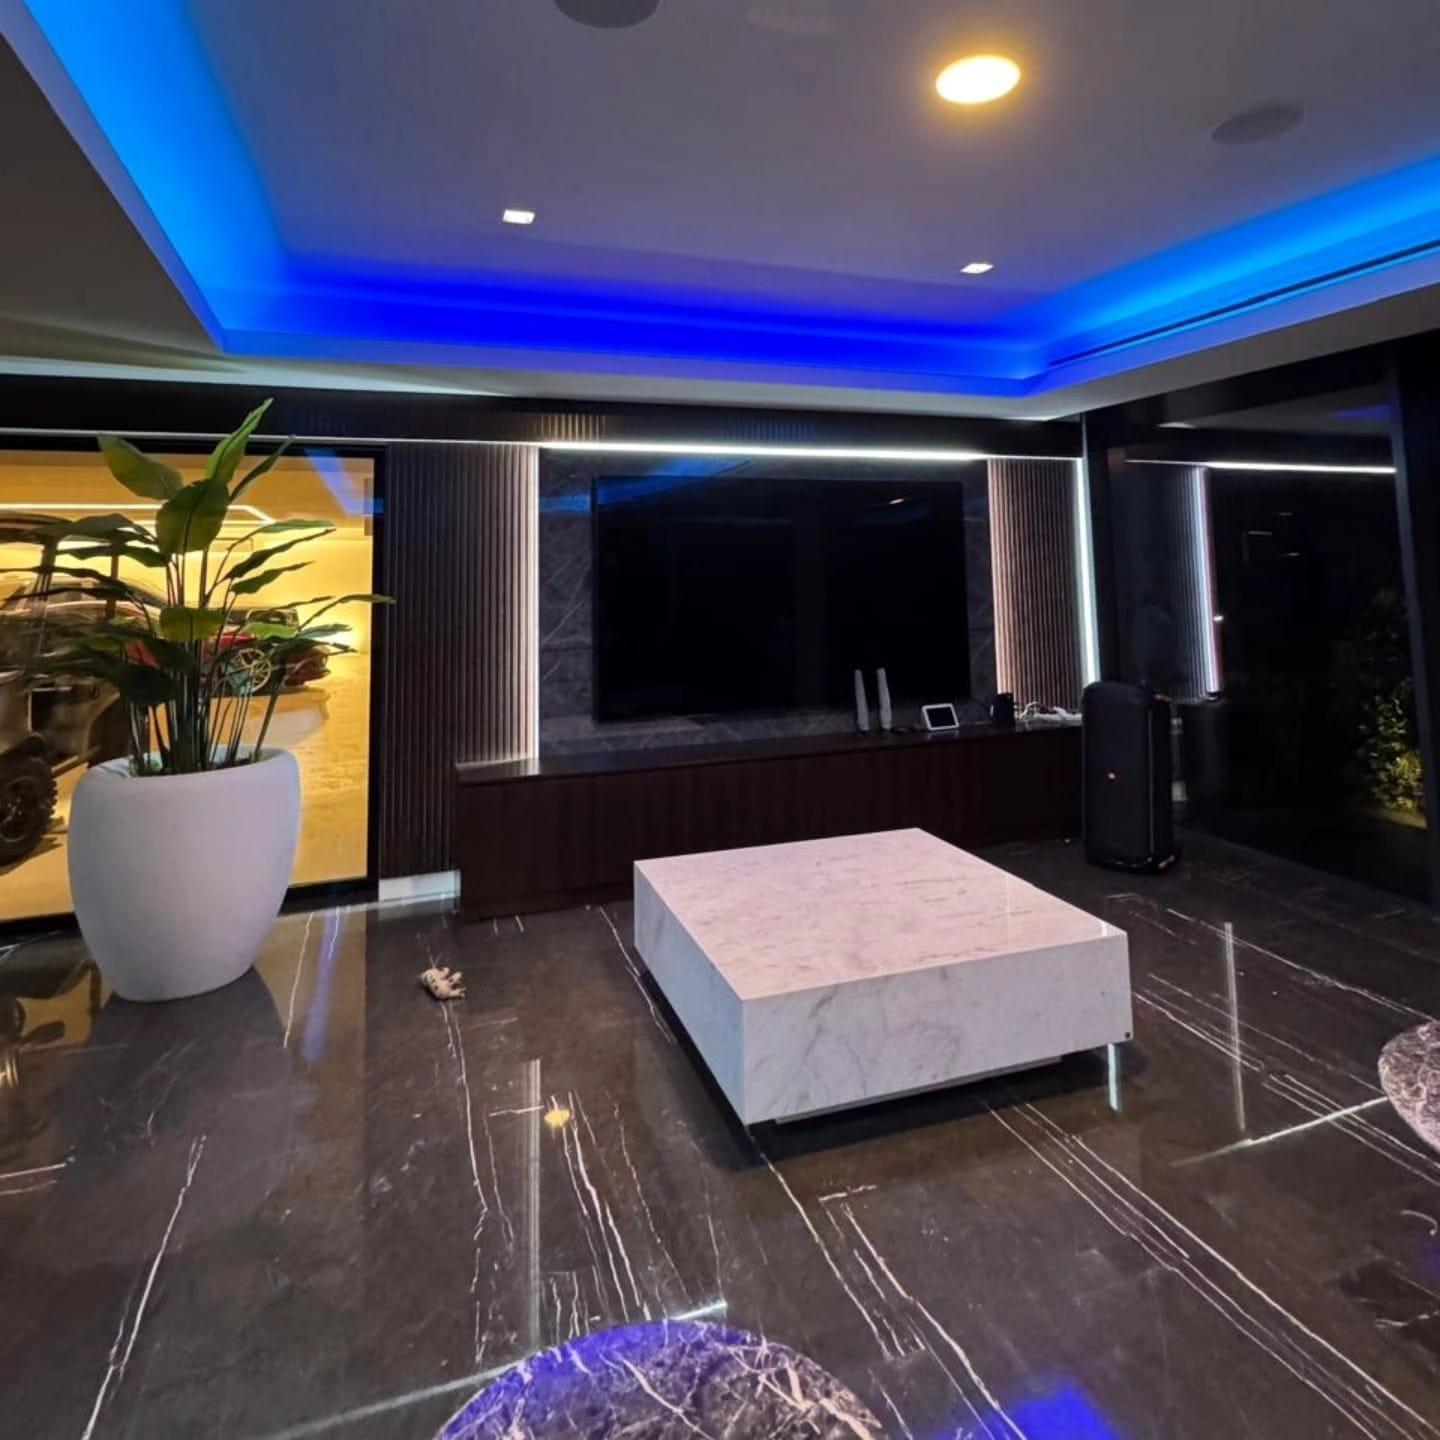
Most living rooms, majlis and bedrooms suit warm white, around 3000K, because it flatters skin, fabric and wood. Neutral white is crisper and suits kitchens and work areas. Colour-changing strips, like the blue in two of these rooms, turn the ceiling into a feature for an evening or an occasion.
The majlis in the first photo shows a useful middle path: two coves on different levels, one cool and one warm, switched separately. With both on, the ceiling gains depth; with only the warm one, the room settles down for the evening. For how the levels themselves are planned, see layered ceilings and chandelier drops and our ceiling ideas for the majlis and living room.
Colour-changing light without regret
Coloured cove light is easy to love on the first night and easy to tire of by the tenth. The safest way to have it is to keep a proper white available from the same cove, either with strips that combine colour and a separate white channel or with a second white strip alongside. Then the colour is a setting you choose, not the only light the cove can give.
Agree how it will be controlled, usually a remote or wall controller with a few saved scenes, and keep the controls simple enough that everyone in the house can return the room to white.
Avoiding dots, gaps and colour drift
Three faults give cheap cove lighting away. Visible dots appear when the strip can be seen directly or sits too close to the surface it lights. Dark gaps appear at corners where one strip ends and the next begins. Colour drift appears when strips from different batches or makers sit side by side and one looks slightly greener or pinker than the other.
All three are avoidable: a cove deep enough to hide the strip, runs that turn the corners continuously, and one specification of strip across the whole room. Ask how the corners will be handled before the strip is ordered.
- Strip hidden from every seat in the room
- Corners lit continuously, without a dark notch
- One strip type and colour temperature per cove
- Drivers sized for the full run, with access to replace them
Drivers, dimmers and controls
LED strips run on low-voltage drivers, and those drivers sit somewhere in or above the ceiling. They are the part most likely to need replacing over the years, so they belong behind an access panel or in a reachable section of the cove, never sealed in permanently.
Decide early how you want to control the light. Wall dimmers, separate circuits for cove and downlights, and a remote for colour-changing strips are all common. Each choice affects the wiring, which our own team handles as part of the small electrical work in the ceiling.
Lighting the ornament itself
A carved panel looks flat under light that hits it head-on and comes alive under light that grazes it from the side. A cove around the edge of an ornamental recess, as in the sitting room photographed here, does exactly that: the scrolls throw small shadows and read as relief. Downlights aimed straight at the ornament do the opposite and flatten it.
A chandelier at the centre adds sparkle but not modelling. Most decorative ceilings use both: the cove for shape, the chandelier for the focal point, and a few downlights around the room for useful light at seat height.
Before you approve the drawing
A decorative ceiling is hard to change once it is built, so check these on paper:
- The ornament and cornice shown at full size against the real ceiling height
- Which coves are warm, neutral or colour-changing, and how each is switched
- Where every driver sits and which access panel reaches it
- How the cove turns each corner and where its runs join
- That the chandelier's fixing is designed for its actual weight
Care over the years
Ornament collects dust in its hollows. A soft brush on an extension pole every few months keeps it clean; water and household sprays should stay off unsealed plaster. Cove troughs gather dust too, which dims the light slowly enough that nobody notices, so a wipe along the strip when a driver is checked is worth doing. When a room is repainted, the coves and mouldings are painted with it.
Quoting a decorative ceiling
Decorative work is priced from the drawing, not from the floor area alone: each cove, moulding run, ornamental panel and lighting circuit is listed on the quotation, on top of the flat-ceiling base. Our free visit looks at the room's height, the light you want in the evening and where drivers can go, then we draw the ceiling for you to approve. The gypsum stage usually takes about two days per room and is then painted by our own crew.
The specification
Gypsum & False Ceilings
Knauf and Mada moisture- and fire-resistant boards (12.5 mm and 15 mm)
Heavy-gauge galvanised steel framing and rigid suspension
Seamless joint taping, fibre mesh and multi-coat skimming
Magnetic track lighting, downlight cut-outs and shadow-gap profiles
Linear slot AC diffusers and concealed curtain pelmets
Suits
- Villa living rooms
- Majlis ceilings
- Dining halls
- Bedrooms
- Commercial offices
24-month written workmanship warranty; supplied products follow their applicable written terms.
At a glance
- Room
- Majlis
- Material
- Gypsum Board
- Type of work
- Design & Build
- Property type
- Villa
- Availability
- Made to order
How it is made and installed
A free consultation at your home with physical samples, laser measurement, clear drawings and an itemised quotation. Once you approve, it is made in our Sharjah workshop and installed by our own team. Priced per square metre of ceiling. Levels, cove troughs, lighting cut-outs and CNC detailing set the final figure. Labour-only from AED 35 per sqm.
Scheduled after the site visit and design approval, and coordinated with any AC work in the room; a typical room takes about two days.
Common questions
Type a word and the answers narrow as you go.
4 of 4 answers
Is coloured cove lighting a good idea?
It can be striking, as in the blue rooms shown. Keep a white option in the same cove, because colour gets tiring as everyday light.
Why can I see dots in some cove lighting?
The strip is either visible from where you sit or too close to the surface it lights. A deeper cove and the right strip avoid it.
Where do the LED drivers go?
In a reachable place in or above the ceiling, behind an access panel or inside the cove, because they eventually need replacing.
Can ornament be added to an existing ceiling?
Cornices and ornamental panels can often be added to a sound ceiling. A cove usually means rebuilding that part of the ceiling, since it is framed in.

More like decorative ceilings & cove lighting
Gypsum Ceilings · Living Room
Gypsum False Ceiling Installation
Gypsum Ceilings · Living Room
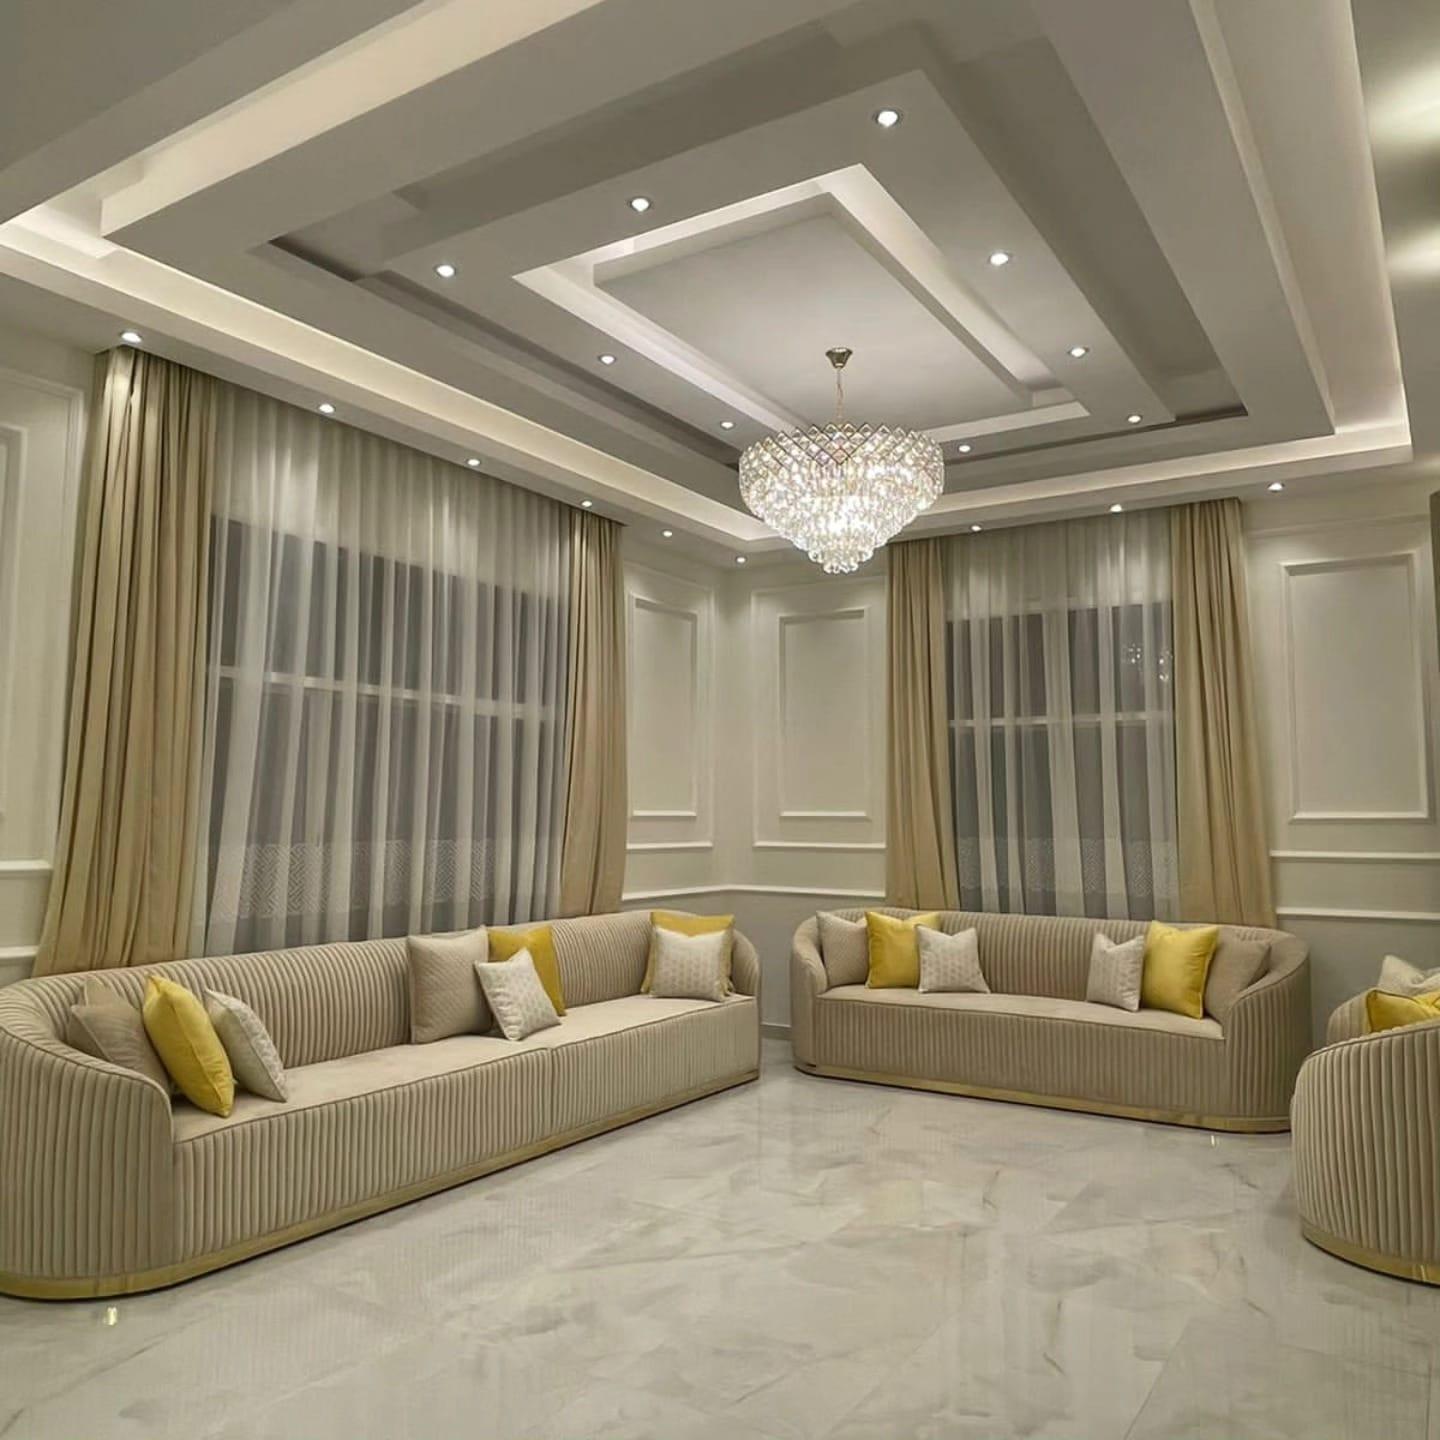
Layered Ceilings & Chandelier Drops
Gypsum Ceilings · Office & Study
Suspended Ceilings for Offices & Shops
Curtains · Majlis
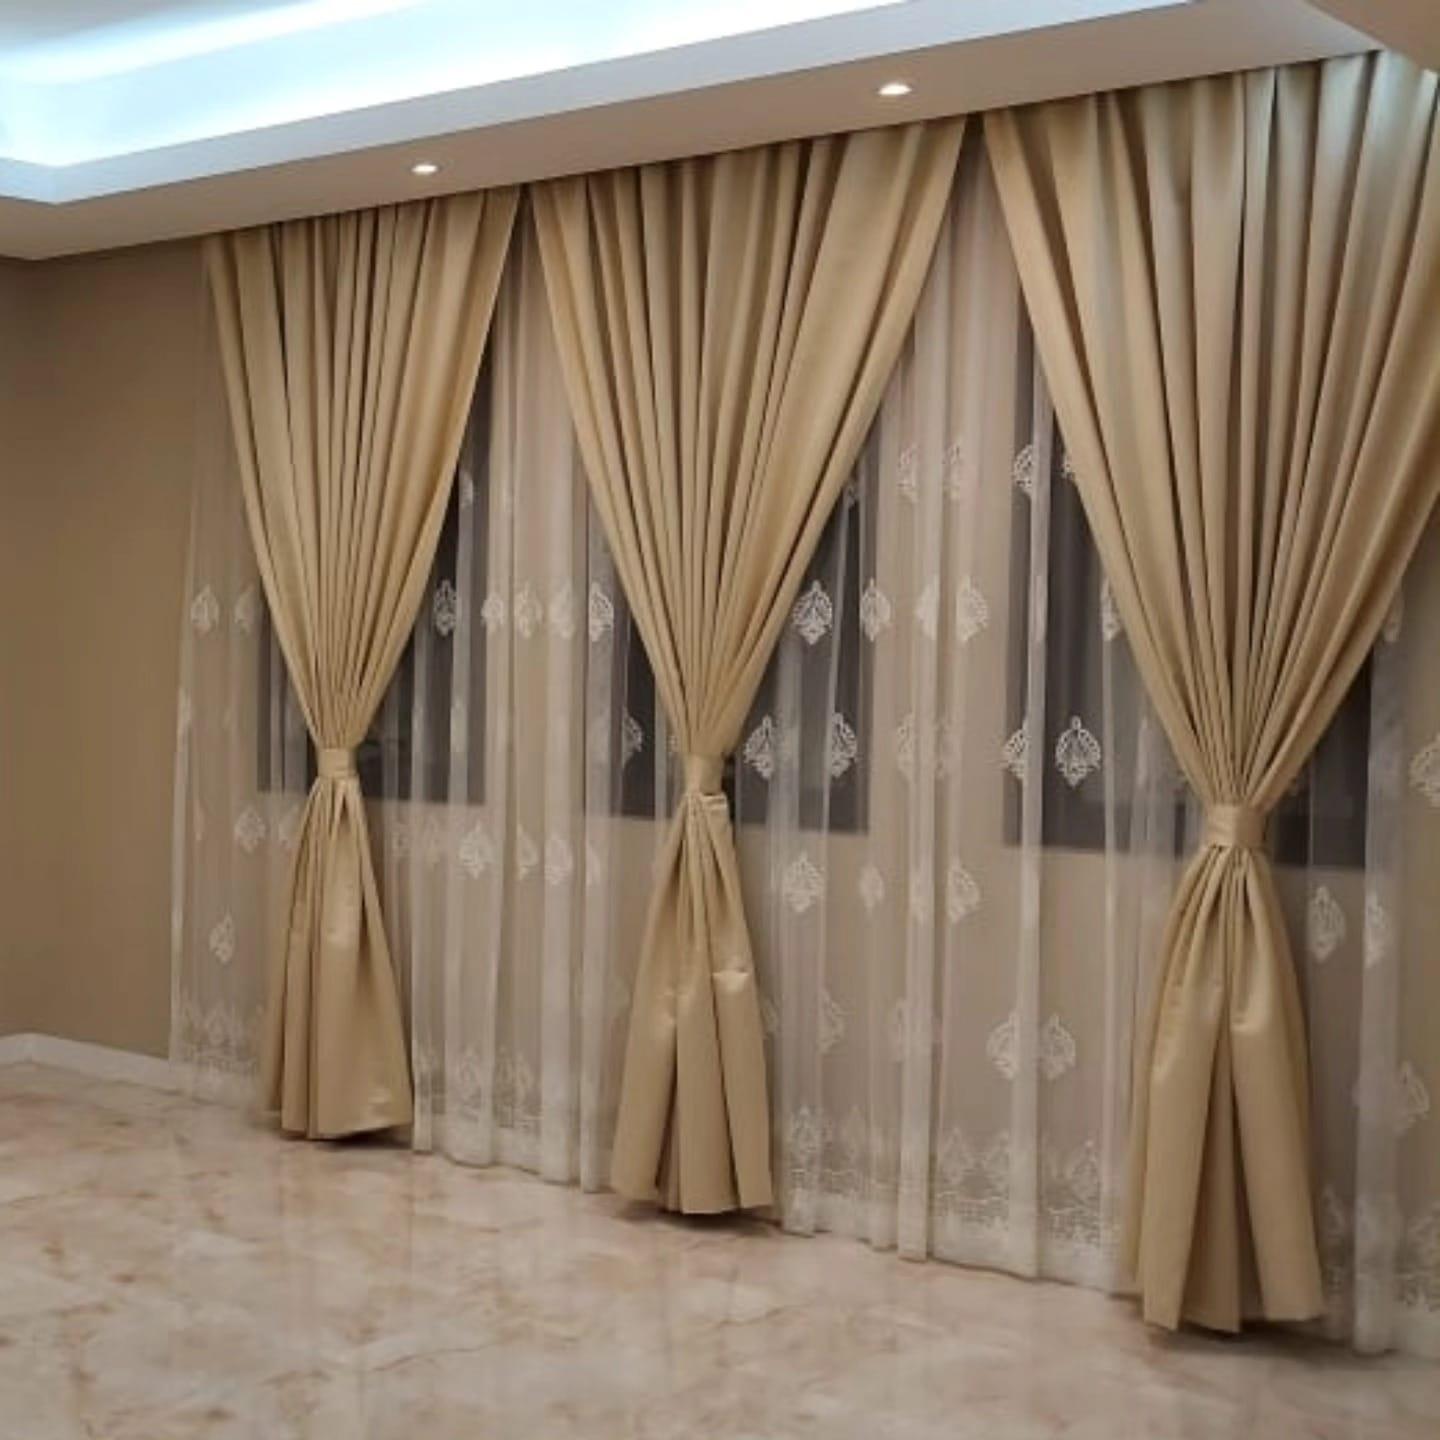
Majlis Curtains with Tiebacks
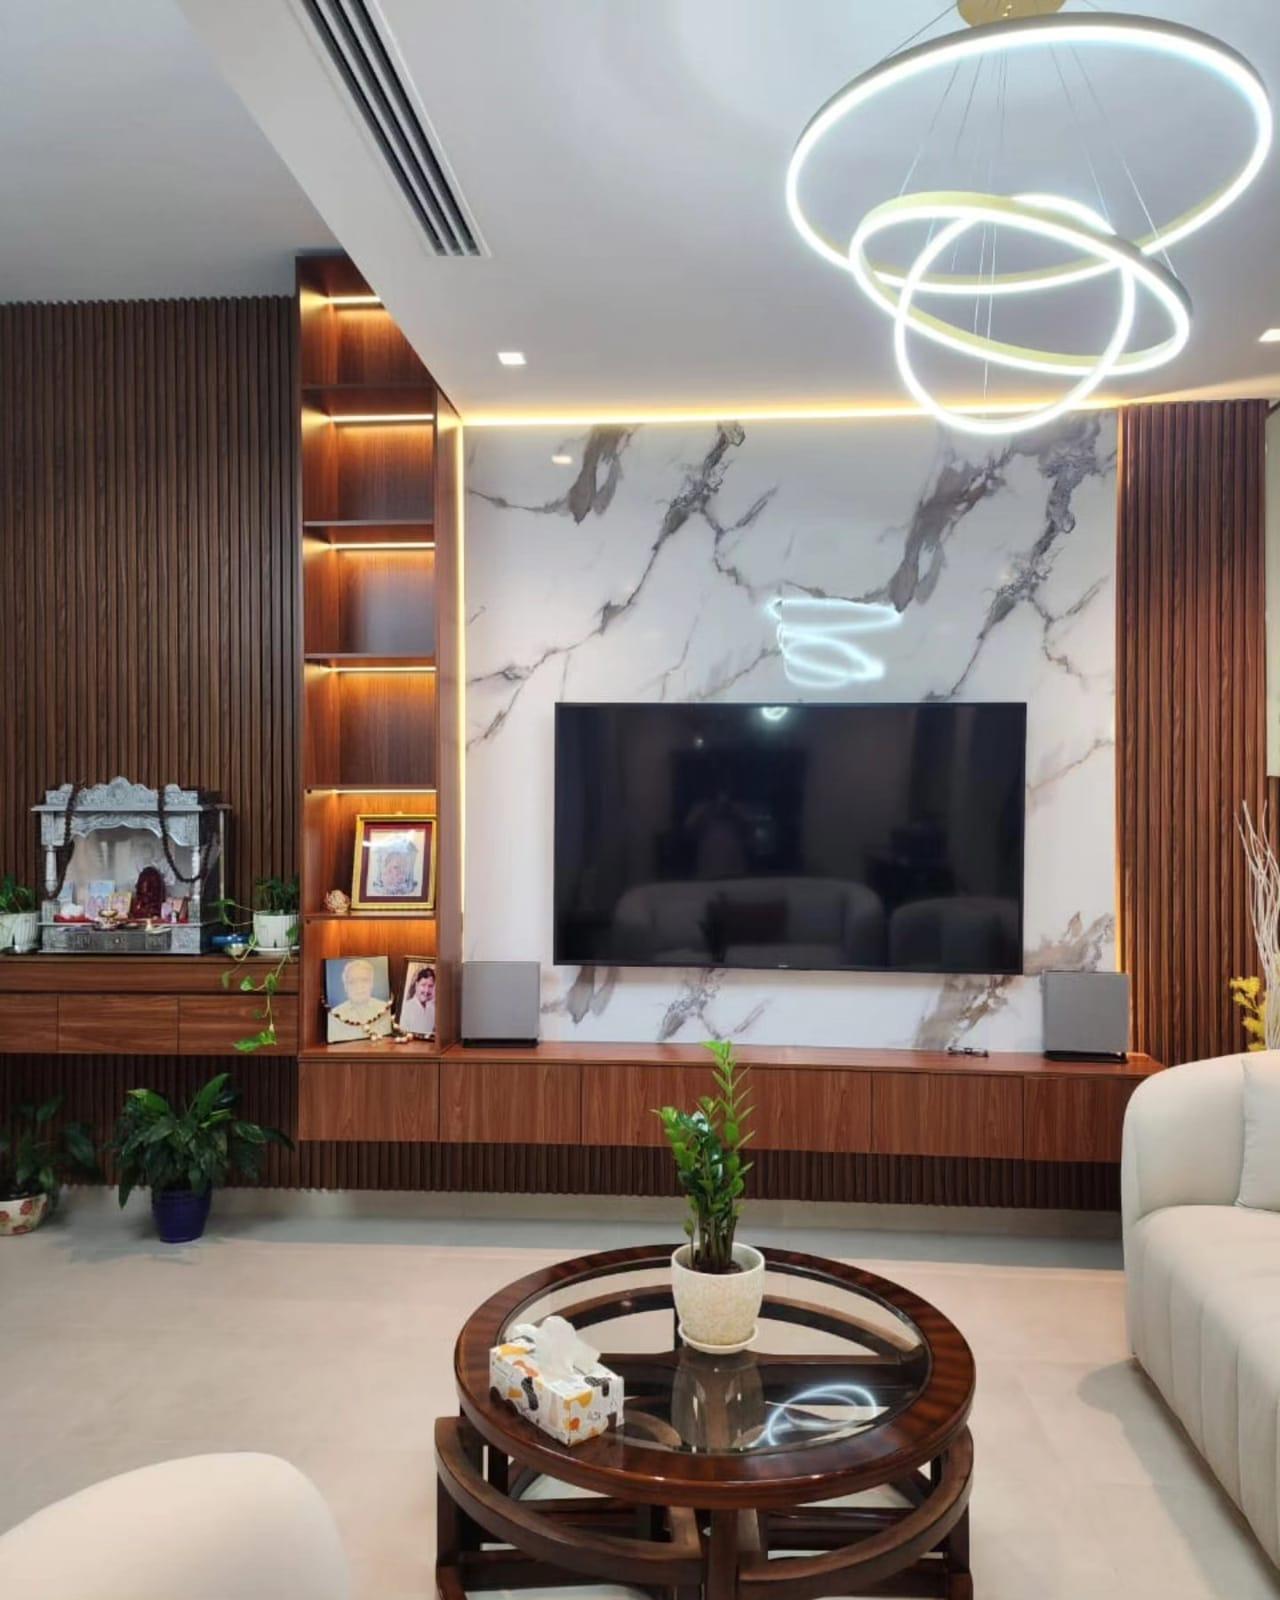
Media Walls · Majlis
Marble-Effect TV Walls
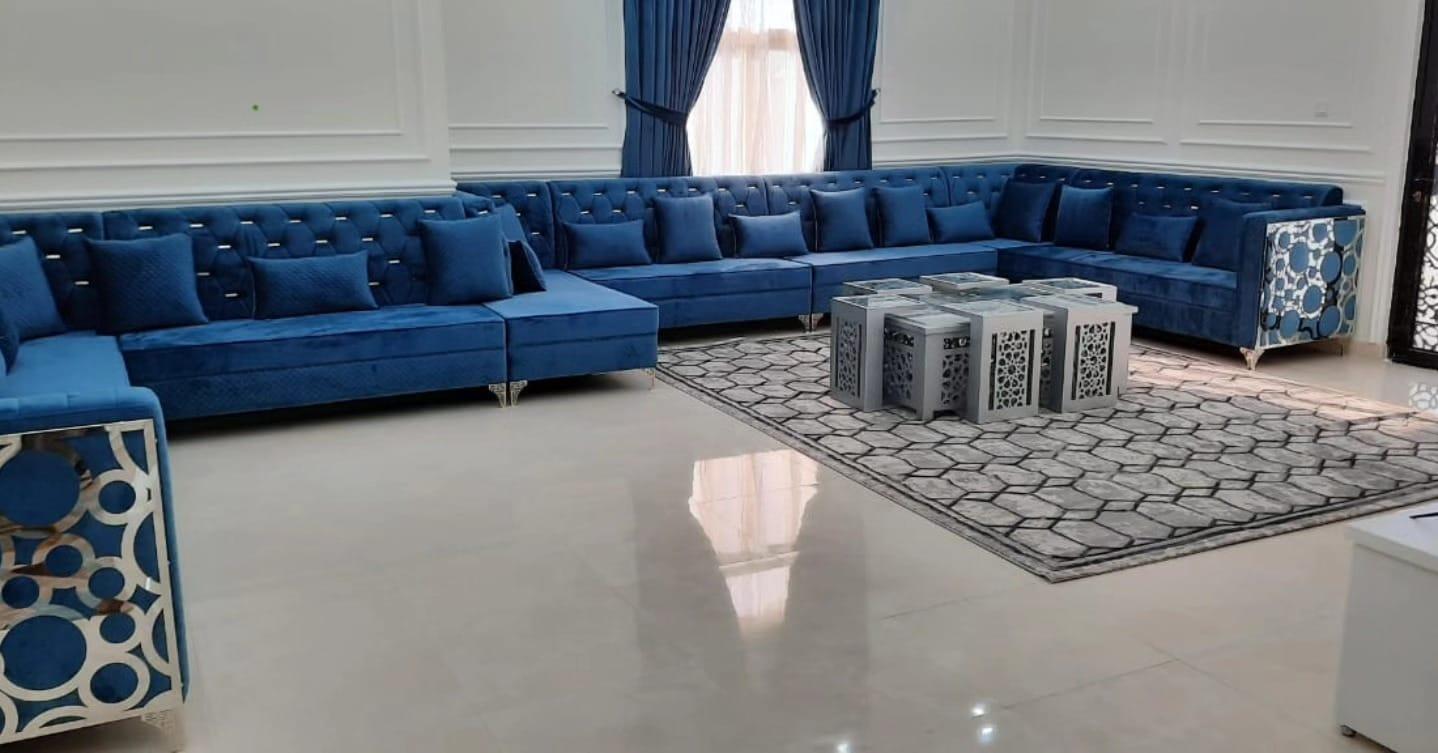
Upholstery · Majlis
Majlis Upholstery & Re-covering
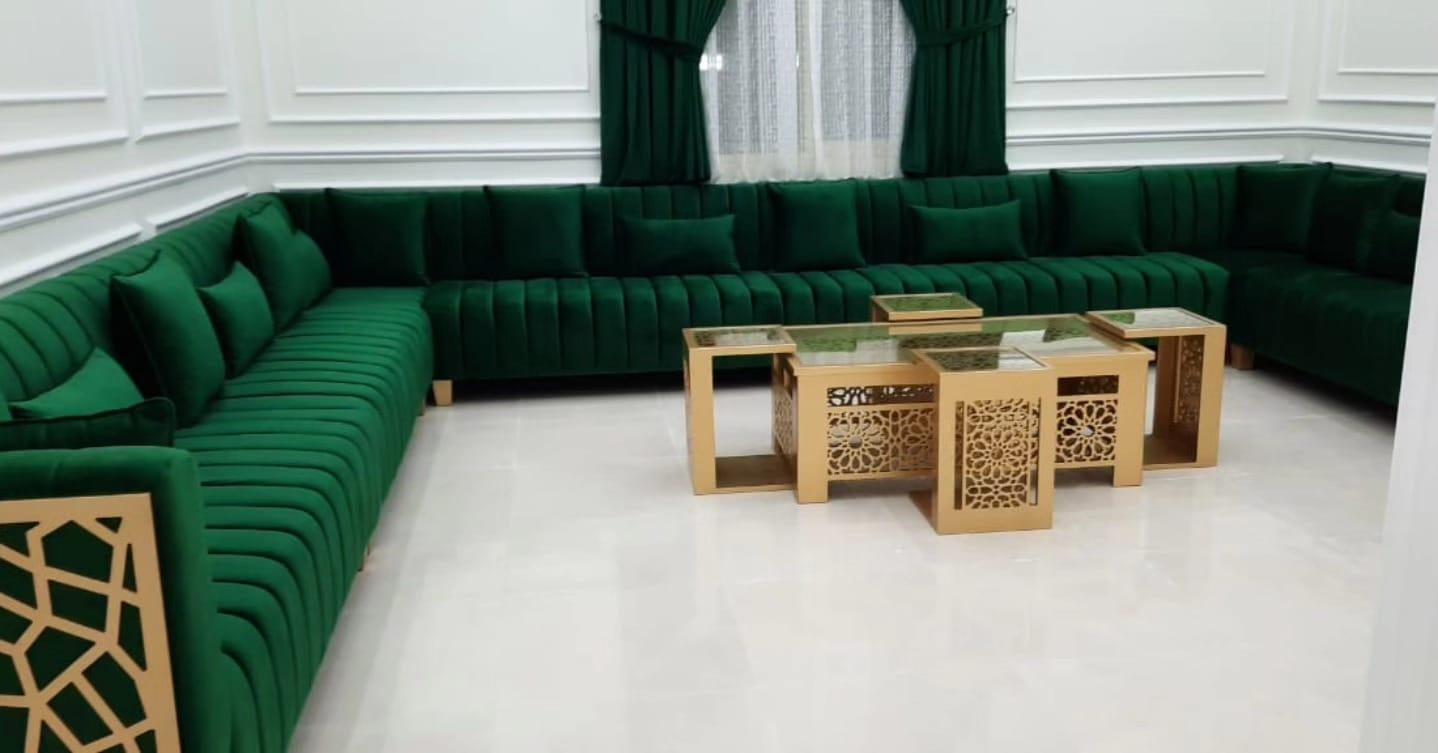
Upholstery · Majlis
Custom Majlis Seating
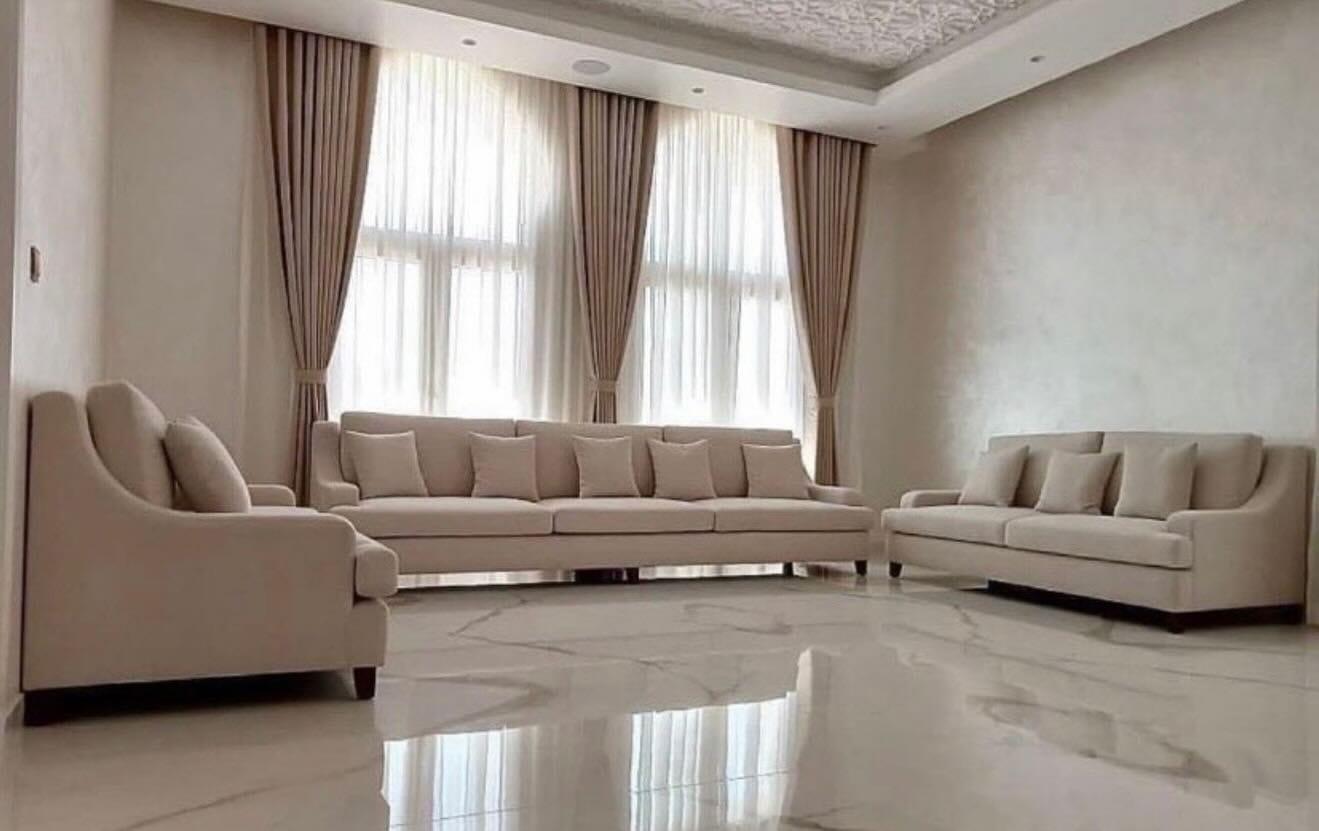

Plan the details first
- GuideGypsum ceiling lighting and AC: plan it before the boards go up
- GuideGypsum ceiling specification: what a quotation should include
- GuideCeiling access panels: where they go, what size and which type
- GuideFalse ceiling cost per m² in the UAE: rates and room examples
- GuideFalse ceiling designs for living rooms and majlis: coves, trays and lines
- GuideGypsum false ceiling vs POP, PVC, grid and other ceilings
- GuideOffice and commercial suspended ceilings in the UAE: gypsum or grid, void depth, light and access
- GuideFalse ceiling in a low-ceiling room: how much height will you lose?
- Planning toolHow It Works
- GuidePlanning a whole-home budget
- GuideChoosing materials by specification
- GuideWarranty & aftercare
Free on-site visit
We bring the samples
Choose fabric and finishes in your own light, next to your own walls, then we laser-measure and send a drawing and an itemised quote.