Media Walls · 20 min read · 31 August 2026
Choosing media wall finish samples in your own room
Compare media wall finish samples at home, check texture, sheen, edges and lighting, then record the exact materials and layout before approving manufacture.

By Ali Haider Basra, Founder, Al Tareeq Decor · Contact our workshop
Key takeaways
- Compare physical samples upright at the intended wall and from the main seats.
- Record the board, visible finish and edge treatment separately.
- Review daylight, normal evening lighting and the proposed wall lighting.
- Approve a named combination and its drawing before comparing final quotations.
On this page
- Key takeaways
- Start with a practical review
- Make a shortlist before opening a large sample book
- Separate the board from its visible finish
- Finish behaviour at a glance — illustrative
- Hold the samples upright at the proposed wall
- Compare daylight and the lighting you actually use
- Judge texture and sheen at viewing distance
- Check grain, pattern direction and visible joins
- Review edges, handles and the console as a set
- Pattern and direction decisions to record
- Use a sample approval table
- Sample approval record
- Discuss care and warranty with the sample in front of you
- Where to put the sample: three viewing positions in your own room
- Batch numbers and why the sample has to match the production run
- What a finish sample cannot tell you
- Reading a sample under UAE glass, tint and window film
- Keep a dated record of what you approved
- If the delivered panel looks different from the sample
- Approve the combination before comparing the final price
- Common questions
Start with a practical review
A finish that looks right on a phone can look quite different beside your sofa. The screen adjusts the photograph, the sample may be lying flat and the showroom lighting may be unlike the light at home. Before approving a media wall, compare the actual proposed finishes together at the intended wall. Make a decision about a named material and surface rather than an attractive colour description.
This guide focuses on choosing and approving samples. It does not rank every board or prescribe one finish for every home. The useful result is a short written specification that connects the sample you liked to the panel, console, edges and lighting on your drawing. That gives the workshop a clear reference and gives you something concrete to compare with the completed installation.
Make a shortlist before opening a large sample book
Begin with the parts of the room that will stay: flooring, sofa, curtains and nearby timber or painted furniture. Take an ordinary photograph that shows them together. Decide which element should lead the new wall. If you already have a patterned floor and strong upholstery, a simpler backdrop may be easier to live with than another competing feature.
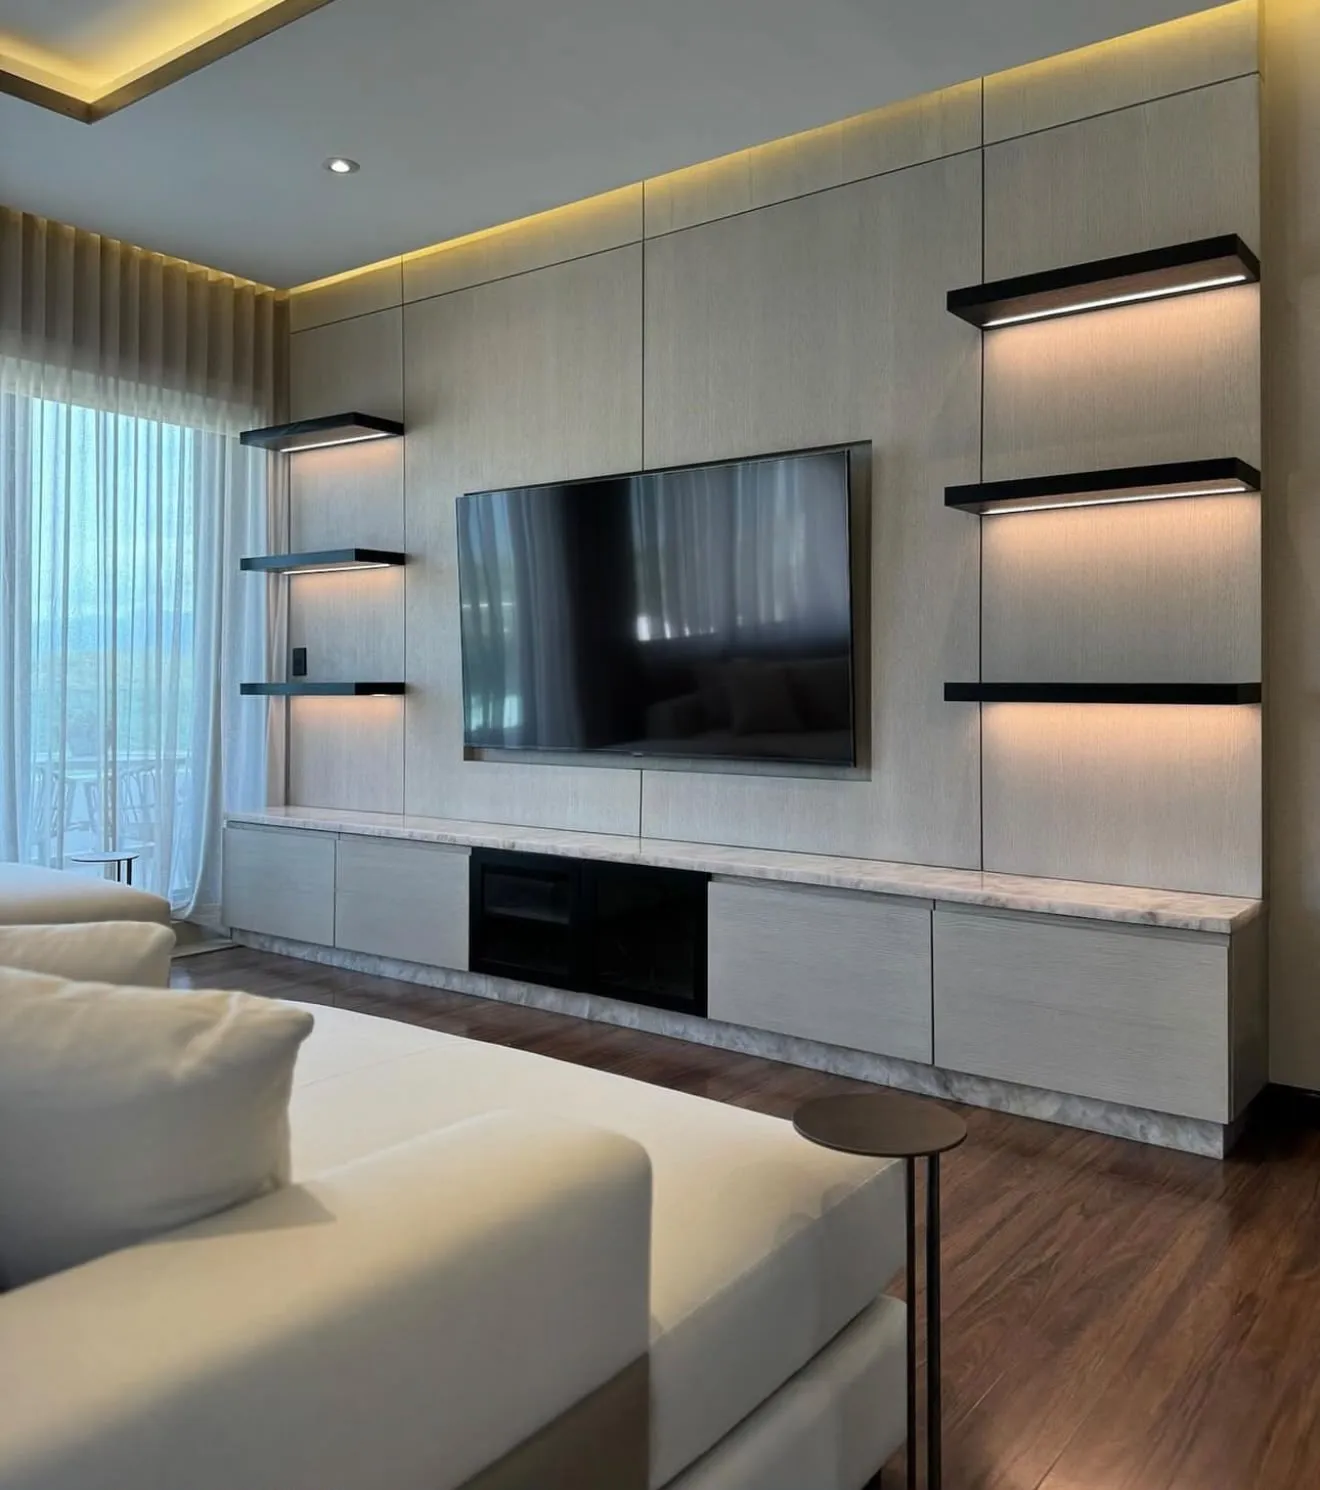
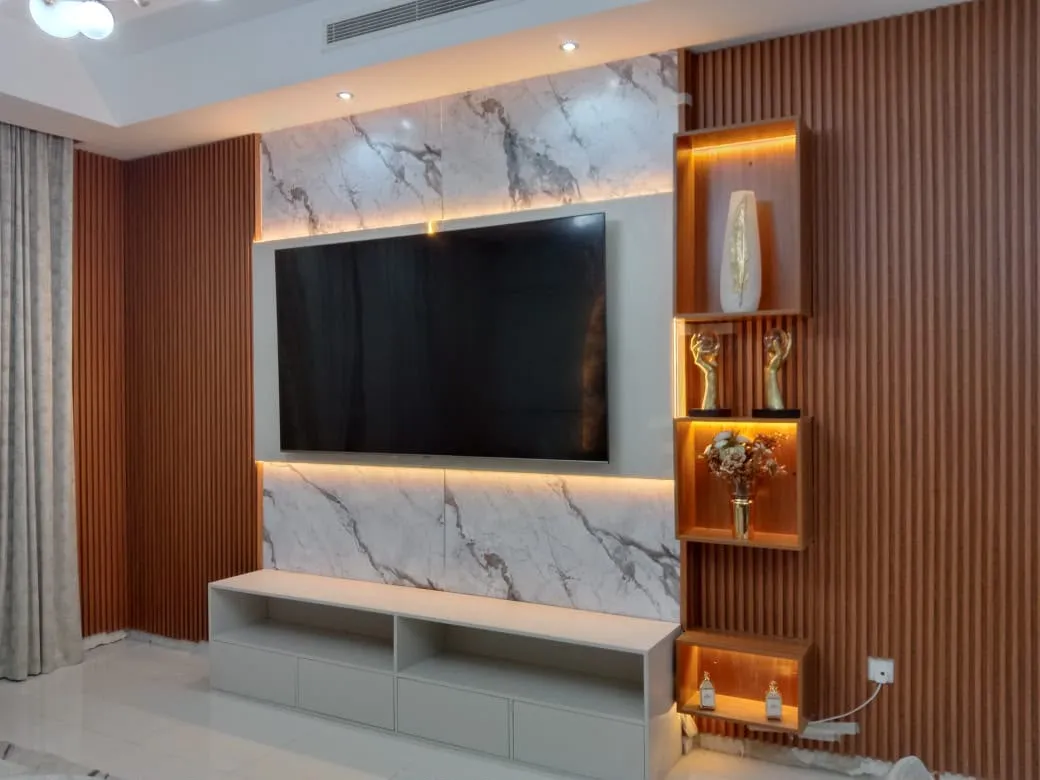
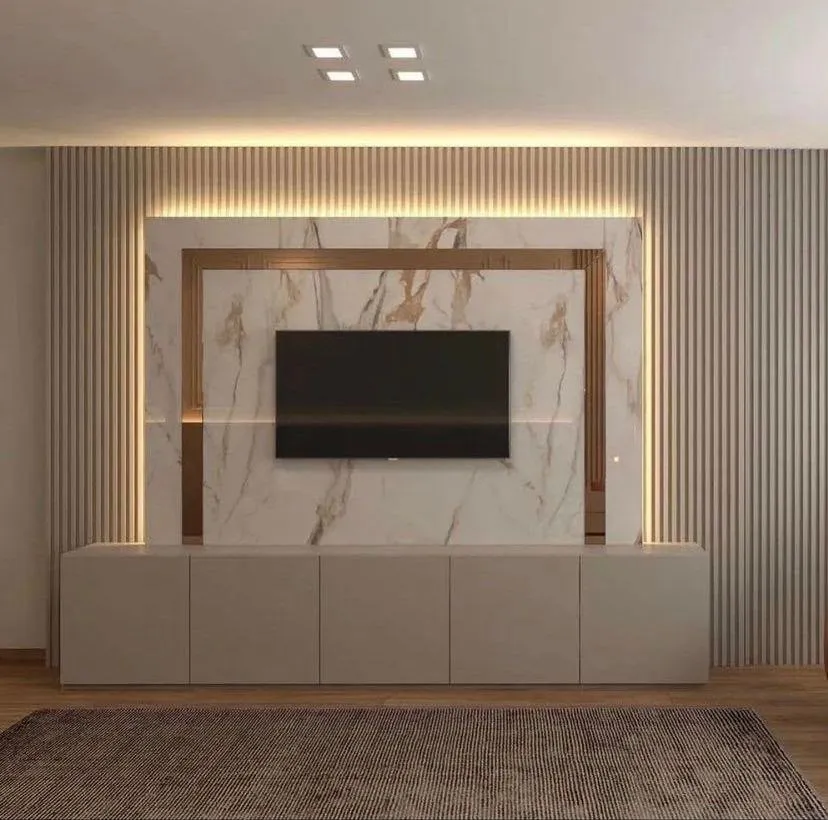
Limit the first comparison to a few genuinely different directions. Compare a quiet laminate panel, a wood-look slatted area and a pale stone-effect backdrop with the same console outline. This helps you decide how the wall should read as a whole. Comparing dozens of similar small swatches before settling the composition often creates more doubt without improving the design.
Write down what you want in practical terms: a calm background for evening television, a display wall visible from the entrance or storage that stays visually quiet. Those aims guide the sample review. The media wall design ideas guide can help describe a direction without treating a reference photograph as a complete specification.
Separate the board from its visible finish
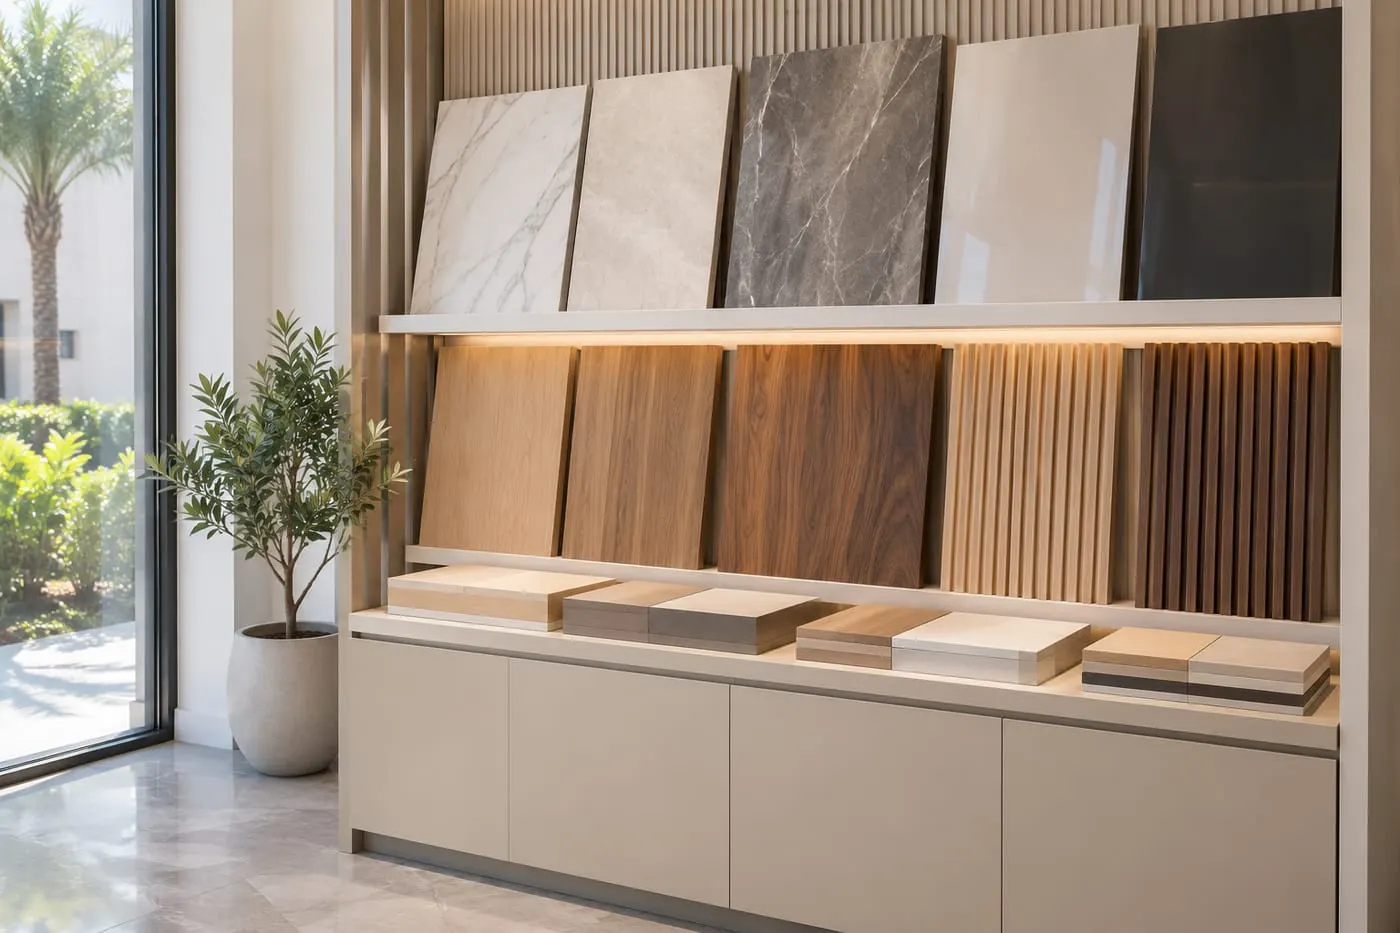
A sample's face tells you only part of its specification. Ask what the decorative surface is and what it is bonded to or supplied with. A description such as “wood finish” may refer to different constructions, while a small swatch may show neither the edge nor the back. Record the agreed core and face rather than assuming the appearance identifies both.
Laminate, veneer and lacquer are finish choices in our media-wall service. Fluted wood slats, marble-effect or porcelain backdrops and lighting can form other parts of the composition. These names describe different items, so ask which material belongs to which part of the drawing. A console front and a backdrop need not have the same construction merely because the colour is coordinated.
Do not turn a general materials explanation into a claim about the exact product in your quotation. Manufacturer literature explains a material family, but the supplied item needs its own identity and agreed application. The media wall materials guide develops that distinction. Use the sample meeting to close the specification rather than reopen every possible option.
Finish behaviour at a glance — illustrative
Matt laminate
- Fingermarks visible
- Low
- With LED backlight
- Soft, even glow
- Upkeep
- Wipe with damp cloth
Gloss lacquer
- Fingermarks visible
- Yes — shows contact
- With LED backlight
- Reflects the strip edge
- Upkeep
- Damp cloth; no abrasive
Wood veneer
- Fingermarks visible
- Medium
- With LED backlight
- Warm, natural tone
- Upkeep
- Dry or barely damp cloth
Stone-effect panel
- Fingermarks visible
- Low
- With LED backlight
- Highlights veining
- Upkeep
- Damp cloth; avoid acid
Behaviour depends on the specific product, room lighting and LED position — verify on the physical sample.
- 1. Shortlist: Compare complete combinations
- 2. Room lighting: View upright from your seat
- 3. Exact reference: Name finish, edge and pattern
- 4. Written approval: Match samples to the drawing
Hold the samples upright at the proposed wall
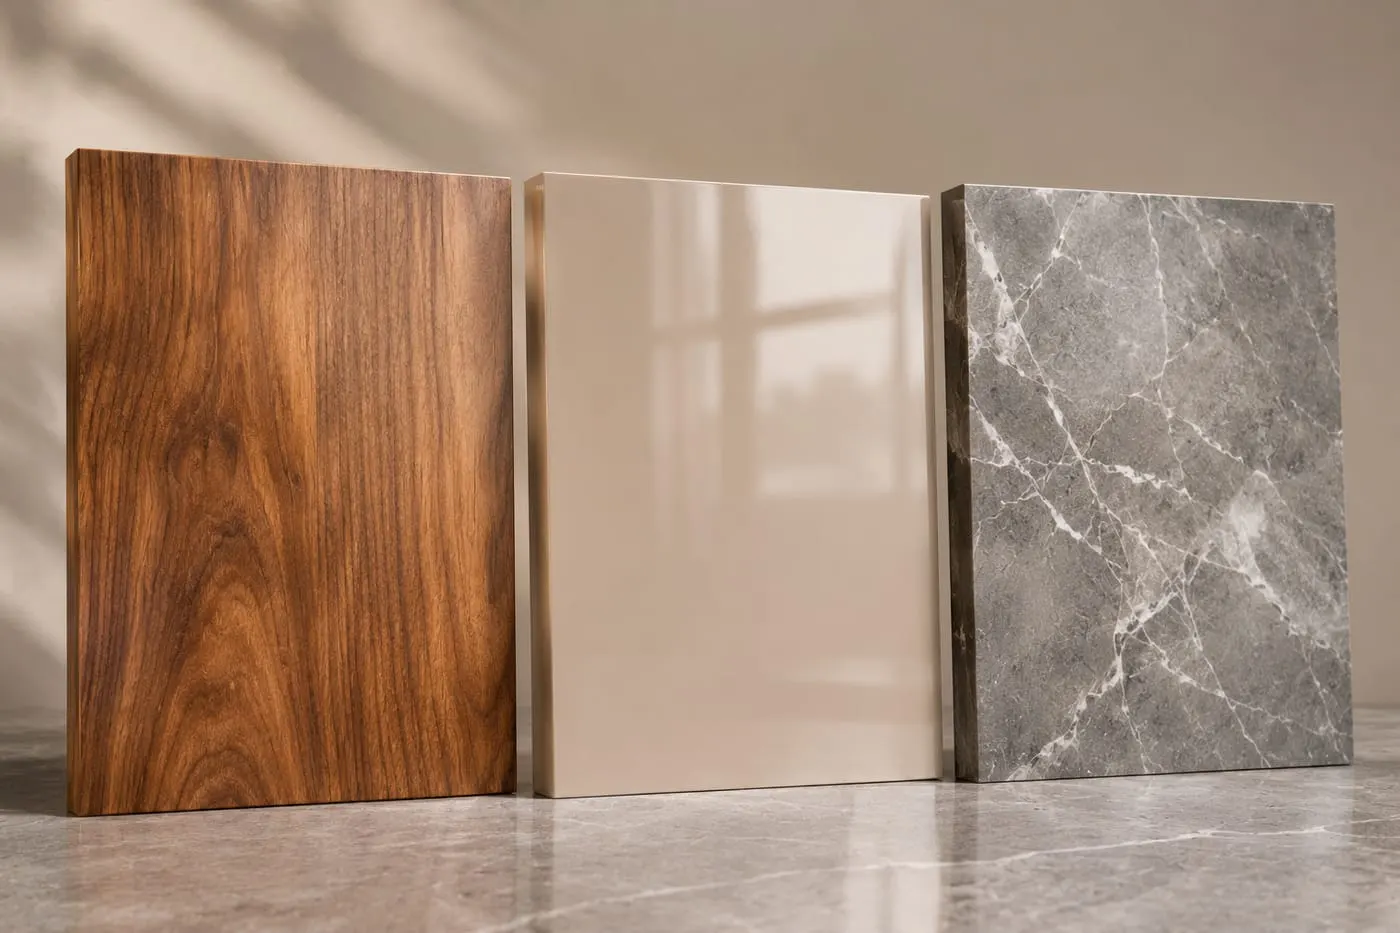
View a wall finish in the orientation in which it will be used. Hold a panel sample upright and place the console sample below it, rather than comparing everything on a table. Look from the entrance and the main seats. The surface can appear different as the viewing angle changes, particularly where a window or ceiling light is reflected in it.
Keep the existing room visible during the comparison. A pale sample isolated against a white sheet does not show how it relates to warm flooring or a grey sofa. Place the candidates beside the materials they will meet, allowing the eye to compare them directly. If curtains will remain beside the wall, include their daytime and gathered positions in the view.
Use photographs as a record of the options, not as the final colour authority. Phone processing, exposure and display settings can change the result. Label each photograph with the actual sample reference so it cannot be confused with a similar option later. The physical approved sample and written specification should remain the reference for manufacturing.
Compare daylight and the lighting you actually use
Check the shortlist when the living room is normally used. If television is mostly watched after dinner, an assessment in bright midday light is incomplete. Compare the samples with your usual evening lights, then consider the decorative lighting proposed for the wall. A hidden LED feature belongs in the finished composition; it is not merely an accessory to choose after the surfaces are settled.
Ask how much of the lighting effect can be demonstrated at the sample stage. A loose material sample cannot reproduce a complete concealed channel, the room's ceiling light and the final installation geometry. Treat a demonstration as evidence about a particular arrangement and ask which details the final drawing must still explain. Avoid approving a promised glow solely from an edited reference image.
Do not use a phone image to claim a measured lighting result. Describe what you see: reflected ceiling lights, a visible bright line, a warmer-looking surface or a panel that competes with the screen. The media wall lighting guide helps turn those observations into questions about the arrangement and controls.
Judge texture and sheen at viewing distance
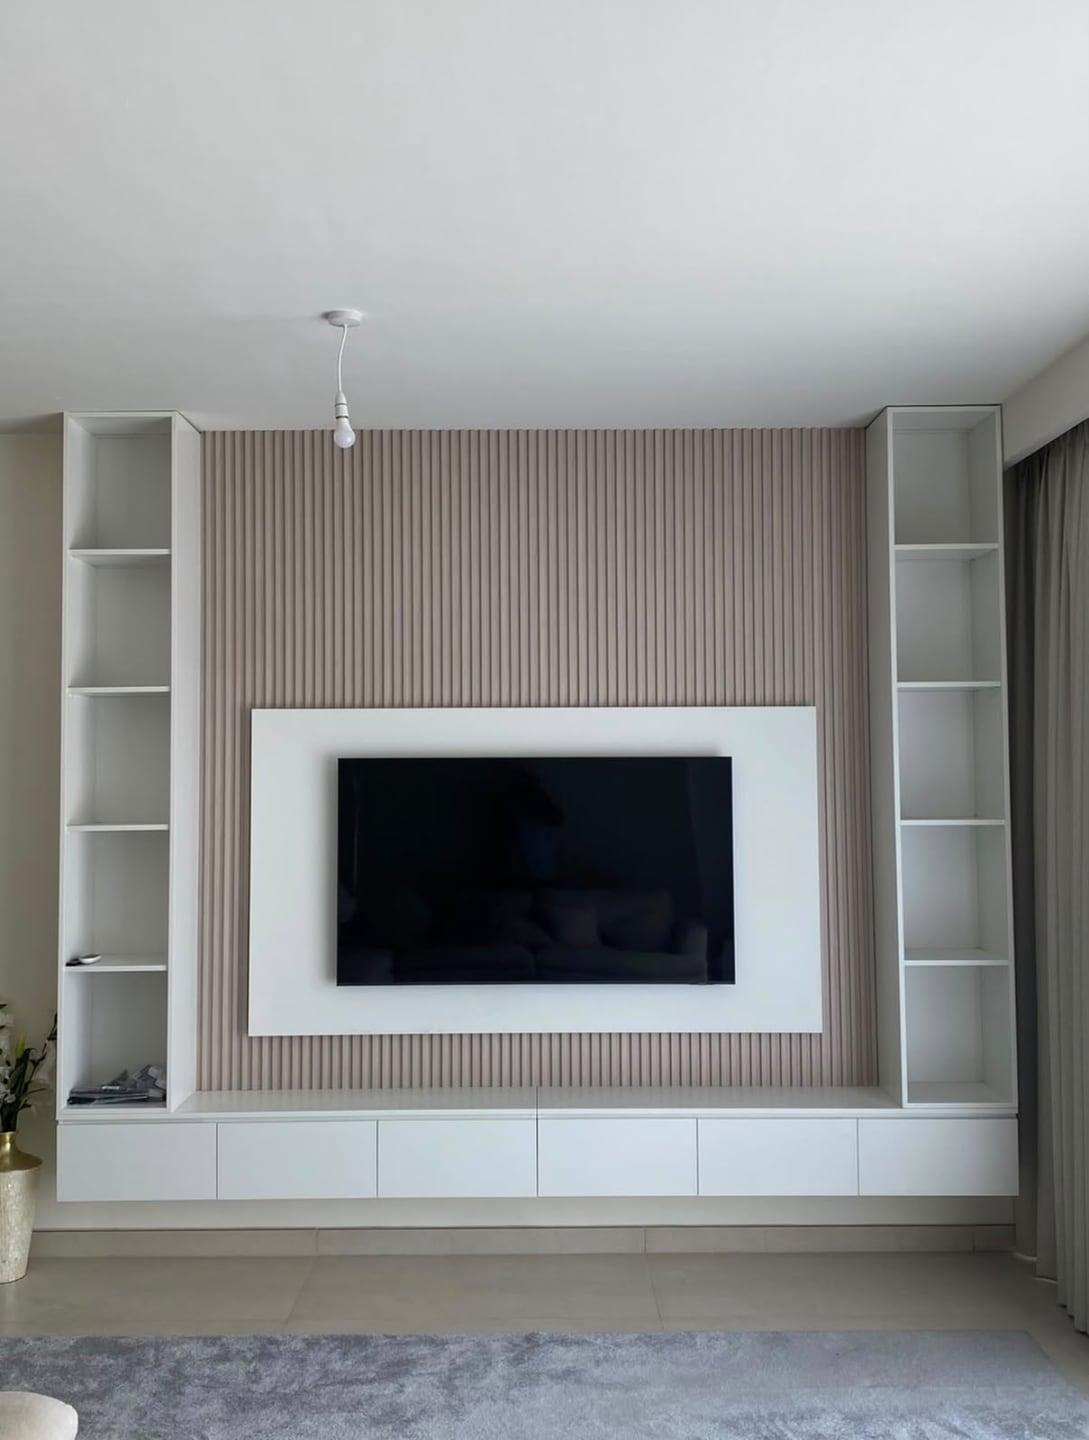
A surface can feel pleasant in the hand while becoming visually busy across a whole wall. Stand back at the main seating position and compare the texture's scale with the television and console. Small samples are particularly limited when the design has strong grain, veining or repeated slats. Ask to see a larger representative piece or a real finished example where available.
Separate texture from sheen. A patterned panel may be matte, while a visually quiet surface may reflect the room strongly. Check both characteristics rather than assuming a darker colour automatically creates a calmer TV background. If reflection is your concern, compare the candidates in the actual room and at the usual seats before selecting a finish by its name alone.
Keep touch tests appropriate to the sample and supplier instructions. Do not scratch it with a key, apply a cleaning chemical or pour water on it to invent a performance test. Those experiments do not establish a reliable rating and may damage the sample. Ask for relevant product information, then choose a surface whose care requirements you can follow.
Check grain, pattern direction and visible joins
For a wood-look finish, agree the direction on the main panel and console fronts. For a stone-effect pattern, ask how the visible layout will be chosen across the actual pieces. A small sample may show a quiet area of a larger design. The finished wall can include pattern changes that are impossible to predict from one small corner of the material.
Ask the workshop how joins and divisions relate to the pattern. A drawing should explain which lines are deliberate panel joints and which belong to the decorative design. Do not infer that a photograph of a large continuous backdrop means your wall will have no join. Confirm the proposed layout for your wall dimensions and available material before approval.
When several fronts sit beside one another, discuss whether alignment or a more varied appearance is intended. Record the choice clearly enough for the workshop to understand it. “Matching” is insufficient if one person means similar colour and another expects continuous grain across every door. The sample reference and elevation should explain the intended result together.
Review edges, handles and the console as a set
Ask to see the visible edge treatment as well as the face. A panel edge, return beside the television and console front may sit in different light. A sample board with no finished edge leaves that decision open. Identify which edges will remain visible and how they should meet adjacent surfaces. Include the side view of any projecting console rather than reviewing the front alone.
Operate a representative drawer or door where there is a suitable example, while keeping its relevance clear. A showroom cabinet explains a type of operation; it does not establish that the same fittings are included in your order. Ask for the agreed opening method to be written down. This matters where a handle-free appearance is important to the composition.
Think about the everyday objects that will sit against the chosen surface. A soundbar, remotes or books change how the console reads. Do not use ornaments to conceal an unresolved device location. The soundbar planning article separates equipment requirements from decorative styling so the finish selection supports the wall's use.
Pattern and direction decisions to record
Main TV panel
- What to agree
- Grain or vein direction (vertical / horizontal)
- Where to record it
- Approved drawing
Console fronts
- What to agree
- Match to panel or separate
- Where to record it
- Approval message with code
Stone-effect backdrop
- What to agree
- Pattern layout across pieces
- Where to record it
- Elevation with joint lines
Slatted area
- What to agree
- Profile, spacing, colour
- Where to record it
- Specification note with sample
Edges and reveals
- What to agree
- Colour and thickness
- Where to record it
- Drawing section detail
Ambiguous words like 'matching' should be replaced with a specific statement of what will be the same and what will differ.
Use a sample approval table
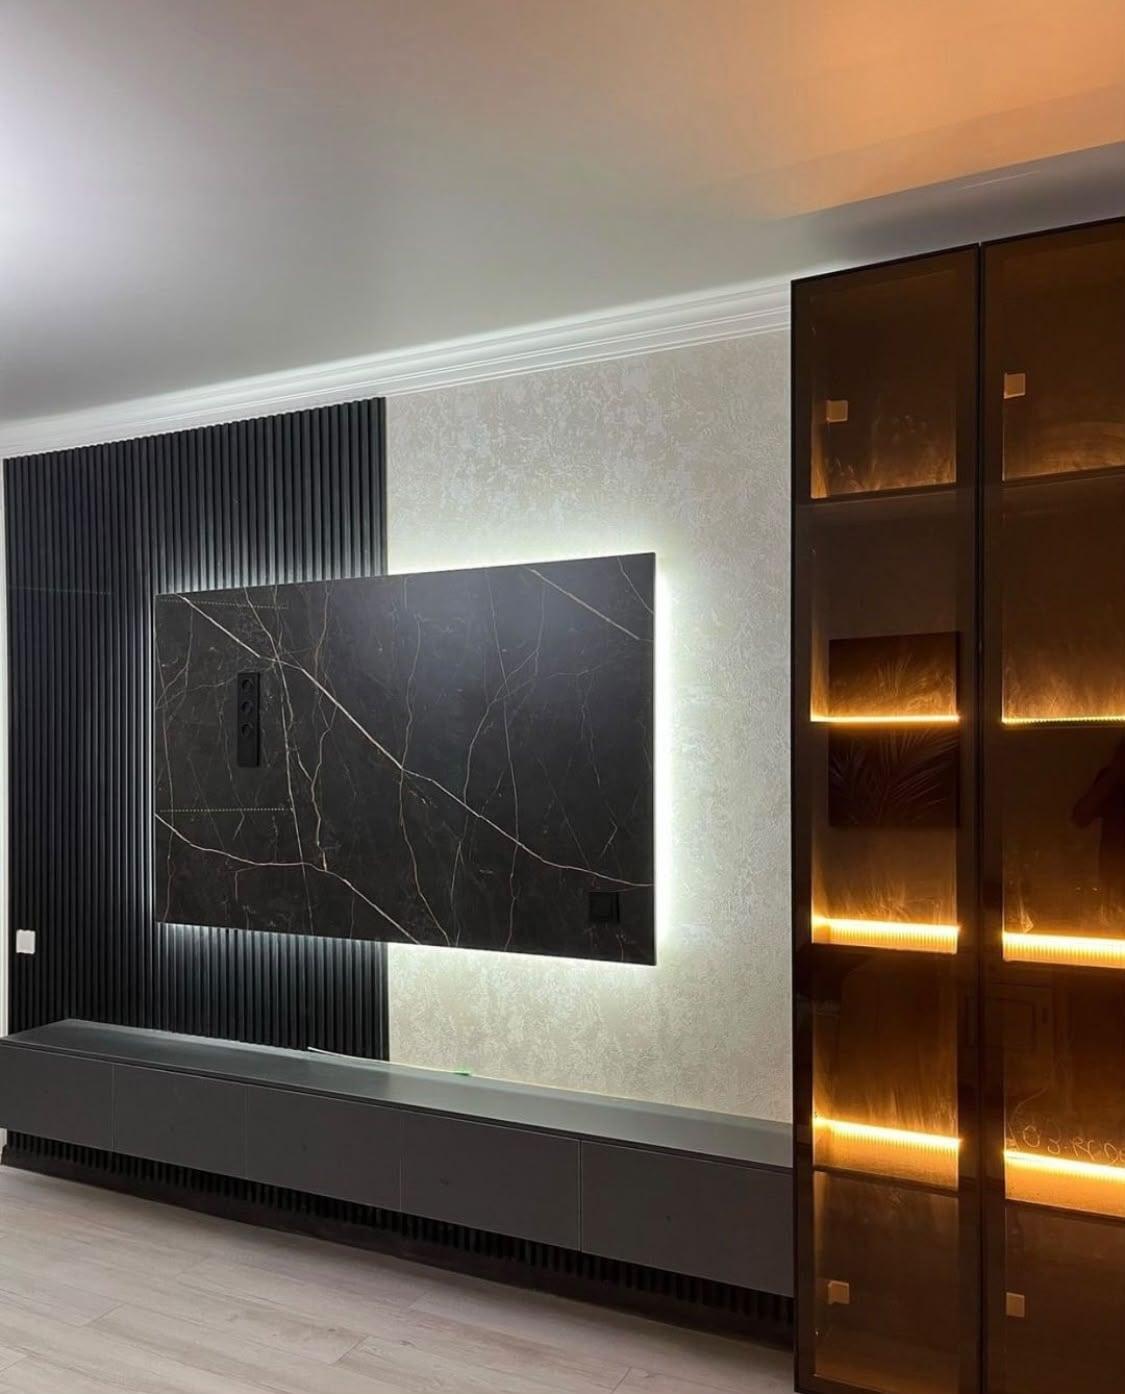
Make one record for the selected combination. A table prevents a colour name from being copied to the wrong component and exposes decisions that have not been made. Keep rejected alternatives out of the approval message, or label them clearly as rejected. A long message thread containing several attractive options is not a reliable final specification.
Attach a labelled photograph, but do not replace the physical reference with it. If the selected product becomes unavailable, review a proposed substitute as a new choice. A similar-looking code can differ in sheen, texture or pattern. Confirm the revised specification and any effect on the quotation before manufacturing proceeds. The record should make a substitution visible rather than allow it to disappear within a general colour description.
Sample approval record
Main TV panel
- Record with the sample
- Material, finish reference and sheen
- Check in the drawing
- Extent, direction and joins
Slatted area
- Record with the sample
- Agreed product and colour
- Check in the drawing
- Position beside the screen
Console
- Record with the sample
- Face, visible edge and opening method
- Check in the drawing
- Doors, drawers and device spaces
Stone-effect backdrop
- Record with the sample
- Exact reference and representative pattern
- Check in the drawing
- Piece layout and divisions
Lighting
- Record with the sample
- Agreed appearance and controls
- Check in the drawing
- Channel position and access
Discuss care and warranty with the sample in front of you
Ask what routine cleaning the actual supplied surface allows. Keep its guidance with the order and check whether exposed edges or adjacent materials need different treatment. A finish chosen for a family living room should suit the cleaning routine you are prepared to follow. Avoid selecting a surface on the assumption that every household cleaner is appropriate for it.
Discuss existing wall conditions separately. A moisture-resistant description does not explain or repair an active damp problem behind a media wall. Point out staining or damage during measurement so the survey addresses the condition before the surface is covered. Do not infer how the complete installation will perform under an unresolved site condition from a small sample's appearance.
Keep warranty wording precise. Only the wood-based boards have the five-year limited cover described in the written warranty terms. That provision excludes any blanket guarantee for the wall and accessories. Ask which documents accompany the selected items. Read the warranty and aftercare guide alongside the order documents, and retain the chosen finish references for any later enquiry.
Where to put the sample: three viewing positions in your own room
A sample that is judged in one spot tells you about that spot. A media wall is seen from very different places: from a metre away when you reach for the console, from the sofa across the room, and from the doorway as you walk in. A finish that looks right from one of those positions can look wrong from another, so the approval should include all three.
Lean the largest board you can get against the exact wall where the finish will go, not against a side wall or a window sill. Stand about a metre away and check the things only close inspection shows: the texture, the edge banding, how a join will look and whether a pattern runs the way you expect. This is the position for questions about the surface itself.
Then sit where you actually watch television, usually three to four metres back in a UAE living room. Colour and sheen read differently at that distance, and this is the view that matters most because it is the one you live with every evening. If the finish looks flatter, darker or warmer than it did up close, trust the sofa view over the close one.
Finally, stand in the doorway, or wherever you first see the wall when you enter. An oblique angle is where reflections from the window and from lamps show up. A glossy sample that looked fine face-on can throw a bright stripe across the board from the side, and it is better to see that on a loose board than on a finished wall.
Mark the three spots with tape on the floor if you are comparing more than one sample, and view every board from the same positions. That keeps the comparison fair and stops a favourite from winning just because it was held closer to the window.
Batch numbers and why the sample has to match the production run
Printed laminates and sprayed colours are made in production runs, and two runs of the same named colour can differ slightly. The difference is usually small, but placed side by side on a large wall it can show, particularly in plain pale colours and in solid darks where there is no pattern to hide it.
This matters because the sample you approve is often cut from stock that was made earlier than the sheets used for your wall. A sample board is a promise about colour, and the promise only holds if the production sheets come from the same run or have been checked against it. Ask whether the sample and the order come from the same batch, and ask for that to be recorded on the approval.
For laminate and veneer, batch matching also covers the grain. Wood-effect laminates repeat a printed pattern, and real veneer varies from one log to the next. If the wall uses several panels next to each other, the sheets should come from one run and be cut in sequence so that the pattern reads continuously across joins. That is a question about how the panels are cut, and it belongs on the drawing as much as the colour does.
For lacquer, the equivalent is the paint mix. A sprayed colour can be matched to a code, but the same code mixed on a different day or sprayed over a different base can shift. A lacquered wall should be sprayed in one controlled session wherever it is possible, and any later touch-up should be made from the recorded mix, not from memory.
None of this should make the process feel fragile. It is a short conversation at the approval stage: which batch is this sample from, will the wall come from the same one, and how will it be recorded. Getting that answer in writing is much easier than trying to settle a colour difference after the panels are on the wall.
What a finish sample cannot tell you
A sample is the best evidence you have before the wall is built, but it has limits, and knowing them stops you from over-trusting it. The most common mistake is to treat a small board as a miniature of the finished wall. It is a piece of the surface, and the wall adds things the board cannot show.
Scale changes colour. A strong colour or a bold pattern feels contained on a hand-sized chip and dominant across three metres of wall. A pale tone looks cleaner on a chip than it will across a large area, where light and shadow introduce variation. This is why we recommend the biggest sample that can be arranged, and why a chip taken from a catalogue is only a first filter.
- Scale: a large area looks stronger or paler than the sample suggests.
- Lighting: a wall with LED strips and shelf lights is seen differently from a bare board, so judge the finish again once the lighting plan is drawn.
- Neighbours: the floor, the curtains and the sofa all change how a finish reads, so hold the sample next to them.
- Wear: a sample is new and unmarked, so ask how the finish behaves with fingerprints, dust and cleaning.
Reading a sample under UAE glass, tint and window film
Daylight in a UAE apartment is not the same as daylight outside. Many buildings use tinted or reflective glass, and many residents add window film for heat and privacy. These layers change the colour of the light that reaches the wall, usually making it a little cooler or greyer, and they also change how strong it is through the day.
That is why a sample judged in a showroom, under the lamps of a shop, can mislead you. A warm beige can look neutral in the showroom and slightly green at home, and a cool grey can pick up a blue cast from tinted glass. The only reliable test is your own room at the times you actually use it.
Pay attention to which way the window faces. A west-facing living room gets low, warm light in the late afternoon that can glare across a glossy surface, and a north-facing room stays cooler and softer for most of the day. The same finish will read differently in each, and you can usually predict which one you will notice by asking when the family is in the room.
If your curtains are drawn during the day, which is common in the UAE to control heat, judge the sample with the curtains in their normal position as well as open. A wall seen mostly through sheer curtains is lit very differently from one seen in full sun, and the finish should work in the version you live with.
When the choice is close between two finishes, leave both boards in the room for a few days. First impressions are strong, but a finish that still looks right on the third afternoon is more likely to be the right one.
Keep a dated record of what you approved
Approving a finish is a decision with consequences, and it helps to have a clear record of what was decided. A sample approval does not need to be formal, but it should say what was chosen, for which part of the wall, and on what basis. This protects you as much as it protects the workshop.
A useful record has a few parts. Write down the finish name and code, the supplier or brand where there is one, and the section of the wall it applies to: the TV panel, the flanking storage, the console, the shelves. If the wall mixes finishes, list each separately so that nothing is assumed.
Take photographs of the sample in the room at each of the three viewing positions and at different times of day, and keep them with the date. These are your reference if a question comes up later, and they are far more useful than a memory of how the board looked. Include a photo of the sample label or reverse side if it shows a code or batch.
Where a pattern or grain direction matters, record it. Vertical or horizontal grain, whether panels are matched in sequence, whether a fluted section runs top to bottom, and where joins fall are all decisions that look small on paper and obvious on the wall. The drawing should show them, and your record should confirm that you saw and agreed to them.
Share the record with the workshop in writing, for example through the same WhatsApp conversation you use for the quotation, and ask for confirmation that it matches the order. A shared record turns a verbal choice into something both sides can check, and it keeps the final wall closer to what you approved.
- Finish name and code, with the batch if one is recorded.
- The wall section each finish applies to.
- Grain, pattern and fluting direction, and where joins fall.
- Dated photographs from the three viewing positions.
- A written confirmation from the workshop that the order matches.
If the delivered panel looks different from the sample
Even with good preparation, a delivered panel can occasionally look different from the sample you approved. The sensible response is calm and specific: compare, document and discuss before anything is cut or fixed. Raising a difference early is much easier than raising it after the panels are on the wall.
Start by checking whether the difference is real or a matter of conditions. Compare the delivered sheet and the sample board together, in the same light, from the same positions. Light from a different time of day or a different angle can make identical material look different, and it is worth ruling that out first.
If the difference is real, photograph both together and send them to the workshop with a short, factual description. Name the finish, say where the difference shows and point to your approval record. A clear message with a photograph is far more likely to get a quick, useful answer than a general complaint.
Ask what the options are. Depending on the finish and the extent of the difference, the answer might be to replace a sheet, to re-spray a lacquered section, to re-cut a panel so the pattern lines up, or to agree that a small variation in a natural material such as veneer is within its normal character. Each of these is a different situation, and the workshop can explain which applies.
What matters is that the discussion happens before installation, when panels can still be changed, not after the wall is complete. This is another reason to keep the approval record and to look at the delivered material when it arrives. The written terms of the quotation are the reference for what is covered, and the team can confirm them for your project.
Approve the combination before comparing the final price
Compare prices against the same selected scope. The entry specification combines a laminate-faced compact panel and a floating console; its project price begins at AED 3,500. Changing the wall extent, adding a different backdrop, selecting veneer or lacquer or including lighting can change the final quotation. A sample meeting is useful when it leads to a defined combination that can genuinely be priced.
Ask for alternatives by named component if you need to reduce the total. Keep the console arrangement and compare two backdrop specifications rather than asking for an unexplained cheaper wall. This preserves the decisions that matter while making the trade-off visible. Our project pricing explanation describes the relationship between scope and the quoted amount; it does not replace a quote for the measured design.
Compare finishes at our Al Shuwaiheen workshop or during a free home measuring visit. Send a wall photograph, TV size and room on WhatsApp, using the consultation checklist. Bring the shortlist back to your own wall before approval. Aim for a combination you understand in your room, with a written reference the workshop can follow.
Common questions
Is a finish name enough for the quotation?
Record the actual surface and board specification for each component. A wood-look description alone does not identify the construction. Media wall materials.
Should I choose lighting after the finishes?
Review the intended lighting with the surfaces before approval, especially where reflection is important. Ask what the sample demonstration can genuinely show. Media wall lighting.
Will a different finish change the project price?
Compare the same wall layout with named alternatives so the change is understandable. The measured quotation sets the amount for the selected combination. Project price guide.
Can samples decide whether I need a full wall?
Settle the wall extent and storage needs before refining similar colours. A beautiful surface does not by itself justify more joinery. Compact versus full-wall layouts.
What photos help at the sample visit?
Send the complete wall with the room materials that will remain, plus the TV size and viewing area. Keep the physical sample as the final colour reference. Consultation preparation.
How long should a finish sample decision take?
Allow time to test the sample in both daylight and evening LED conditions before committing. Decisions made quickly from a single lighting condition are more often revised. There is no fixed waiting period — the sample should be tested rather than hurried.
Can the finish be changed after manufacture begins?
No. Once cutting starts, the material and finish are committed. Confirm the written approval and the codes on the drawing before the manufacturing date. Changes after that point will usually affect the programme and price.

Sources & specifications
Manufacturer information applies to the named products and systems. Sources reviewed on 9 November 2026.
Want this planned for your home?
Consultation and measurement are free. Tell us the rooms, location and what you need; we arrange a sample visit and define the measured quotation.