Media Walls · 21 min read · 1 September 2026
Media wall handover checklist: inspect the finished wall with your installer
Inspect your completed media wall with the installer: compare finishes, try storage and included devices, record snags and keep care and warranty documents.

By Ali Haider Basra, Founder, Al Tareeq Decor · Contact our workshop
Key takeaways
- Review the final approved scope before judging the installation.
- Inspect finishes in normal room lighting and operate storage without force.
- Ask for the included equipment, controls and intended access to be demonstrated.
- Record each outstanding item by location and keep the order and care documents.
On this page
- Key takeaways
- Start with a practical review
- Start with the latest approved scope
- Look at the wall from the seats and the entrance
- Compare finishes under ordinary room lighting
- Open the storage you will use
- Test the screen and the agreed equipment functions
- Review lighting, access and any electric fireplace
- Handover zone check — five areas
- Make the snag list small, specific and traceable
- Snag and follow-up record
- Collect care information before adding ornaments
- Keep the warranty and order documents together
- Care by surface type — brief reference
- One snag, four steps: from the photo to the closed record
- Photographs that settle disagreements later
- What counts as a snag and what is normal in a new wall
- Handover in an occupied apartment: timing, access and who should attend
- The first month after handover: what to watch and what to report
- Reading the warranty terms: what to ask for in writing
- Plan the handover while the project is being quoted
- Common questions
Start with a practical review
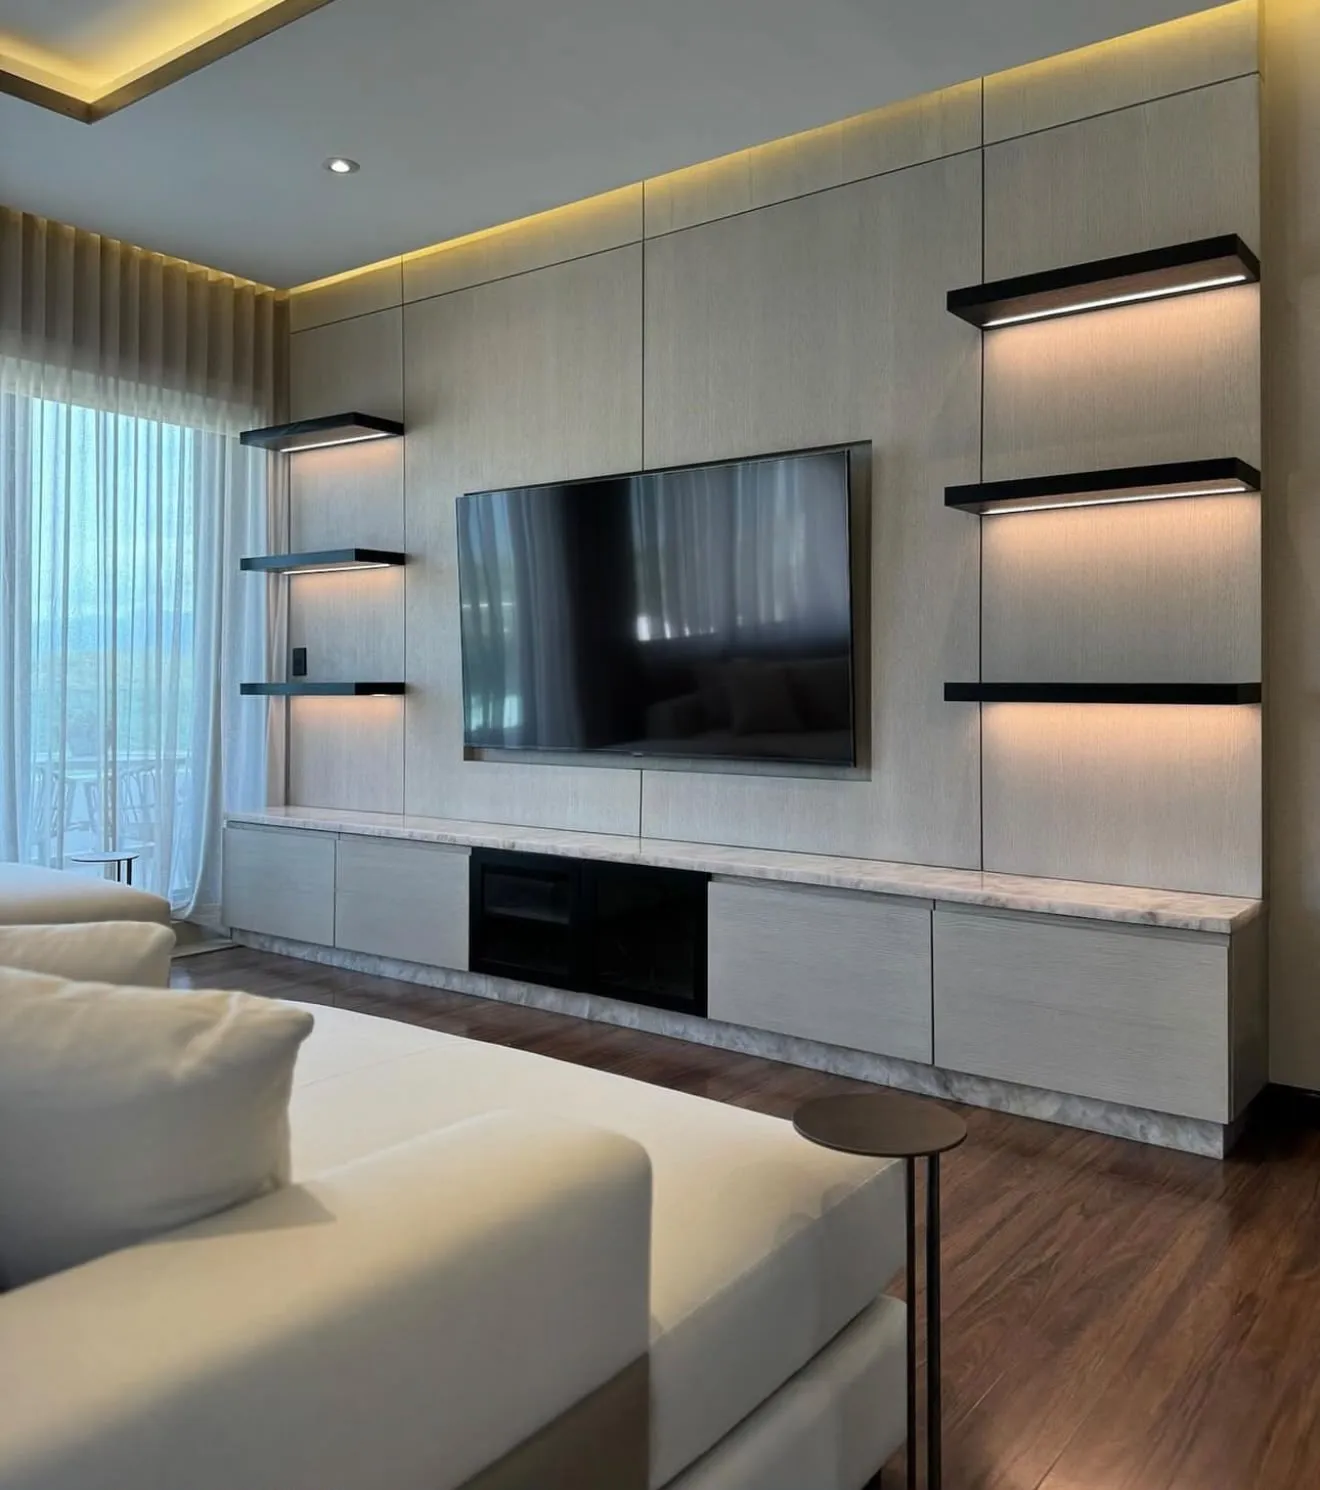
A completed media wall should be reviewed as furniture, a screen position and a home for equipment. A photograph with the lights switched on cannot show whether a drawer works comfortably, an input is connected or a service point remains reachable. Arrange a short walkthrough with the installer while the approved scope and drawings are available, and record any outstanding item by its exact location.
The customer review is an ordinary-use inspection. It is not a structural test, an electrical inspection or an instruction to dismantle new work. Let the installer explain the completed assembly and demonstrate the included functions. Your role is to compare what was agreed with what you can see and use, then keep a clear record of anything that still needs attention.
Start with the latest approved scope
Have the drawing, quotation and agreed changes open before the walkthrough. Identify the wall extent, console layout, selected finishes, lighting and included equipment tasks. If an item changed during manufacture or fitting, use the written revision. Comparing the finished wall with an early inspiration photograph can create a dispute about a feature that was never included in the measured design.
Separate three questions: is the agreed work complete, does its ordinary operation work as demonstrated, and are you now considering an additional feature? A missing agreed drawer and a newly desired shelf belong on different lists. Keeping them distinct lets the installer respond to a real completion issue without losing it among new design ideas.
Ask who will record and coordinate any outstanding work. Use one version of the list rather than several overlapping messages from different family members. This makes it easier to confirm that an item has been addressed. The media wall quotation checklist explains the scope information that should be clear before the fitting reaches this stage.
Look at the wall from the seats and the entrance
Begin with the room as it will normally be used. Stand at the entrance, then sit in the main viewing positions. Compare the screen and console arrangement with the approved elevation. Check that the furniture intended to remain can occupy its agreed location and that ordinary circulation is usable. Do not judge the wall only from the installer's working position immediately in front of it.
If something appears different, describe the observation before suggesting a remedy. For example, identify the relationship between a panel edge and the console instead of asking the crew to move a finished component immediately. There may be a deliberate detail or a site condition recorded in the drawing. Ask the team to show you the agreed arrangement and explain any change.
Comfortable screen placement is worth reviewing before the household settles back into the room. Sit normally rather than stretching into an artificial posture to make a position feel acceptable. The TV height guide helps explain viewing position; the actual approved location should reflect your room and equipment rather than a number copied from an unrelated installation.
- 1. Scope: Use the approved drawing
- 2. Ordinary use: Review finishes and storage
- 3. Demonstration: Try the included functions
- 4. Clear record: List snags and care documents
Compare finishes under ordinary room lighting
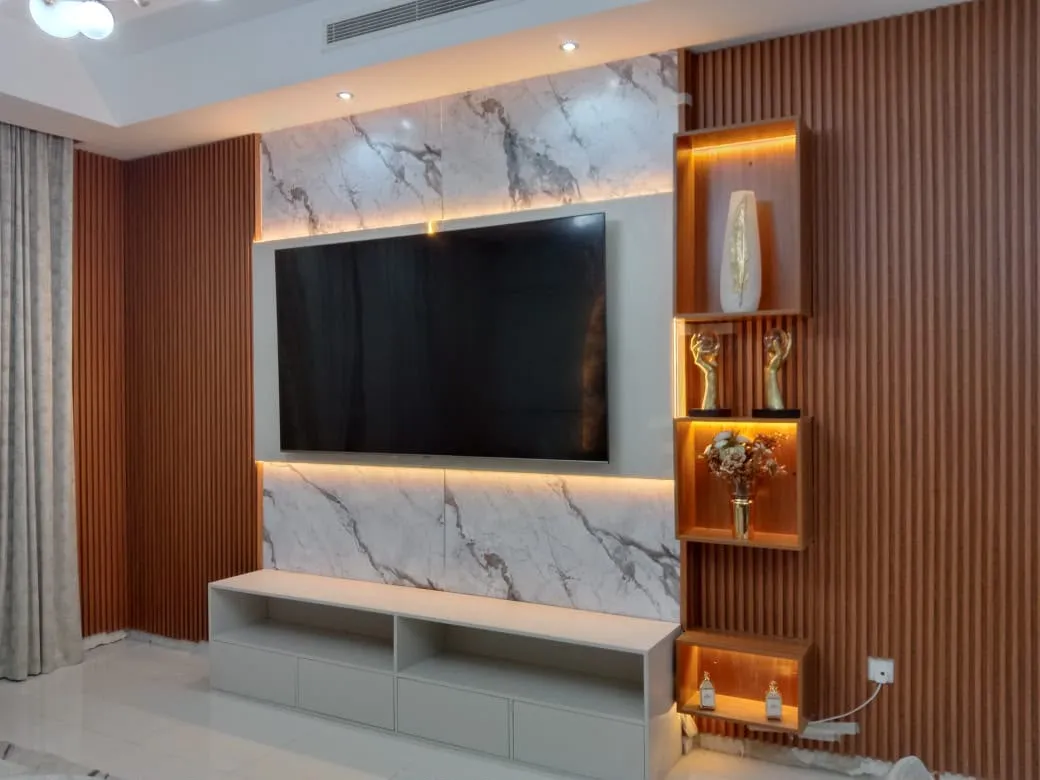
Review the visible panel faces, console fronts, returns and edges with the lighting you usually use. Compare the installed materials with the approved sample references. Check whether a line is an intended panel division before calling it a defect. A wood grain or stone-effect pattern may vary across pieces, so the specification and approved layout matter as much as the name of the colour.
Record a concern by component and location. “Right console door, lower edge” is more useful than “the wall finish is wrong.” Include a wider photograph that shows the position and a closer photograph where that helps. Avoid turning an image taken with flash or unusual exposure into the only description of a concern. Review the surface together in the room whenever possible.
Do not begin polishing, scraping or applying a cleaner during the inspection. An apparent mark may need the installer's guidance or the surface's care instructions. The media wall materials article explains the difference between a finish and the board behind it; the handover should identify the actual materials supplied rather than leave them under a vague decorative label.
Open the storage you will use
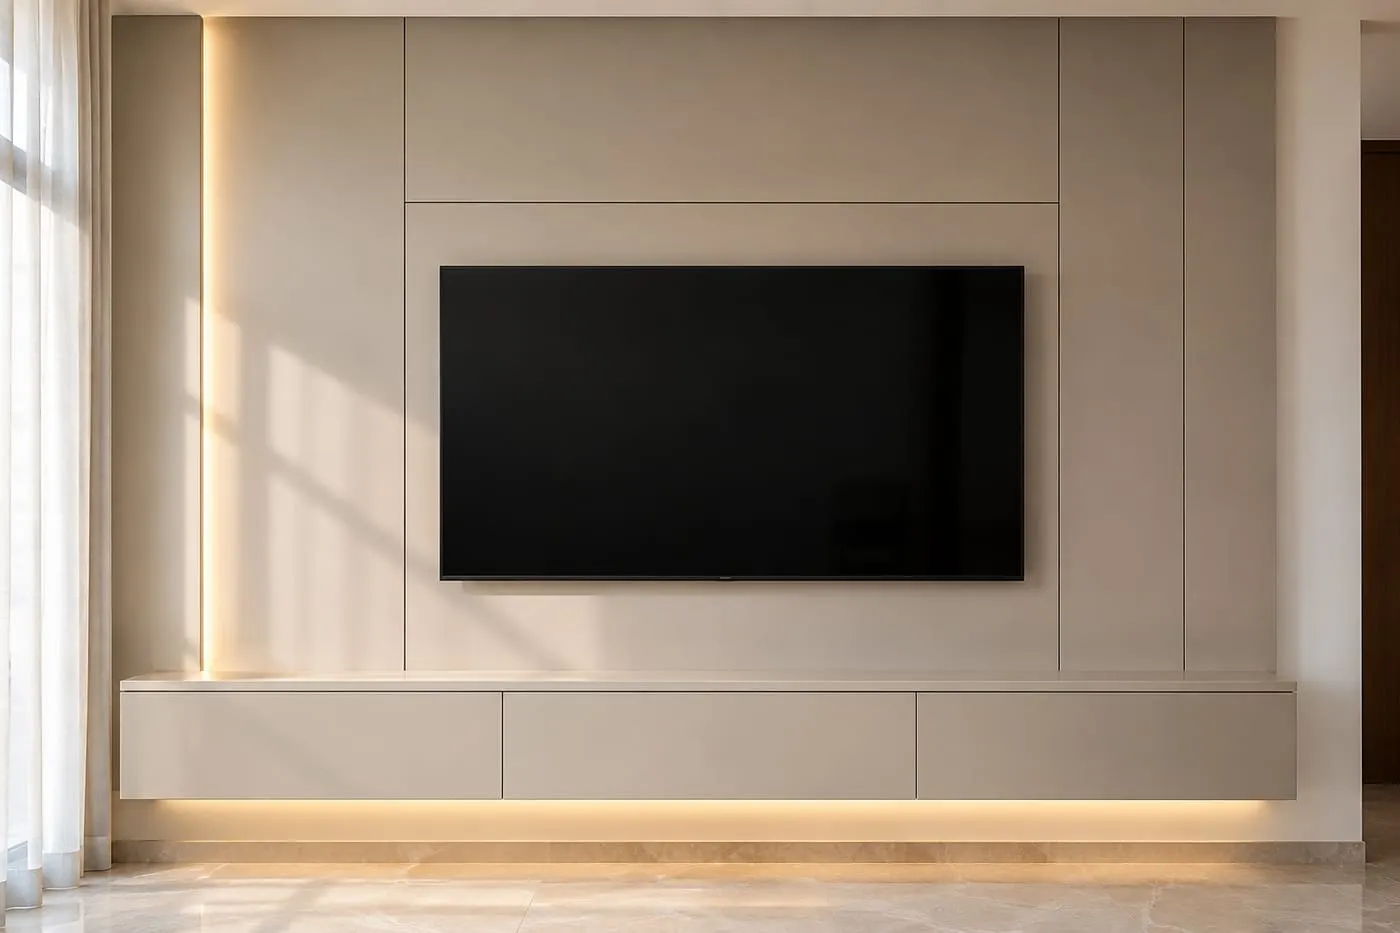
Ask for a demonstration of each included door, drawer and opening method. Operate them normally after the installer has shown you how. Check practical access with the sofa or coffee table in its intended position. A console can open correctly in an empty room while a drawer becomes awkward once the household restores furniture that should have been included in the layout discussion.
Review the purpose of each compartment before filling it. A drawer intended for remotes is different from an equipment shelf, and an access cover is not additional everyday storage. Ask the installer to identify any area that needs to remain clear. Do not move a device into a closed compartment solely because it fits inside when its own placement instructions have not been checked.
If a door rubs or a drawer does not operate as demonstrated, stop forcing it and add the item to the list. Let the fitting team adjust its hardware. A customer should not need to remove a new front or alter a fitting to complete the handover. Identify the symptom plainly, then agree how the team will review it.
Test the screen and the agreed equipment functions
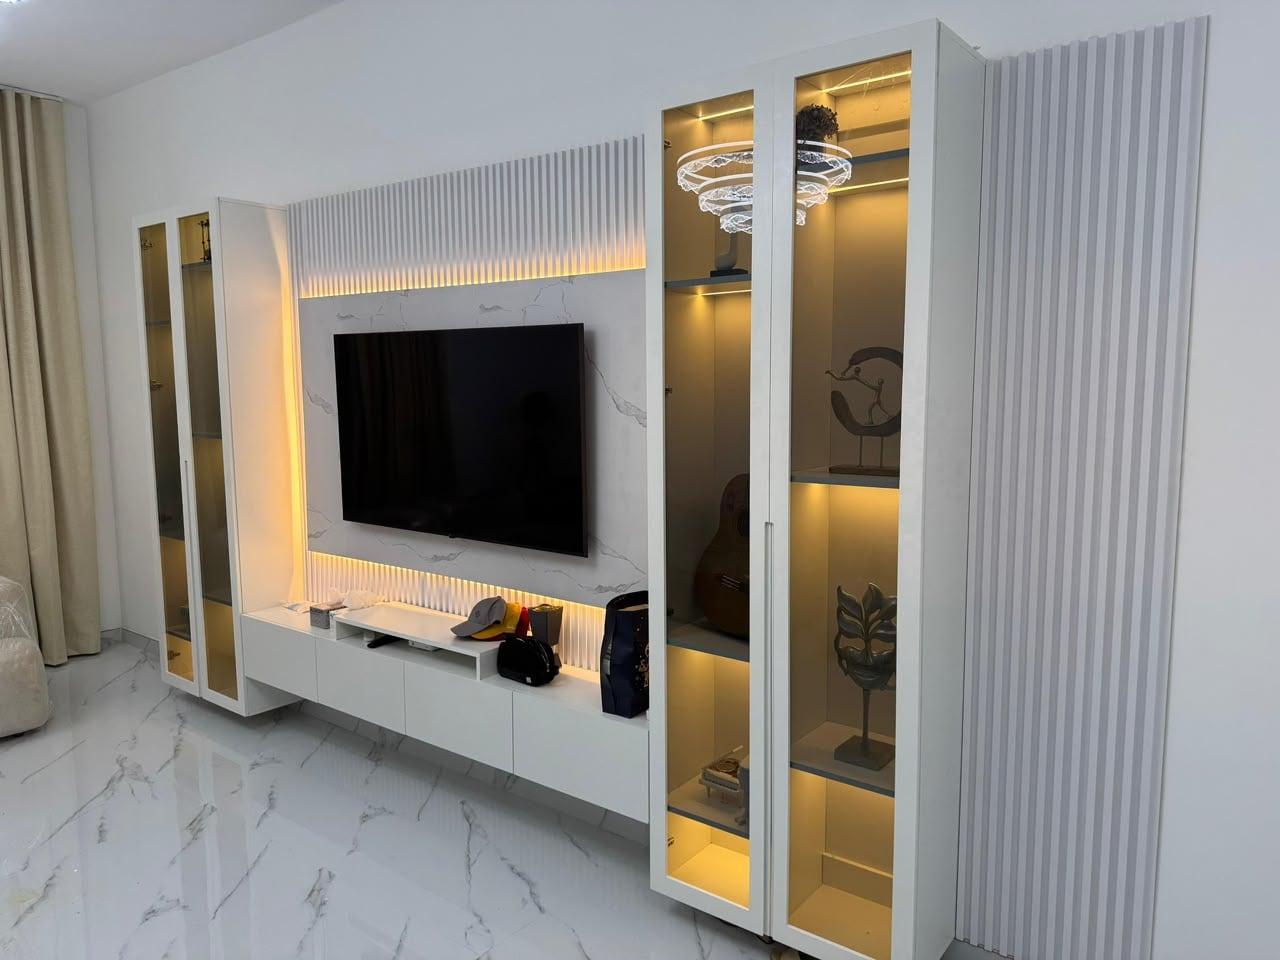
Use the actual television and connected equipment where those tasks are included in the order. Check the ordinary viewing setup you intend to use: the relevant input, sound output and normal controls. A screen displaying a startup logo proves less than a familiar programme playing through the intended source. Ask for a demonstration that matches the agreed scope rather than an arbitrary collection of technical tests.
Keep login details private. If a personal account is needed for an ordinary demonstration, enter it yourself and avoid sharing passwords in the handover record. An app subscription, network setting or service-provider issue is not automatically a joinery defect. Record what was tested and what could not be tested, especially if customer-supplied equipment or an internet service was unavailable.
Do not move or pull the mounted television to inspect behind it. Ask the installer to demonstrate any intended user adjustment and explain the restrictions. The equipment and bracket instructions govern operation. The TV replacement planning article is useful for future changes; a handover should not suggest that every larger screen can be fitted without reviewing the mounting and opening again.
Review lighting, access and any electric fireplace
Operate the supplied lighting controls and ask which feature each control affects. Compare the operation with the agreed design, including any dimming that was specified. Observe the wall from the seats as well as nearby. If a bright line or unwanted reflection is visible in normal use, point out where you see it and ask the installer to review it against the intended arrangement.
Ask which parts are intended to provide service access and which tasks require a technician. You should understand how to report an issue while leaving internal electrical access to a technician. Keep the relevant contact and product information with the order. Read how concealed connections remain reachable when reviewing the maintenance provisions behind a tidy front.
Where the order includes an electric fireplace, ask for its controls and documentation to be demonstrated within the agreed scope. Follow the actual appliance instructions; do not perform a heat test invented from an online article. Keep ordinary decorative storage away from areas the appliance instructions require to remain clear. The wall's visual completion does not override the appliance's own operating and placement requirements.
Handover zone check — five areas
Surfaces and edges
- What to check
- Finish matches sample; no marks, chips or uneven joints
- With whom
- Installer present
Structure and fixing
- What to check
- Panels level and plumb; console stable under weight
- With whom
- Installer present
Power and cables
- What to check
- All sockets working; no visible cable runs
- With whom
- Installer present
Lighting and extras
- What to check
- LED strips, shelf lights, fireplace working as agreed
- With whom
- Installer present
Documentation
- What to check
- Warranty, care guide and product references collected
- With whom
- Before team leaves
Complete all five zones with the team present — do not defer any zone to a later message.
Make the snag list small, specific and traceable
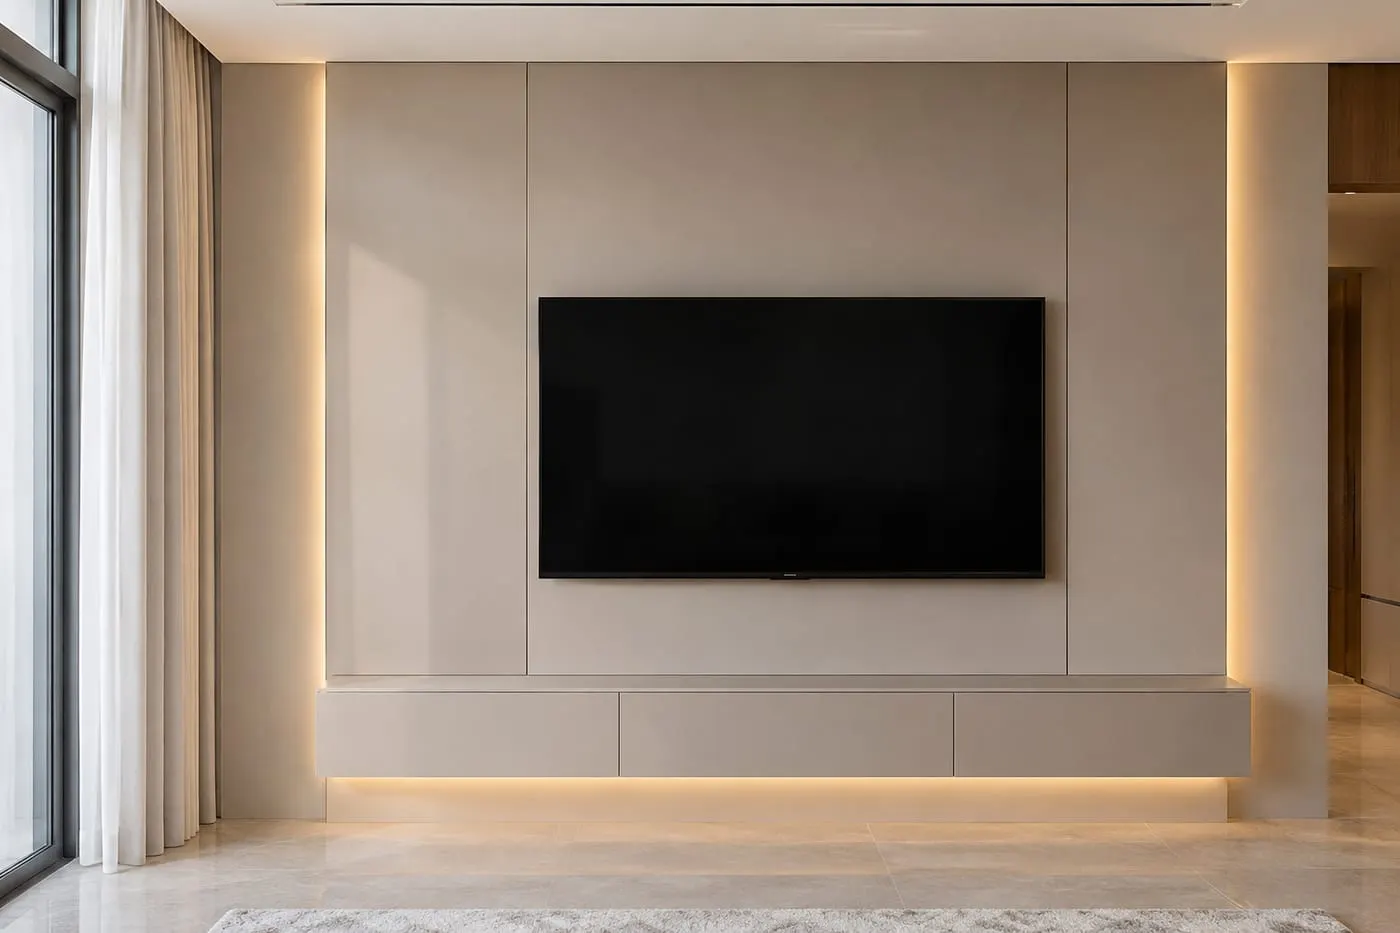
Write one item per issue. Give it a number, location and short description, then record the agreed next action. A useful list is factual enough that the installer can find the issue without asking the household to recreate a conversation. Avoid combining several unrelated observations under “finish the wall,” which makes it difficult to confirm what completion means.
Keep photographs with the corresponding item rather than sending an unlabelled batch. Agree who will provide an update and what information is needed. Do not invent a completion date for the installer; ask for the follow-up arrangement to be recorded. When an item is addressed, note the outcome on the same list so it does not remain open in a second message thread.
Snag and follow-up record
Visible finish
- Record
- Component and exact location
- Agreed follow-up
- Review with sample or specification
Drawer operation
- Record
- Which drawer and what happens
- Agreed follow-up
- Installer checks adjustment
Included equipment
- Record
- Function tested and result
- Agreed follow-up
- Identify what remains to test
Lighting
- Record
- Control or visible concern
- Agreed follow-up
- Review against agreed arrangement
Documentation
- Record
- Missing product or care information
- Agreed follow-up
- Confirm who will supply it

Collect care information before adding ornaments
Ask how to clean the actual surfaces and what products or methods to avoid. Store the care instructions with the finish references. A media wall may combine several materials, so advice for one face does not necessarily apply to the entire installation. Do not assume a strong cleaner is suitable because a similar-looking surface elsewhere in the home tolerates it.
Before putting items into the console, check which spaces are reserved for equipment and access. Keep the routes and openings identified by the installer usable. Do not reorganise devices in a way that conflicts with their own ventilation instructions. A photograph of the demonstrated arrangement can help the household restore it after routine cleaning without relying on memory.
Keep liquids, cleaning equipment and decorations away from electrical components as directed by their product instructions. If something stops working, describe the symptom and contact the appropriate support person rather than dismantling it. This is a practical care handover, not a transfer of responsibility for specialist servicing to the homeowner.
Keep the warranty and order documents together
Retain the quotation, drawing, approved changes, invoice and any supplied product references. Keep them in one folder with the snag record and care information. If you contact the team later, the installation address and order details help identify the work and selected materials. A cropped photograph of the wall alone may not identify which finish or component was supplied.
Use the written warranty to understand its scope. For wood-based boards specifically, the limited warranty lasts five years under its written terms. Its scope is restricted to those boards. It does not provide a whole-wall warranty for the television, lights, fittings or every other element in the installation. Ask about an unfamiliar item rather than assuming that all parts follow the longest period mentioned anywhere in the order.
If an issue appears after handover, note when you first observed it and whether anything relevant changed in the room. Report observations without guessing at the technical cause. The warranty and aftercare guide is a useful starting point alongside the actual order documents. Contact the team before an attempted repair obscures the condition that needs assessment.
Care by surface type — brief reference
Matt laminate
- Routine cleaning
- Damp cloth, dry immediately
- Avoid
- Abrasive pads, strong solvents
Gloss lacquer
- Routine cleaning
- Damp soft cloth
- Avoid
- Abrasive pads, dry microfibre dragged hard
Wood veneer
- Routine cleaning
- Dry or barely damp cloth, wipe with grain
- Avoid
- Wet cloth left in contact, acid cleaners
Stone-effect panel
- Routine cleaning
- Damp cloth with neutral cleaner
- Avoid
- Acid-based tile cleaners
LED strip areas
- Routine cleaning
- Dry cloth only
- Avoid
- Liquid near the driver or connections
Care instructions from the actual product supplier take precedence over this general reference.
One snag, four steps: from the photo to the closed record
A snag list works when every line can be followed from the day it was found to the day it was closed. Most disagreements after handover are not about whether a fault was real. They are about what exactly was agreed, who was meant to come back and by when. A simple four-step path removes nearly all of that.
First, photograph it twice: one wide shot that shows where on the wall the fault sits, and one close shot of the fault itself with a tape measure or a coin in frame for scale. Second, write one line beside the photo: the section, the size and what is wrong, for example 'left tall cabinet, door edge, 3 mm chip, bottom corner'. Both the owner and the team member present sign or initial it the same day.
Third, agree a fix date before the team leaves. A snag with no date is a wish; a snag with a named day and a named person is a plan. Record who will attend and whether the work needs the wall to be opened or only touched up on site. Fourth, close the line properly: when the work is done, look at it again in the same light you found it in, and tick it off together rather than assuming it was fixed.
The diagram shows the four steps and, below them, how the two warranty periods run from the same handover day. Keep the two ideas apart in your head. A snag found at handover is closed on the snag list. A fault that appears later is a warranty matter, and it is much easier to raise when the original handover record is tidy and dated.
Keep the whole list on one page if you can, with the photo numbers beside each line. A list that fits on one page gets read; a list spread over a chat thread does not.
Photographs that settle disagreements later
Good handover photographs are not for social media. They are evidence, and they are most useful months later when memory has faded and someone asks whether a mark was there on the day. A few minutes with a phone camera at handover can save a long conversation.
Start with the whole wall straight-on from the middle of the room, then from each side at a low angle, because a low angle shows surface flatness and joint lines that a straight-on shot hides. Then take close shots of every edge, corner and joint, and the inside of each open door and drawer. Switch the LED on and take the wall again, because a lit photograph shows uneven light and dark sections that daylight does not.
Turn the date and time stamp on if the phone allows it, or include a handwritten date card in the first frame. Store the photos in one named folder and send a copy to the team by message on the same day, so both sides hold the same set. A shared record made on the day is worth more than a better set sent a week later.
Take care with the light. A photograph taken facing a bright window will hide a scratch that is obvious from the sofa in the evening. If a fault only shows under one kind of light, say so on the written line and photograph it under that light. In a UAE living room with a balcony door opposite the wall, the afternoon light across the surface is often the most revealing.
Do not edit or filter the photographs. Straight, unretouched images are the ones everyone trusts.
What counts as a snag and what is normal in a new wall
Not every visible imperfection is a defect, and a short, honest conversation about this at handover prevents frustration on both sides. A snag is something that does not match the approved drawing, the agreed sample or the standard a finished wall should meet. A normal characteristic is something the material does as part of what it is.
Clear snags include: a door or drawer that rubs or does not close flush; a panel that is not level or plumb; a visible gap at a joint that the drawing did not show; a chip, dent or scratch on a new surface; an LED section that does not light or flickers; a socket that is missing or not where the drawing placed it; and a finish that clearly differs from the approved sample.
Normal characteristics include: natural variation in grain on a veneer, which is the reason people choose it; a very small difference in colour between two panels cut from different boards when the material has a natural pattern; and a hairline shadow line at a designed gap. Cable and fireplace behaviour can also confuse owners. A new electric fireplace may give off a mild new-product smell for a short time, and a heater element makes small expansion sounds as it warms, which is normal for that equipment.
If you are not sure which side a point falls on, put it on the list anyway and write 'query' beside it. The team can explain it on the spot or agree to look at it. A query that is answered at handover costs nothing; an unspoken doubt turns into a complaint a month later.
Keep the approved drawing and the finish sample next to you while you walk the wall. They are the reference. 'It does not match the drawing' is a clear sentence; 'it does not look right' is not.
Handover in an occupied apartment: timing, access and who should attend
Handover is easier to run well when it is planned like a short appointment rather than squeezed into the end of an installation day. In an occupied UAE apartment, the practical details matter: who is home, who has the building access card, whether the lift is booked for the team to carry tools out, and whether the household is ready to give the wall their full attention for an hour.
Choose a time when natural light is on the wall, usually mid-morning or mid-afternoon depending on the room, and when everyone who will use the wall can be there. If two adults share the decisions, both should attend; a snag list signed by one person and questioned by the other afterwards helps nobody. Ask the installer how long the walk-through is expected to take and keep the time free.
Clear the floor in front of the wall and move any furniture that blocks the view of the lower sections. Have the remote controls, the TV and any equipment that is meant to be connected at hand, so the team can switch things on and show how they work. If a soundbar, games console or streaming box is part of the setup, plug it in during the visit, not after.
Agree in advance what is being handed over. If the screen or any equipment is supplied by someone else, say so, so nobody assumes the wall team will mount or connect it. Be clear about whether the team will remove packaging and waste on the day, and where dust sheets and protection should be taken down.
At the end, ask for a short written summary: date, time, who attended, the snag list with fix dates, and the warranty documents handed over. One page is enough.
The first month after handover: what to watch and what to report
A new wall settles into a home. In the first weeks you will use it more than during any short inspection, and small things show up that nobody could see on handover day. This is normal, and the best approach is to watch calmly, note what you see and report it clearly rather than letting it build up.
In the first week, use every door and drawer the way the household really will, including the ones at the bottom that get kicked and the tall ones that get pulled with one hand. Switch the lighting on and off at the times you normally would, and leave it on through an evening to see whether any section flickers or warms in a way that concerns you. Use each socket with the real device that will live there, not only a test lamp.
Over the first month, watch the surfaces under daily light and during the hottest part of the day, when a wall on an outer side of the apartment can warm slightly. Watch the base of the wall after the floor has been cleaned, and keep mopping water away from the plinth. Look at how the finish takes fingerprints and whether the way the household cleans it suits the surface; the care notes handed over at the end of the project will say what to use.
Keep a running note on your phone with the date, the place and a photograph for anything you see. If it is a fault in how the wall was made or fitted, report it to the team in writing with the photo, referring to your handover record. If it is something that comes from use, ask how to care for it, so it does not recur.
Reporting early and clearly keeps small things small. A door adjustment in the first month is a short visit; the same door left for a year can mark the panel beside it.
Reading the warranty terms: what to ask for in writing
Al Tareeq Decor's cover is a 24-month workmanship warranty and a 5-year limited warranty on covered wood-based boards. Those two figures describe what the business stands behind. What they mean for you in practice depends on the written terms, so it is worth reading those terms at handover instead of storing them unread in a drawer.
Ask for the terms on paper or as a PDF, and check that they state the start date, what the cover includes and what it does not. Typical points to look for are: workmanship defects such as joints, fitting and finish faults; the panel materials covered under the limited warranty; and the kinds of damage that are normally outside any warranty, such as impact, water from outside causes, and wear on moving parts and appliances from normal use. Equipment such as a TV, soundbar or an electric fireplace unit usually carries its own manufacturer warranty, which is separate; keep those papers with the wall documents.
Write the handover date on the warranty page and on the invoice or order. Both periods are counted from that day, so a clear date avoids any argument about when they started. Photograph each document and store the picture with your handover photos.
If something goes wrong later, the process is easier when you can send a short message with the order reference, the handover date, a photograph and a one-line description of the fault. That is what the team needs to decide whether it falls under workmanship, under the panel warranty or under care and use, and to arrange a visit.
If a point in the terms is unclear, ask about it at handover, when the project manager is standing next to you. A clear answer then is worth more than a hopeful guess in two years.
Plan the handover while the project is being quoted
Tell the consultant which devices and functions you expect the completed wall to accommodate. Agree those details before the workshop starts, including who supplies each item and what will be demonstrated. A clear handover follows naturally from a clear order. It cannot recover a missing specification simply by adding more tests when the installation is complete.
The Al Tareeq Decor team fits your media wall after delivering it finished from our manufacturing workshop at Al Shuwaiheen, Sharjah. Entry projects start from AED 3,500 for a compact laminate panel and floating console. The final quotation defines your design and scope, while a usual completion window is no more than about ten days following confirmation, depending on the chosen size and design. Confirm the actual arrangements for your project.
To arrange the consultation on WhatsApp, include the room name, a photograph of its wall and the television size; this photo brief helps organise them. For a sample-viewing visit before ordering, use the workshop information on our Sharjah page. Include handover expectations in the first discussion so the finished wall can be checked against an agreed purpose, rather than judged only by how it looks in a final photograph.
Common questions
What should I compare the finished wall with?
Use the latest drawing, quotation and agreed changes rather than an early inspiration image. Keep new requests separate from completion items. Quotation checklist.
How should I judge the screen position?
Sit in the normal seats and review the approved position with the installer. Do not pull the television or adjust its mount to conduct your own test. TV height and viewing position.
What if a device cannot be tested at handover?
Record the missing equipment or service and the function still to check. A screen turning on does not demonstrate every agreed connection. Choosing equipment before the wall.
Should the service access be demonstrated?
Ask which access and ordinary controls are intended for the user and which require a technician. Keep those areas usable after adding storage and ornaments. Cable service access.
Can I fit a larger television later?
A future screen needs another review of dimensions, bracket and available access. The handover does not establish that every replacement will suit the wall. Changing the TV later.
What is covered by the workmanship warranty?
The 24-month workmanship warranty covers defects arising from the installation itself. Board materials carry a separate 5-year limited warranty. Normal wear, surface scratches and damage from external causes are not covered. Ask for the written warranty terms at handover.
What if I notice an issue a week after handover?
Report it in writing with a photograph and location description. Issues noted at handover are addressed under the snagging process; issues that appear later are assessed separately. Early reporting is always preferable to waiting.

Sources & specifications
Manufacturer information applies to the named products and systems. Sources reviewed on 9 November 2026.
Want this planned for your home?
Consultation and measurement are free. Tell us the rooms, location and what you need; we arrange a sample visit and define the measured quotation.