Media Walls · 21 min read · 30 August 2026
Media wall installation day: prepare the room and agree the sequence
Prepare your room for media wall installation: settle the drawing, clear access, organise devices and agree the fitting sequence and final demonstration.

By Ali Haider Basra, Founder, Al Tareeq Decor · Contact our workshop
Key takeaways
- Keep one final drawing and quotation, including agreed changes.
- Agree furniture movement and clear belongings without dismantling screens or electrical components.
- Supply the real TV and device details before the fitting appointment.
- Review ordinary controls and included equipment with the installer before closing the handover.
On this page
- Key takeaways
- Start with a practical review
- Put the approved information in one place
- Clear the work zone and the route to it
- Room-clearance reference — who does what
- Prepare the television without dismantling it yourself
- Record the devices that need a home
- Identify sockets and associated work before panels close
- Understand the sequence without fixing a false timetable
- Keep an occupied household out of the handling area
- Use a preparation table the evening before
- Installation preparation record
- Inspect the finished wall with the normal room setup
- Post-installation review — what to check with the team
- The fixing order, from the structural wall outward
- What the team finds when the finish is opened
- Levelling and the datum line on a long wall
- Floors, skirting and ceilings: the three uneven edges
- Dust, noise and building rules on the day
- The first 48 hours after installation
- Start with a brief the fitting team can use
- Common questions
Start with a practical review
The most useful preparation for a media wall fitting is a clear room, a confirmed scope and equipment information the team can use. Buying extra accessories at the last minute rarely solves an unresolved drawing. Before the appointment, check that the wall, devices, access and responsibilities match what was agreed, then let the fitting team set out its work area and installation sequence.
This checklist describes what a homeowner can organise without taking over the installer's job. Drilling methods, wiring alterations and television lifting are outside this homeowner checklist. Those tasks require the appropriate people and the actual product instructions. Use the guide to make the handover between your household and the fitting team straightforward, especially when the home remains occupied during the work.
Put the approved information in one place
Keep the latest drawing and quotation together, including any agreed changes. Identify the screen position, console layout, selected finish and equipment list. If several versions have circulated in messages, ask which version is final before installation. A screenshot of an earlier reference image should not become the instruction for work that was subsequently measured and drawn differently.
Read the scope for removals, electrical items, equipment mounting and finishing around the new work. Do not assume that “media wall installation” includes every task visible in a room photograph. If the old console needs removal or an existing television must be taken down, make sure the responsibility is understood. Discuss missing items before the appointment rather than asking the crew to expand the job on arrival.
Nominate one person who can answer ordinary design questions during the fitting. If several family members have preferences, settle those against the approved drawing beforehand. A clear point of contact does not authorise improvised technical changes; it simply prevents contradictory instructions about the agreed work. Use the media wall quotation checklist to review the written scope.
Clear the work zone and the route to it
Agree what needs to move, who will move it and where it will go. Start with small loose items: ornaments, photographs, chargers and anything stored in a console being replaced. Empty the relevant furniture before an agreed move. A full drawer can turn a manageable preparation task into a different handling problem, and small personal items are easily misplaced once several components arrive.
Discuss large furniture separately. Do not assume the installation team has included moving a heavy sofa, dismantling shelving or storing household possessions. If space is limited, identify a usable temporary location rather than pushing everything into the delivery path. A room can look clear from the television wall while its entrance remains blocked by the furniture that has been moved out of the way.
Tell the team about surfaces or furnishings that need particular care, and agree the protection arrangements. Do not attach coverings or tape to a delicate finish without checking suitability. The installer should decide how its work area is set up. Your role is to make the agreed space available and keep the household from repeatedly crossing the route while pieces are being handled.
Room-clearance reference — who does what
Clear small ornaments and loose items
- Homeowner
- Yes — before team arrives
- Installation team
- Not included
Empty console being replaced
- Homeowner
- Yes — empty drawers and shelves
- Installation team
- Not included
Move chairs and small tables
- Homeowner
- Usually — confirm scope
- Installation team
- Only if explicitly agreed
Move heavy sofa or large cabinet
- Homeowner
- Arrange separately
- Installation team
- Not included unless quoted
Protect delicate floors and furniture
- Homeowner
- Agree arrangement with team
- Installation team
- Team manages work zone
Confirm any task beyond clearing loose items before the appointment, not on the day.
- 1. Approved scope: Drawing and equipment settled
- 2. Ready room: Route and belongings organised
- 3. Team fitting: Installer manages the work
- 4. Demonstration: Review agreed functions
Prepare the television without dismantling it yourself
Confirm that the actual TV model matches the drawing and bracket plan. Keep its model information and supplied documentation available. If a different screen has been bought since the survey, tell the installer before fitting. The diagonal size alone does not describe the mounting arrangement, connections or outside dimensions of the replacement set.
Leave the television where the responsible handler has asked for it to be kept. Do not remove an existing wall-mounted screen or lean it against furniture to save time. Handling and mounting must follow the equipment instructions and the agreed responsibility. The same applies to a soundbar or other heavy device: a clear room does not require you to create a risky temporary storage arrangement.
Keep the remote controls and ordinary accessories together in a labelled box. Tell the team which cables are already yours and which items the quotation supplies. If the TV is not yet available, discuss what can genuinely be completed and tested without it. The TV-before-media-wall guide explains why an unresolved equipment choice should be closed before the workshop starts.
Record the devices that need a home
List the equipment that will remain in the console: set-top box, games console, network device or other accessories. Include the items you actually use rather than a generic collection copied from a showroom display. A drawer intended for remotes and a shelf intended for powered equipment have different everyday access needs, even if their fronts look similar.
Before the fitting, photograph the current connections if doing so is easy and safe. Do not unplug unfamiliar equipment or access a restricted electrical area merely to create a record. Label ordinary detachable accessories where helpful and keep service provider information private. The purpose is to explain your existing setup, not to ask the homeowner to troubleshoot it during room preparation.
At the appointment, the installer needs to confirm how devices, connectors and reachable service points fit the approved design. Do not fill spare spaces with storage before that review has taken place. The cable and service access article describes why a hidden connection still needs an accessible route, while the equipment's own instructions govern its placement and ventilation.
Identify sockets and associated work before panels close
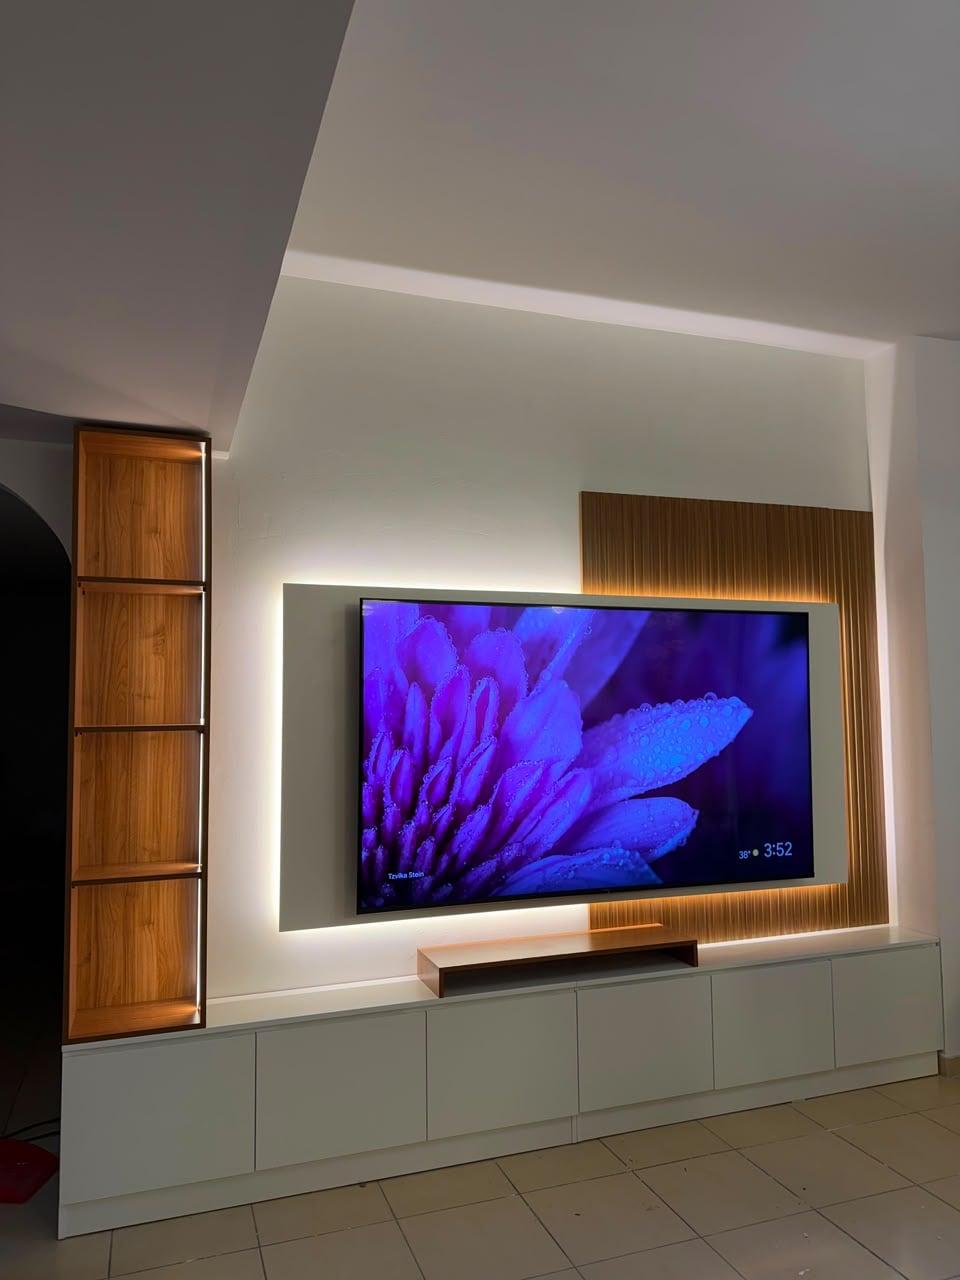
Point out the sockets and switches recorded during the survey, including anything hidden behind existing furniture. If something has changed since measurement, raise it before panels are fixed. A newly placed outlet or an abandoned cable can affect the agreed layout. A quick update at the start is better than discovering an unrecorded item after the decorative face has gone on.
Keep the customer's role observational. Do not open socket covers, extend leads inside the wall or prepare an improvised connection for the crew. Any agreed electrical tasks belong with the appropriate installer and need an explicit entry in the agreed scope. This guide does not provide a universal wiring method, circuit rule or clearance dimension for equipment it has not specified.
Ask for a clear explanation of what remains accessible when the work is complete. You should know which ordinary user controls you can reach and whom to contact for service. For a design incorporating an electric fireplace, its actual instructions must be part of the plan before the opening is finalised. Read media wall sockets and power when preparing those questions.
Understand the sequence without fixing a false timetable
Ask the team to explain the main stages at the start of the appointment. These may include checking the set-out, reviewing the wall and support arrangement, fitting the prepared components, installing included devices and demonstrating the finished work. The exact order depends on the approved construction. A homeowner checklist should not force every wall into the same hour-by-hour schedule.
Know when a decision requires your presence. Reviewing the agreed position before a component is fixed is different from redesigning the wall while the crew waits. If a site condition prevents the approved solution, ask for an explanation and a documented revision. Do not authorise a hidden substitution merely because the finished front will appear similar in a photograph.
Keep the room available for the agreed work period and ask how access should be managed if work continues beyond a single visit. After confirmation, our usual allowance is roughly ten days at most; different sizes and designs affect the actual timing, and it is not a promise that every on-site stage takes one day. The quotation should establish the actual manufacturing and fitting arrangement.
Keep an occupied household out of the handling area
Tell the installer which parts of the home must remain accessible and discuss a practical route before work starts. A living room may also connect the entrance, kitchen and balcony. If the normal path crosses the installation zone, agree an alternative or an access arrangement. Do not expect the crew to stop handling a large piece every time someone wants to pass through.
Make a separate plan for children and pets. Keep them outside the work and delivery routes, and let the team know about any household needs that affect access. Visitors should understand that the room is being used for installation. A tidy-looking wall at an intermediate stage does not mean the area is ready for ordinary use or that equipment is ready to touch.
If another trade is scheduled in the same room, coordinate the jobs before the fitting date. One team should not arrive expecting a clear wall while another still needs to work behind it. Give each contact the relevant agreed sequence. This is coordination advice, not a claim that Al Tareeq Decor manages every separate contractor the customer has appointed.

Use a preparation table the evening before
A final review should be short enough to complete and specific enough to reveal a real gap. Do not add unfamiliar technical checks at this stage. If an unresolved item affects safety, scope or a manufactured component, contact the installer rather than improvising a solution. Keep a record of the response so the person receiving the crew has the same information.
Treat the table as a coordination tool, not a promise that the same tasks are included in every order. A specific item such as furniture relocation, old-wall removal or extra equipment setup still needs its own agreed scope. It is reasonable to ask for that distinction; it is much harder to resolve it while the room is full of delivered components.
Installation preparation record
Drawing and scope
- Customer action
- Keep the latest approved versions available
- Leave to the installer
- Explain any site-driven revision
Loose belongings
- Customer action
- Empty relevant furniture and store small items
- Leave to the installer
- Manage the fitting work zone
TV and devices
- Customer action
- Supply model information and agreed equipment
- Leave to the installer
- Handling, mounting and connection review
Building access
- Customer action
- Confirm arrangements in writing
- Leave to the installer
- Decide component handling and route suitability
Final demonstration
- Customer action
- Be available with ordinary controls
- Leave to the installer
- Show operation and included service access
Inspect the finished wall with the normal room setup
Once the team says the installation is ready for review, review its arrangement against your final drawing. Look at the screen position, panel arrangement, console openings and visible finish. Use the room's normal lighting as well as any included decorative lighting. Raise a concern by location and description, rather than trying to correct it yourself or adjusting newly installed hardware.
Have the installer show how the supplied controls and included equipment operate. Check the ordinary functions you will use, such as opening a drawer, changing a TV input and operating the agreed lighting. An illuminated screen alone does not demonstrate that every requested connection works. Equally, a new device setup that was never included should not be confused with a defect in the installed joinery.
Keep the quotation, approved changes and care information together after the appointment. Read the five-year limited board warranty as a separate provision concerning wood-based boards; its written conditions still apply. The complete media wall is not covered by that board warranty. If an issue appears, describe it and contact the team before dismantling an access panel or attempting an electrical adjustment.
Post-installation review — what to check with the team
Panel finish and edges
- How to test
- Look from normal viewing distance
- Note if not satisfied
- Location and description
Drawer and door alignment
- How to test
- Open and close all units
- Note if not satisfied
- Which unit and what happens
TV mounting
- How to test
- Gentle check for stability
- Note if not satisfied
- Team adjusts on the day
All sockets and connections
- How to test
- Plug a device into each socket
- Note if not satisfied
- Before the team leaves
LED and decorative lighting
- How to test
- Operate each control
- Note if not satisfied
- Which control or zone
Raise all observations with the team present — not by message afterwards.
The fixing order, from the structural wall outward
A media wall looks like one object when it is finished, but it goes on as a stack of layers, and the order is what protects you. Whatever is fixed first ends up hidden behind whatever is fixed next. That is why a good team treats each layer as something to check before the next one closes it in.
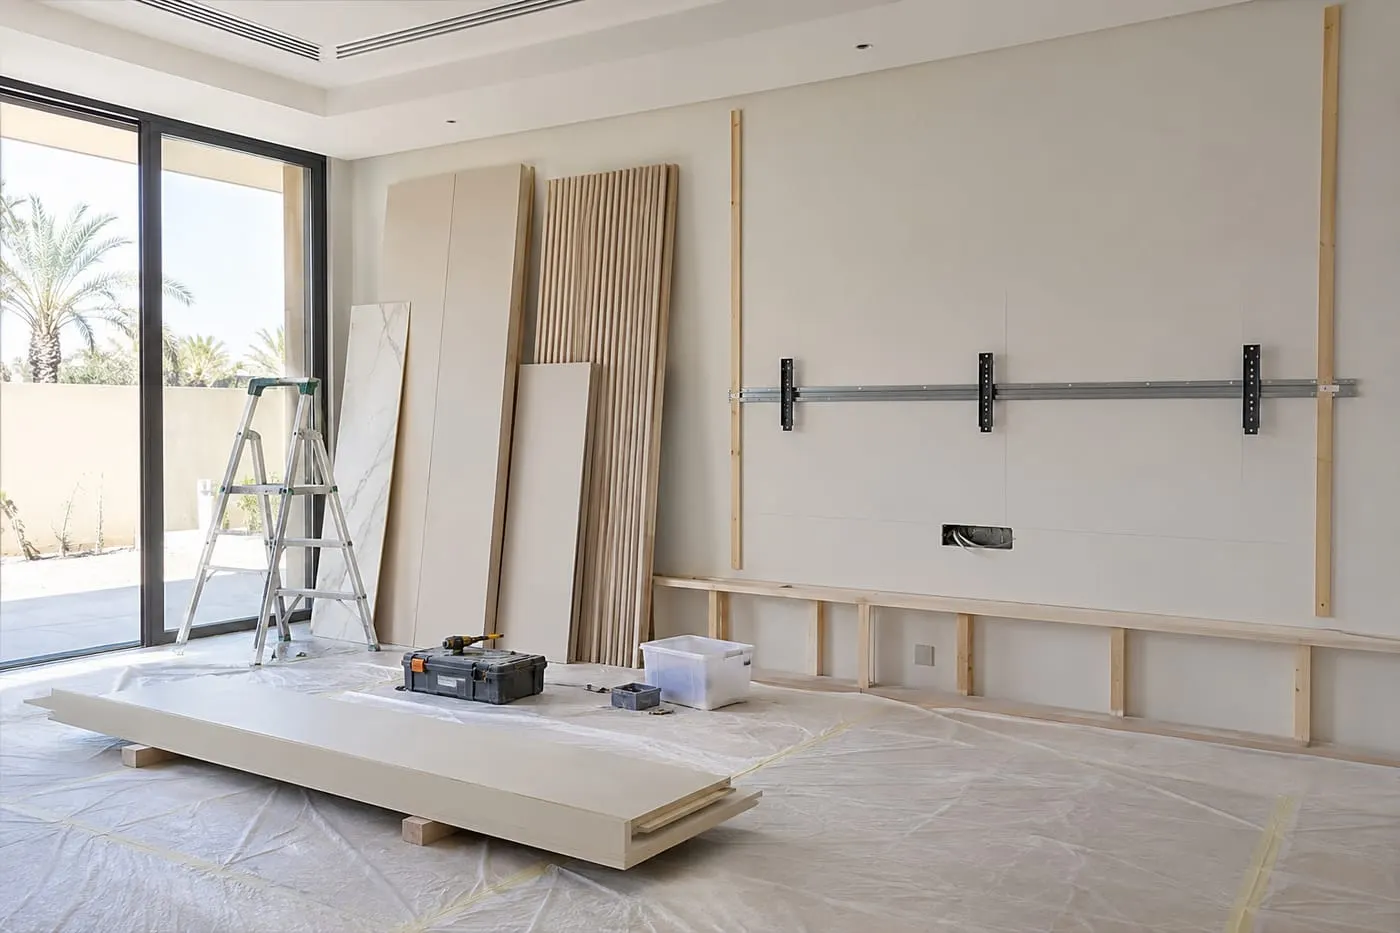
The first step is line-out: the team strikes a level line from the finished floor, confirms the wall type behind the finish, and marks where the frame, the TV plate and the console will sit. If the drawing and the wall disagree, this is the moment the difference appears, and it is a cheap moment to deal with it. The second layer is the fixing frame, the battens or brackets that carry everything else. Their job is to take the load into the structural wall, not into a plaster skim or a thin partition face.
The third layer is the TV plate and the cable routes. Sleeves, sockets and the path for HDMI and power are set now because once the panels are fixed they are no longer reachable without cutting. The fourth layer is the panels and returns, where joints, shadow gaps and edges are aligned to the approved drawing. The last layer is the console, the LED strips and the doors and drawers, which are hung, tested and adjusted.
The diagram shows the five layers in a side view, with one question beside each that a household member can reasonably ask without getting in the way. You are not supervising the carpentry. You are making sure that the layers which will soon be invisible were seen by somebody who knew what they were looking at.
If you can only be present for part of the day, choose the middle of it, when the frame and the cable routes are visible but not yet covered. A photo of the frame with the level line and the sleeves in view is a useful record for the handover walk-through later.
What the team finds when the finish is opened
Every UAE building hides something behind its finish, and the installation team usually meets it for the first time on the day. That is not a failure of planning. A measuring visit sees surfaces; a fixing day sees what those surfaces are made of.
A painted wall may be solid block, hollow block, concrete or a gypsum partition on a metal frame, and each takes fixings differently. Block and concrete take a mechanical anchor well. A gypsum partition needs a backing frame or timber behind the zone where the TV and console will hang, because the board face alone is not a structural fixing for a heavy screen. This is explained in more depth in our block versus gypsum wall guide, but the installation-day point is simple: ask what the wall turned out to be.
Services are the other surprise. A socket or conduit run that was not visible can sit exactly where a bracket was planned. A competent team checks with a detector or a careful trial before drilling, and moves a fixing point rather than risk a pipe or a cable. If a change to the drawing is needed, it should be agreed on the spot with the household and noted in writing, not decided silently by whoever is holding the drill.
Finally, walls are rarely flat. A 6 mm bow across a 2.4 m height is common in older buildings, and the frame has to absorb it so the face of the wall stays true. Packers and adjustable brackets are normal; a visible wobble in the finished panel line is not.
None of this should alarm you. It is the reason the fixing frame exists. Your part is to keep the route clear, answer questions about the wall quickly, and expect an honest explanation if something behind the finish differs from what the measuring visit assumed.
Levelling and the datum line on a long wall
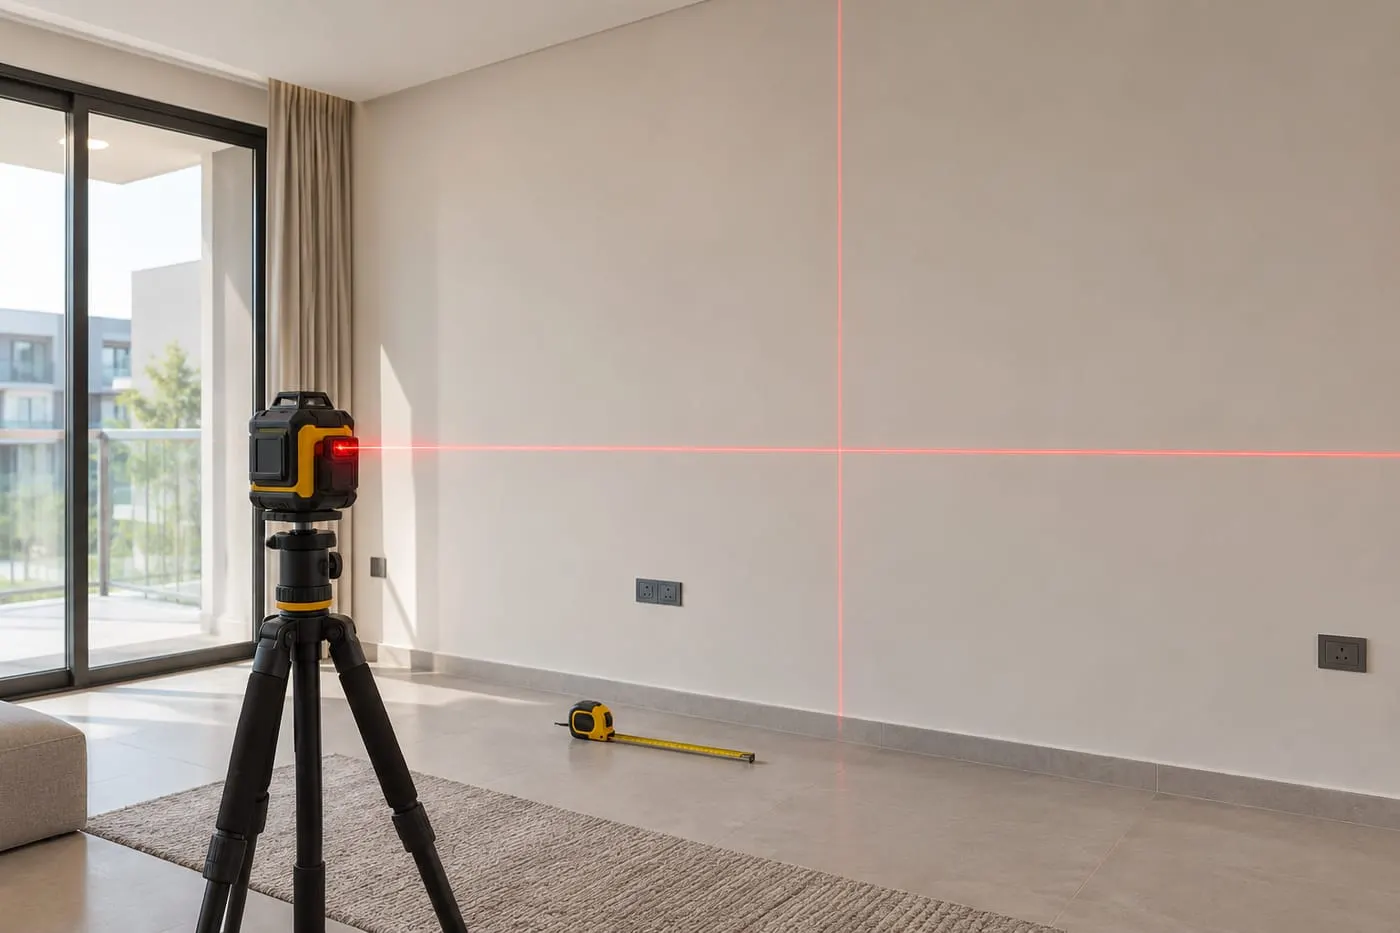
On a wall of four or five metres, a small error at one end becomes a visible one at the other. The team controls this with a datum, a single level line transferred along the whole wall, and everything is measured from it rather than from the floor or the ceiling.
The reason is that UAE floors and ceilings are not always parallel to each other or to a true level. Tiled floors can slope slightly towards a drain or a balcony door. A gypsum ceiling may follow a cove detail that steps in places. If the console is measured up from the floor and the top panel is measured down from the ceiling, any difference shows up as a tapering gap along the wall. Using a datum moves that difference to the edges, where it can be hidden in a shadow gap or a trim.
You can see the result without any instrument. Stand at one end of the wall and look along the line where the console meets the panels. It should read as a single straight line, with the gap at the floor and the gap at the ceiling absorbing the irregularities instead of the panel line. If the line wanders, say so while the team is still on site.
The TV position follows the same logic. The centre of the screen is set from the agreed viewing height on the drawing, and the plate is levelled to the datum before the TV is lifted, not adjusted afterwards by eye. A screen that is a few millimetres off level is noticed immediately in a room with a long horizontal console beneath it.
If your floor is visibly out of level, mention it during the preparation stage. A team that knows in advance will bring the right packers and plan the plinth detail accordingly.
Floors, skirting and ceilings: the three uneven edges
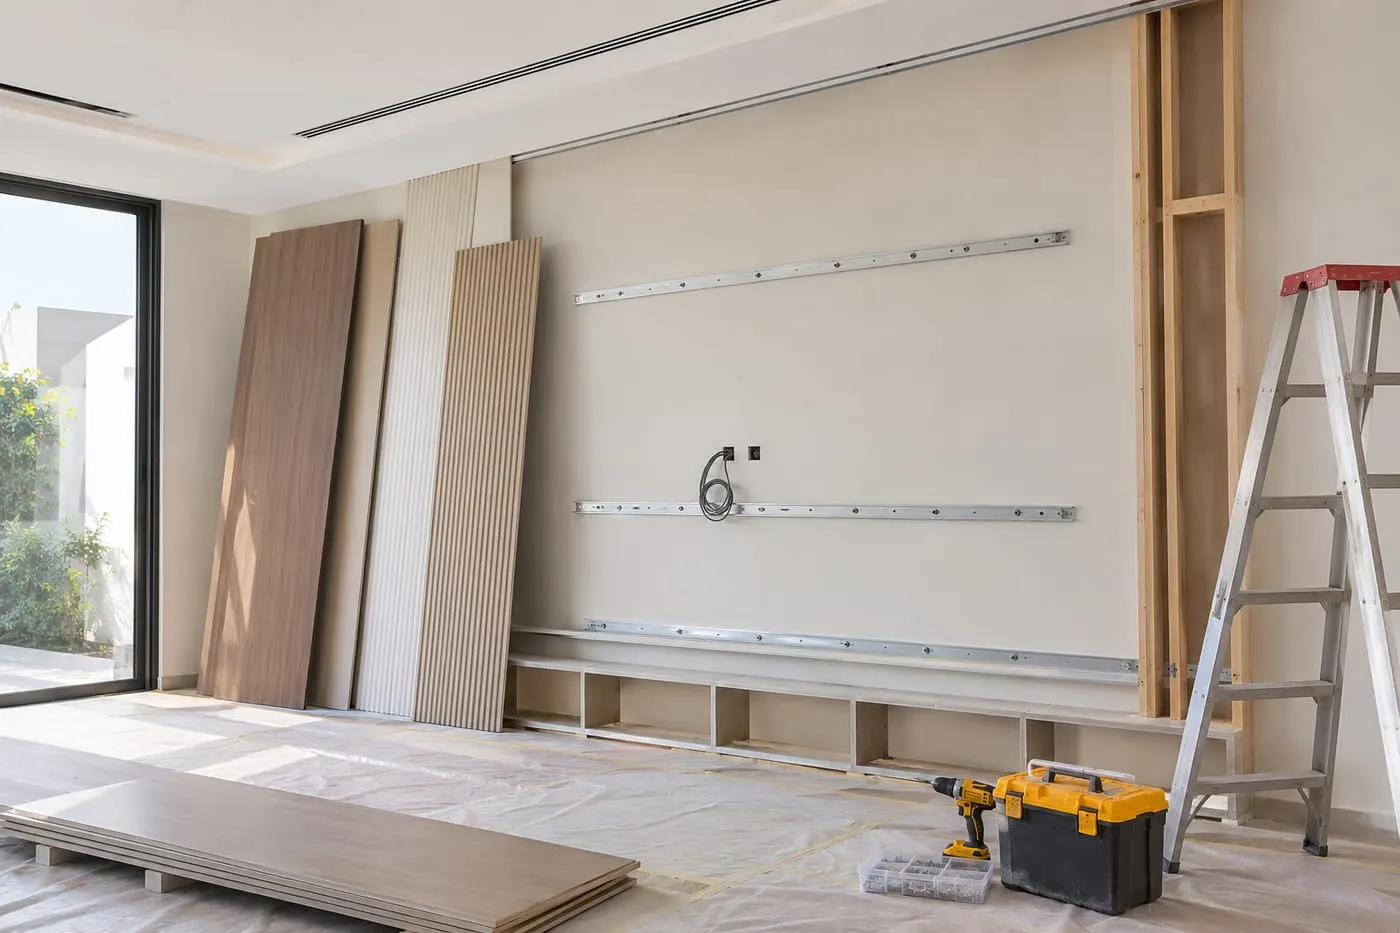
The edges of a media wall are where it meets the building, and the building is never perfectly straight. Three edges decide whether the finished wall looks built-in or merely placed: the floor, the skirting and the ceiling.
At the floor, a floating console or a plinth has to deal with a floor that may not be level. A plinth set back a few centimetres hides the junction and lets the team scribe or pack the base so the console still reads as level. At the skirting, the usual choices are to cut the skirting back to the wall behind the new panels or to build the panels over it with a small step, and the drawing should say which. Surprises here are usually that a skirting profile is deeper than expected or that a bathroom or utility wall behind it is not where the plan assumed.
At the ceiling, the question is whether the wall stops short with a shadow gap, runs to the ceiling with a cornice or trim, or tucks beneath a cove. A tight fit to an uneven ceiling invites cracks in the paint line over time, especially where air conditioning cycles the temperature daily. A small deliberate gap, finished with a trim or a recessed shadow line, is far more forgiving than trying to match a ceiling that has its own movement.
Whichever approach the drawing specifies, ask to see the junction before the last trim goes on. A gap that is a few millimetres wider at one end can usually be corrected at this stage in minutes; after the sealant and paint it becomes a visible repair.
If you are watching the installation, look at these three edges more than at the middle of the wall. A clean, consistent junction is what the eye reads as quality, and it is the part most easily rushed at the end of a long day.
Dust, noise and building rules on the day
Installation is the noisiest and dustiest part of the project. Cutting, drilling and fixing happen in the home, and in an apartment building they also happen in front of neighbours. The arrangements that make the day smooth are mostly made before it starts.
Start with the building. Many UAE communities and towers set permitted working hours, ask contractors to register in advance, and require the lift to be booked for deliveries. We cannot give a rule that applies everywhere, so the household should confirm with building management what is required and pass that on to the team before the date is fixed. Our guide to apartment delivery and access covers the questions to ask.
Inside the home, protect what you can. Floors in the work and carrying route are normally covered, but valuables, soft furnishings and open shelves nearby are better moved or wrapped by the household. Dust from cutting settles on anything left out, and fine dust travels further than expected in an air-conditioned room. Closing doors to other rooms and covering the AC return grille in the work area, if the team advises it, keeps dust from circulating through the apartment.
Noise is unavoidable during fixing. If someone in the household works from home, studies, or needs a quiet period, tell the team in advance so the loud tasks can be planned around it rather than apologised for afterwards.
Waste is part of the job too. Offcuts, packaging and protective sheeting should leave with the team or be bagged for disposal in line with the building's rules. Agree this at the start; the question "who takes the packaging?" is much easier to answer at nine in the morning than at six in the evening.
The first 48 hours after installation
When the team leaves, the wall is finished but the room is not yet back to normal. A few habits in the first two days help you spot problems early and protect new surfaces while they are getting used.
On the first evening, run the room as you normally would. Switch the TV on and leave it on for a while. Turn on each LED circuit and then the whole room's lighting. Open and close every door and drawer, and press each one gently from the edge to check alignment. Listen for rattles. This is not a formal inspection, since the handover walk-through covers that, but it often catches something small that nobody noticed under the working lights.
Over the first couple of days, watch how the room behaves. Air conditioning cycles will warm and cool the new panels, and a very slight sound as materials settle is not unusual. Anything that persists, such as a door that keeps drifting open or a panel that clearly moves, should be photographed and reported while it is fresh and the team still remembers the job.
Avoid loading the shelves heavily in the first day or two and keep wet cleaning products away from the new surfaces. A soft dry cloth removes construction dust; strong solvents can mark some finishes. Our finish sample approval guide explains how to check what the approved finish should look like in your own room.
Write the date of installation in the project record, with the warranty terms the team confirmed: 24 months for workmanship and a limited 5-year panel warranty. If something does need attention later, the photo, the date and the written terms make the conversation short.
Start with a brief the fitting team can use
The best preparation starts at the free measuring visit. Provide the screen size alongside a wall photograph and the room name, then add the actual devices, building access constraints and existing furniture that will remain. Those details help the wall be drawn as a usable installation. They are more useful than choosing a large decorative image and expecting every practical detail to fit around it later.
We complete fabrication of media-wall work at Al Shuwaiheen in Sharjah, then our own fitters bring the finished work to the home. A compact laminate panel with a floating console starts from AED 3,500 per project, with the final specification and amount set by the quotation. Confirm what the preparation and fitting scope includes for your particular wall instead of treating the starting figure as a complete room-renovation allowance.
Use the consultation photo checklist and send the information on WhatsApp. The Sharjah media wall page explains workshop visits, and the media wall service page describes the available work. A prepared room and a settled brief give the fitting appointment a clear purpose: completing the wall you have actually approved.
Common questions
What information should be ready before installation?
Keep the final drawing, quotation, device details and access arrangements together. Explain any change before the team starts. Preparing for the consultation.
Can I decide the television model on fitting day?
Settle the actual equipment before manufacturing decisions rely on its dimensions and mounting. A last-minute change needs review rather than an assumption that it will fit. TV selection timing.
Should I move sockets before the fitting team arrives?
Do not improvise electrical preparation. Agree the responsible installer and scope before work is covered by panels. Sockets and power planning.
Does installation include every device setup task?
Only the agreed scope establishes what is supplied and demonstrated. List customer equipment and additional setup requests before accepting the order. Quotation checklist.
What should stay accessible after the room is restored?
Keep the intended service routes and equipment openings usable. Ask which tasks are ordinary user operation and which require a technician. Service access guide.
Who should move the sofa and large furniture?
Agree beforehand: the installation team manages the work zone but heavy furniture moves need a separate arrangement unless the quotation includes it. Confirm the scope rather than assuming it is covered. Quotation checklist.
What if the TV arrives on the same day as the joinery?
Tell the installer in advance. Receiving two separate deliveries on the same day adds pressure to the route and the work zone. Stagger if possible, or at least name the person responsible for each. Delivery route article.

Sources & specifications
Manufacturer information applies to the named products and systems. Sources reviewed on 9 November 2026.
Want this planned for your home?
Consultation and measurement are free. Tell us the rooms, location and what you need; we arrange a sample visit and define the measured quotation.