Fit-Out · 14 min read · 17 June 2026
Interior lighting ideas for UAE homes: cove, shelf, wardrobe and mirror LED
How to light a room in layers: ambient, task and accent, 3000 K or 4000 K, how bright, and where LED goes in cove, shelf, wardrobe and mirror, with drivers you can reach.

By Ali Haider Basra, Founder, Al Tareeq Decor · Contact our workshop
Key takeaways
- Light every room in three layers, ambient, task and accent, with a switch and a dimmer for each.
- Use one warm white, about 3000 K, in living rooms and bedrooms; keep 4000 K for kitchens and work corners, and a weak neutral 6500 K only behind the TV.
- Aim for about 50–150 lux in a living room with the dimmer low; a 20 m² room at 100 lux needs about 2,000 lumens in total.
- Keep every strip out of sight in a profile or a cove, keep lights out of the sofa-to-TV line, and never place a downlight over a pillow.
- We build the troughs, strips, cut-outs and wiring; light fittings are chosen with you, and every driver sits behind a panel you can open.
On this page
- Key takeaways
- The short answer: how to light a room in a UAE home
- The three layers and where they sit in our work
- Ambient, task and accent: layered lighting in plain words
- One living room, lit in layers: an evening in four steps
- 3000 K or 4000 K? Colour temperature by room
- Colour temperature by room
- How bright should a room be? Lumens, lux and the dimmer
- Cove lighting ideas for living rooms and bedrooms
- Shelf, niche and TV-wall light: accent that shows things
- Wardrobe and dressing-mirror light: task light you can use
- Glare: where lights must not be
- Drivers, switches and servicing: plan the way in
- What we fit, what you choose, and how to start
- Common questions
The short answer: how to light a room in a UAE home
Light every room in three layers, a soft ambient base, task light where hands and eyes work, and accent light that adds depth, with a switch and a dimmer for each layer. Use one warm white, around 3000 K, in living rooms and bedrooms, hide the strips so you see the glow and not the LED, and put every driver where it can be reached. In our own work that means a cove at the ceiling's edge, strips inside wardrobes, niches and shelves, a faint backlight behind the TV and a lit mirror where you dress.
This is a map, not a manual. Each section gives the decision in a few lines and points to the guide that has the detail, so nothing is repeated. We do not sell light fixtures: we build the troughs, channels, profiles, cut-outs and wiring, and the fittings themselves are chosen with you.
The three layers and where they sit in our work
Ambient
- What it does
- A soft, even base so you can move around
- Where it sits in our work
- Ceiling cove, downlights, magnetic track
- Colour to ask for
- Warm white, about 3000 K
Task
- What it does
- Light for reading, make-up, dressing and desk work
- Where it sits in our work
- Mirror side lights, strips in wardrobes, a strip under a desk shelf
- Colour to ask for
- 3000 K, up to 4000 K in a bright dressing room; CRI 90 or more
Accent
- What it does
- Depth and focus on the things worth looking at
- Where it sits in our work
- Display niches, shelf strips, groove light in slats, a weak backlight behind the TV
- Colour to ask for
- 3000 K; TV backlight neutral 6500 K, weak
Control
- What it does
- Lets you move between day and evening
- Where it sits in our work
- A switch or dimmer for each layer, drivers behind a panel
- Colour to ask for
- Dimmable drivers matched to the dimmer
Colours and layers follow our own guides, linked below. Your drawing shows each light, its switch and its driver.
Ambient, task and accent: layered lighting in plain words
Ambient light is the room's base: it should be even and soft, without bright spots, so nothing in the room is hard to see. Task light is aimed at a job, such as the face at a mirror, the page of a book or the rail inside a wardrobe. Accent light is for looking, not for working by: a lit niche, a groove between slats, a glow behind a screen.
Build them in that order. Size the ambient layer first, add task light over the places where you work, and use accent light only on what is worth seeing. Most lighting guides agree: settle the base, then match the amount and quality of light to each job. For the ceiling side of the plan, gypsum ceiling lighting basics shows how the three layers are drawn on one sheet.
Rooms with a lot of accent light need the strictest control, because accent is the layer most likely to glare if it is left on at full strength. The video below gives the same three-layer idea in seven minutes, including how light grazing a wall differs from light that flattens it.
One living room, lit in layers: an evening in four steps
Switch the layers on one at a time and the room changes in a way no single light can manage. Ambient light lifts the whole room out of the dusk, task light makes the sofa and the desk usable, accent light gives the walls depth, and the dimmer then brings the total back to a level that suits an evening.
The animation below does this on one wall. Every warm layer is 3000 K, and the one cool light, a backlight behind the TV, stays at about a tenth of the screen's peak white. The bar underneath is schematic: it shows the room's light level climbing past the 50–150 lux band that lighting guides give for a living room, then dropping back inside it when the dimmer is turned down. It is not a measurement of a real room.
- 1. Ambient: a cove at the ceiling's edge and three downlights, all 3000 K
- 2. Task: a reading lamp by the sofa and a strip under the desk-niche shelf
- 3. Accent: strips in the display niche, each on the shelf edge it lights
- 4. Backlight behind the TV: neutral 6500 K, kept to about 10% of peak white
- 5. Dim: every layer on is more than the room needs, so the dimmer drops it to 40%
3000 K or 4000 K? Colour temperature by room
Use about 3000 K in living rooms, bedrooms and dining areas, and keep 4000 K for kitchens, offices and work corners. White light is rated in kelvin, and the number tells you how it looks: under about 3000 K it reads warm and yellowish, near 4000 K neutral, and higher than that cool and bluish. The US Department of Energy's lighting table lists 2,700 K as warm for homes, 3,000 K as soft for homes and lobbies, 3,500 K as neutral for offices and reception areas, and 4,100 K as cool for offices and showrooms.
Philips groups its home bulbs the same way, with extra warm light up to 2700 K recommended for bedrooms, warm 2700–3000 K, neutral 3001–4000 K and cool above that. The choice that matters most is consistency. The DOE page warns that a large jump in colour temperature is noticeable and can leave people unhappy, and our own rule is to keep every visible source in one room in the same family, because two whites side by side look like a mistake. Our guides go further: warm white at 3000 K with a CRI of 90 or higher for wardrobes, and a single warm family for everything around a TV apart from its faint neutral backlight.
The video below compares 3000 K and 4000 K side by side, with the rooms each suits. When you pick, look at the colour of your walls and floor as well as the room's job: warm light flatters beige, wood and fabric, and 4000 K can make the same surfaces look grey. For the detail by place, see wardrobe lighting ideas and dressing mirror lighting.
Colour temperature by room
Living room and majlis
- Choose
- About 3000 K, dimmable
- Why
- Warm light suits evenings, fabric and wood
Bedroom
- Choose
- 2700–3000 K, indirect where you can
- Why
- Soft light helps you wind down; Philips suggests extra warm for bedrooms
Wardrobe and dressing room
- Choose
- 3000 K, CRI 90 or more; 4000 K only if daylight-filled
- Why
- Clothes keep their true colours
Dressing mirror
- Choose
- 3000–4000 K, CRI 90 or more
- Why
- Make-up is judged in true colour
Kitchen and work corner
- Choose
- About 4000 K
- Why
- Crisper light for chopping, reading and screens
Behind the TV
- Choose
- Neutral 6500 K, weak
- Why
- Sits close to the screen's own white, so it adds no tint
Ranges from the US Department of Energy and Philips, and from our own lighting guides.
How bright should a room be? Lumens, lux and the dimmer
Aim for a living room that is comfortable at roughly 50 to 150 lux with the dimmer low, and brighter only where you work. Lux is the light that lands on a surface, and lumens are what a light source gives out; lumens divided by floor area gives a rough average. A 20 m² living room at 100 lux needs about 2,000 lumens in total, shared across the cove, the downlights and the lamps, which is an illustration, not a design figure.
Published guides give higher figures for rooms where you work: around 150 to 300 lux in a bathroom, at least 400 lux on a kitchen worktop, and up to 400 lux for reading in bed. Compare lumens rather than watts when you choose lamps, because a watt only measures the power a light draws, and a modern LED needs a fraction of the watts of the old bulb to give the same lumens.
The dimmer is what makes a fixed amount of light usable. With the layers on separate dimmers you can run the cove low for a film, the task light up for homework and the accent light off when guests have left. Ask for drivers rated for dimming and compatible with the dimmer you choose, since a mismatch is the usual cause of flicker; media wall lighting ideas explains what to write on the specification.
Cove lighting ideas for living rooms and bedrooms
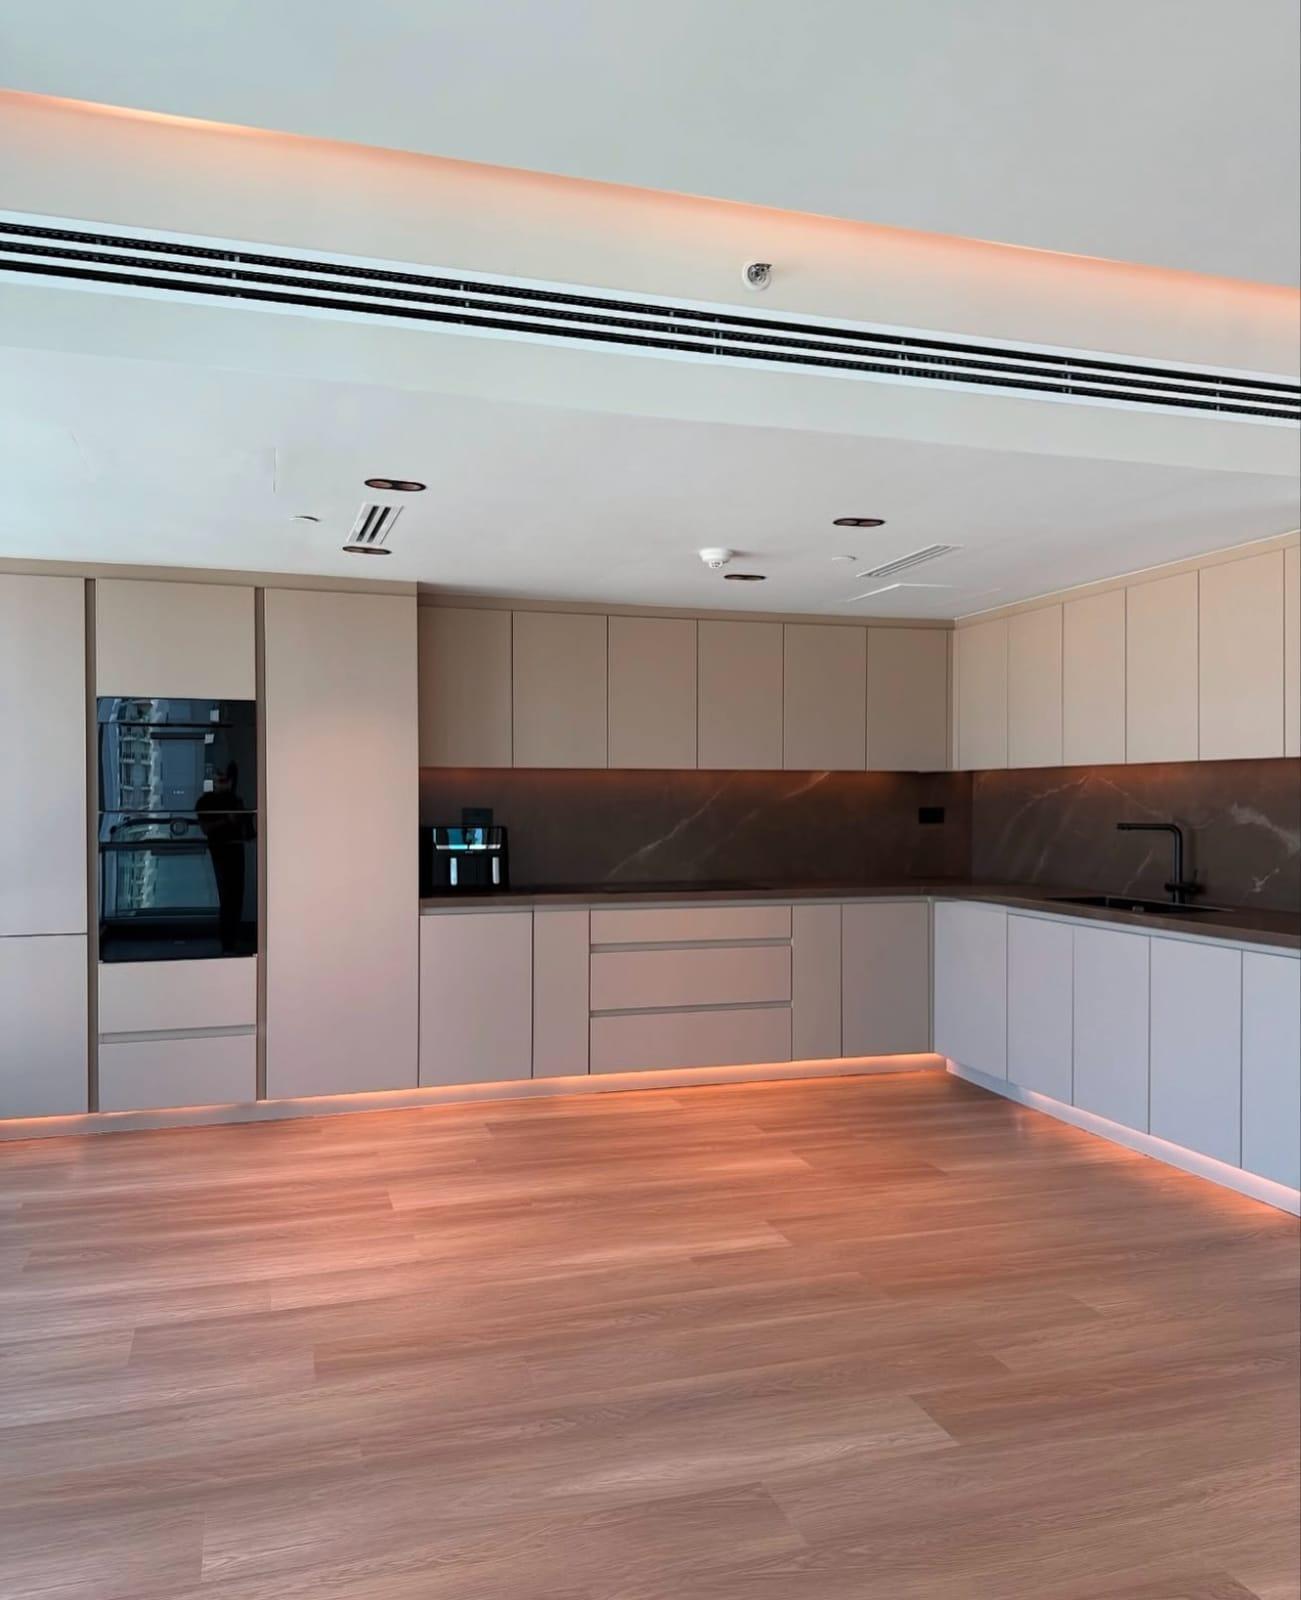
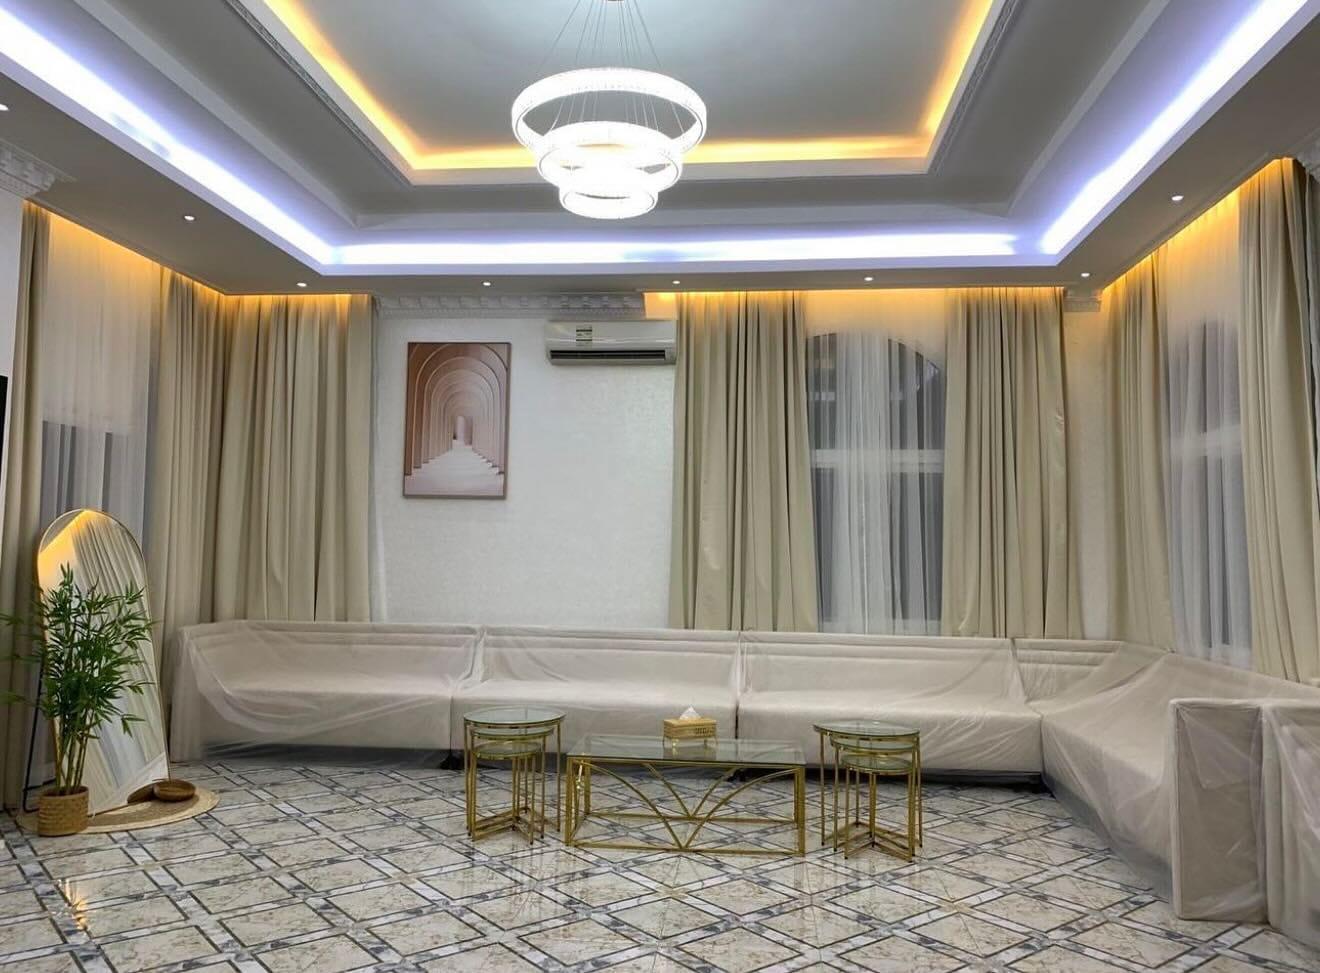
A cove is the simplest way to get soft ambient light without a visible lamp: a trough along the ceiling's edge hides an LED strip, and the light spills across the ceiling and down the wall. It works best in a room with enough height, and it is one of the few ideas that can be added in a flat with a low slab, because it can run as a thin band at the edge or as a ledge on the wall, not a drop across the whole ceiling.
How the trough is shaped decides what you see. If it is too shallow, the LED itself is visible from across the room; if it sits hard against the ceiling, the light ends in a bright stripe instead of fading out. The majlis in the photo gets round this with two coves at different heights, one cooler and one warmer, each with its own switch, so the ceiling can look layered for guests and calm at night. In one small room, stay with a single warm family; false ceiling designs for living rooms and majlis gives the proportions and the option of no false ceiling.
Put the cove, the downlights and any chandelier on separate switches, and give us the chandelier's weight early, so its support is anchored in the structure above and not hung from the board alone. We frame and wire these ceilings ourselves; see cove lighting ceilings and layered ceilings and chandelier drops.
Shelf, niche and TV-wall light: accent that shows things
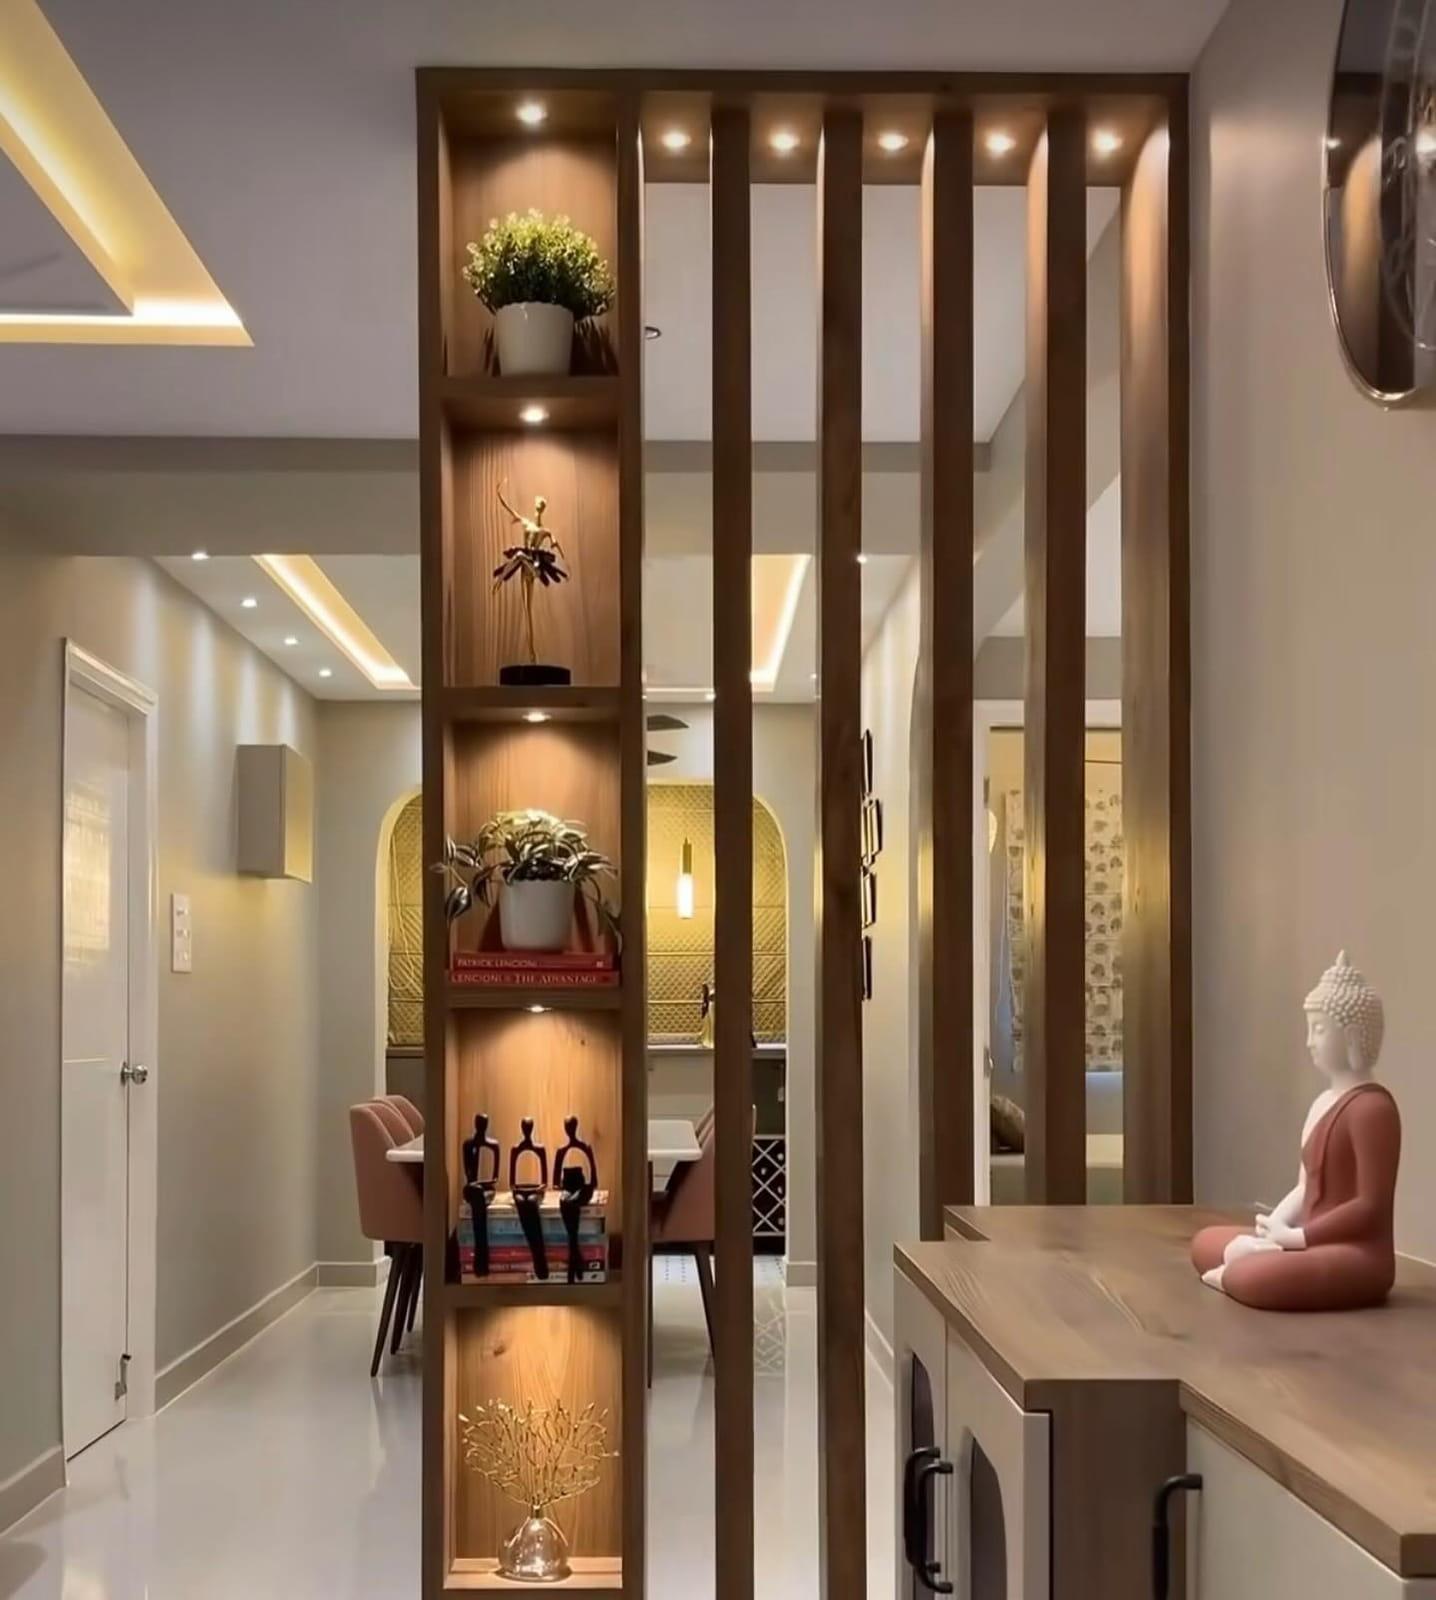
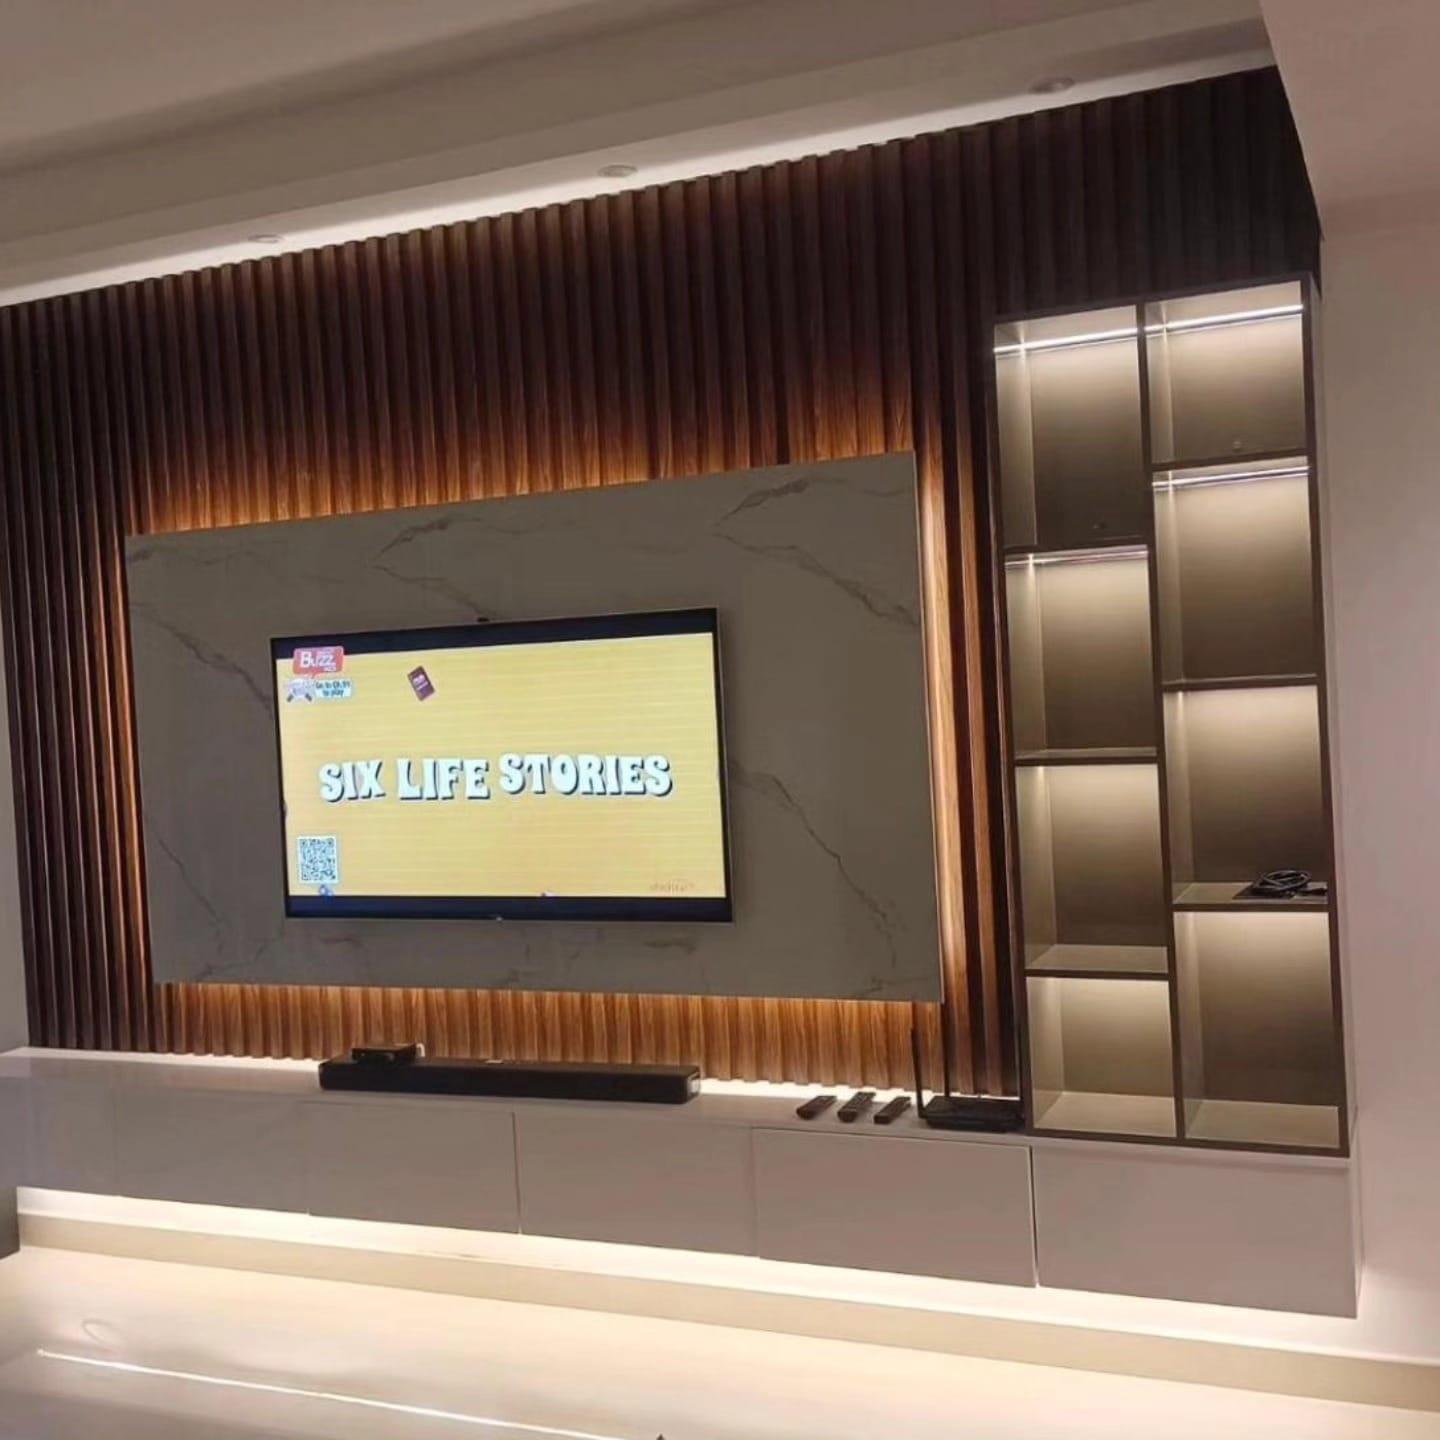
Light the shelf edge or the top of a niche from inside the joinery, with the strip tucked into a profile, and keep every strip out of the sightline from the sofa. Accent light exists to show what stands on the shelf, not the strip itself, so a bare strip facing the room is the thing to avoid.
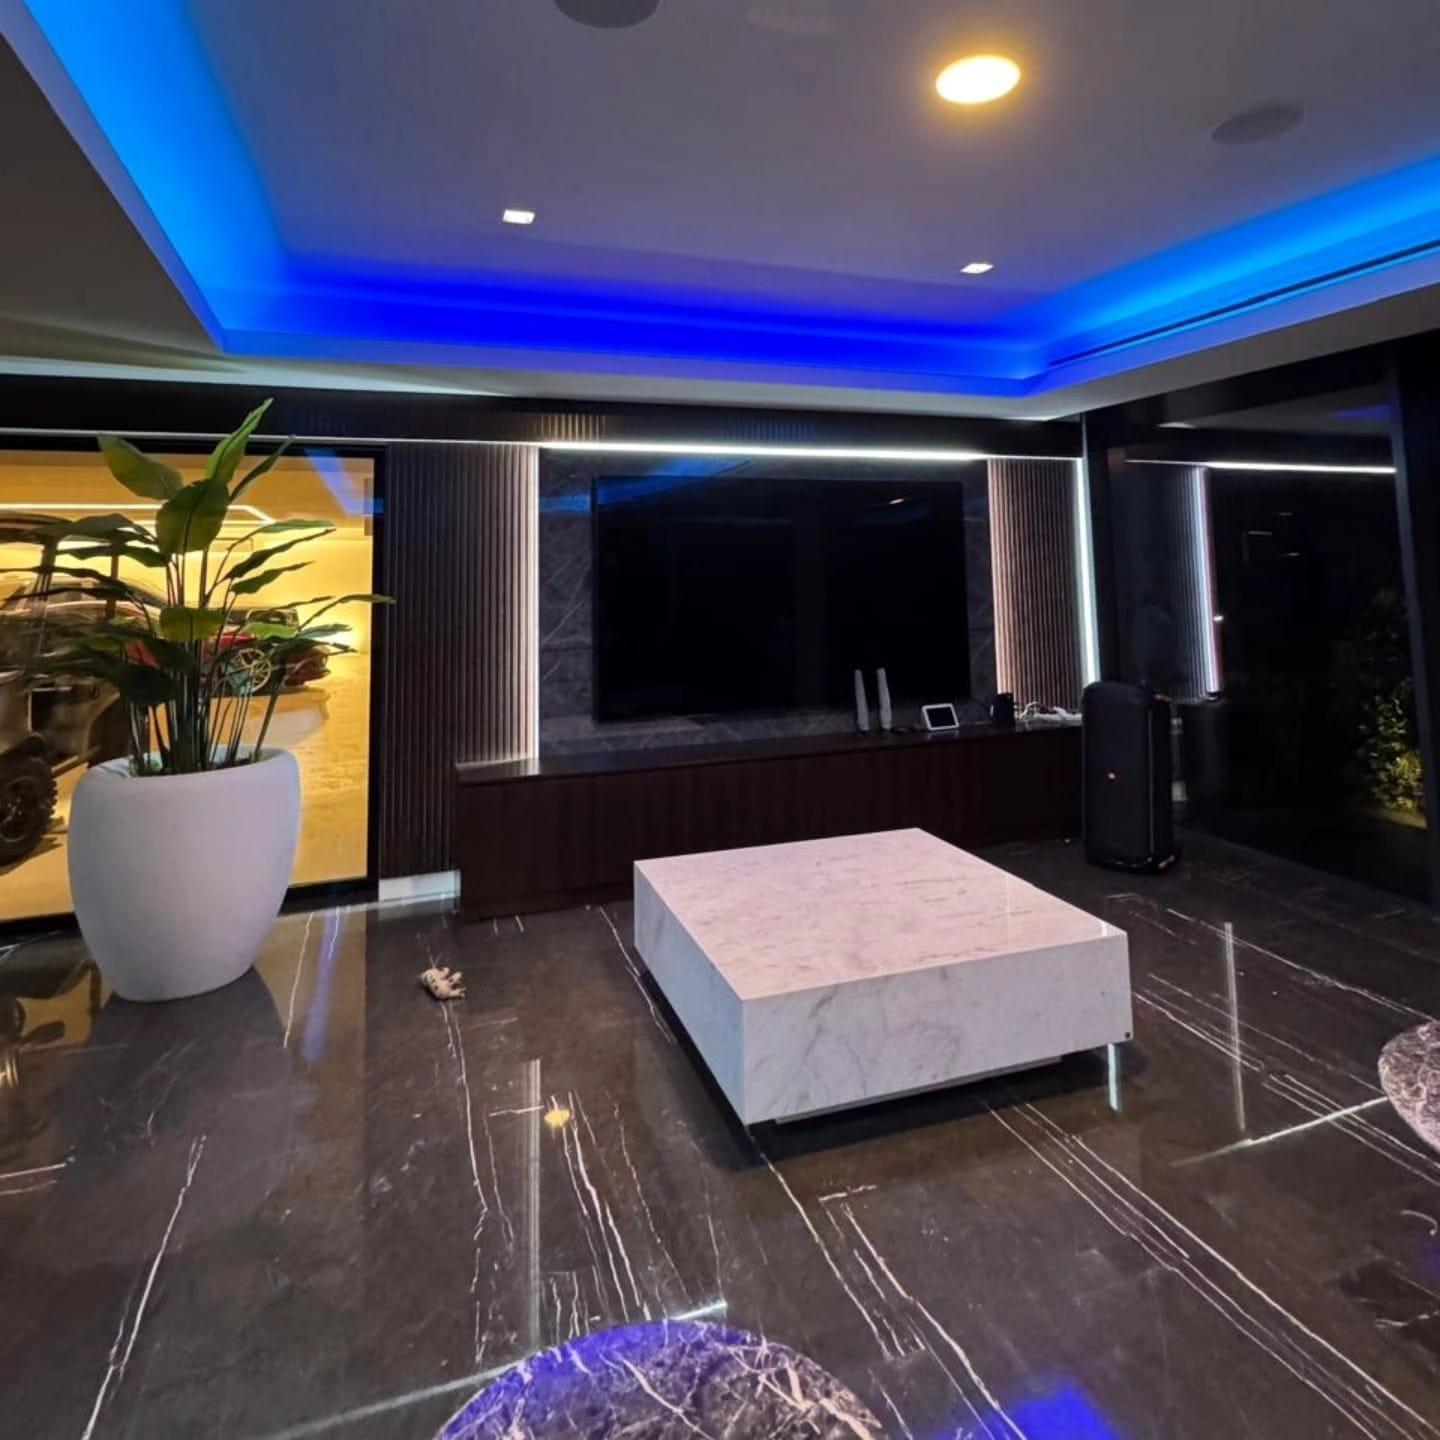
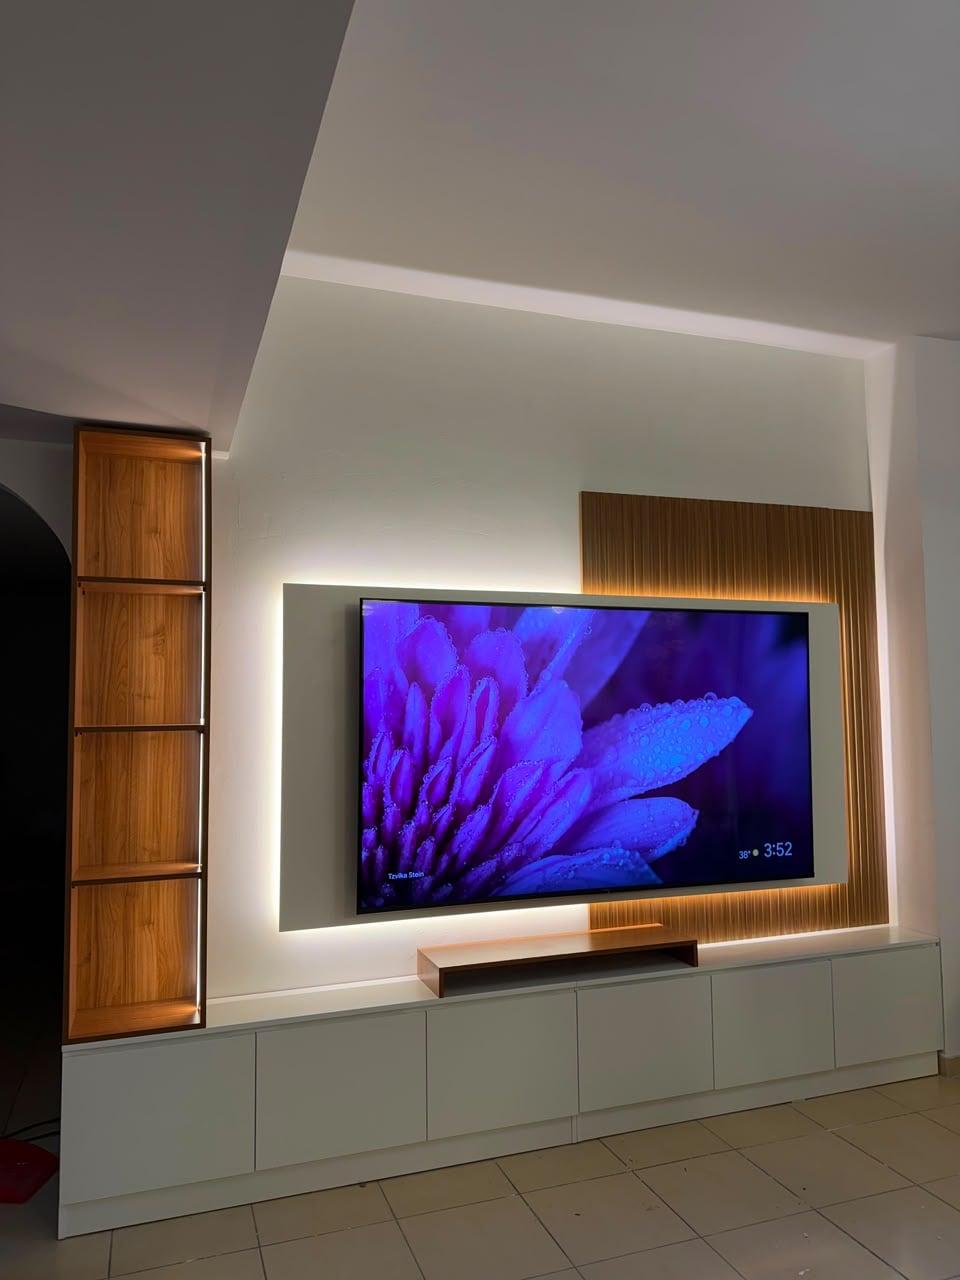
Behind the TV, a faint neutral backlight softens the contrast between a lit screen and a dark room, while everything else on the wall stays warm. A groove between slats can carry a line of glow, a cove can wash the wall above, and each layer needs a switch of its own. Media wall lighting ideas covers the layers, the glare check from the sofa and the drivers, and media wall and TV unit design ideas shows the styles they light.
Our walls are built with the lights inside: media walls with display shelving and custom media walls carry the LED in profiles, wired by our own team, and the driver's position is marked on the drawing.
Wardrobe and dressing-mirror light: task light you can use
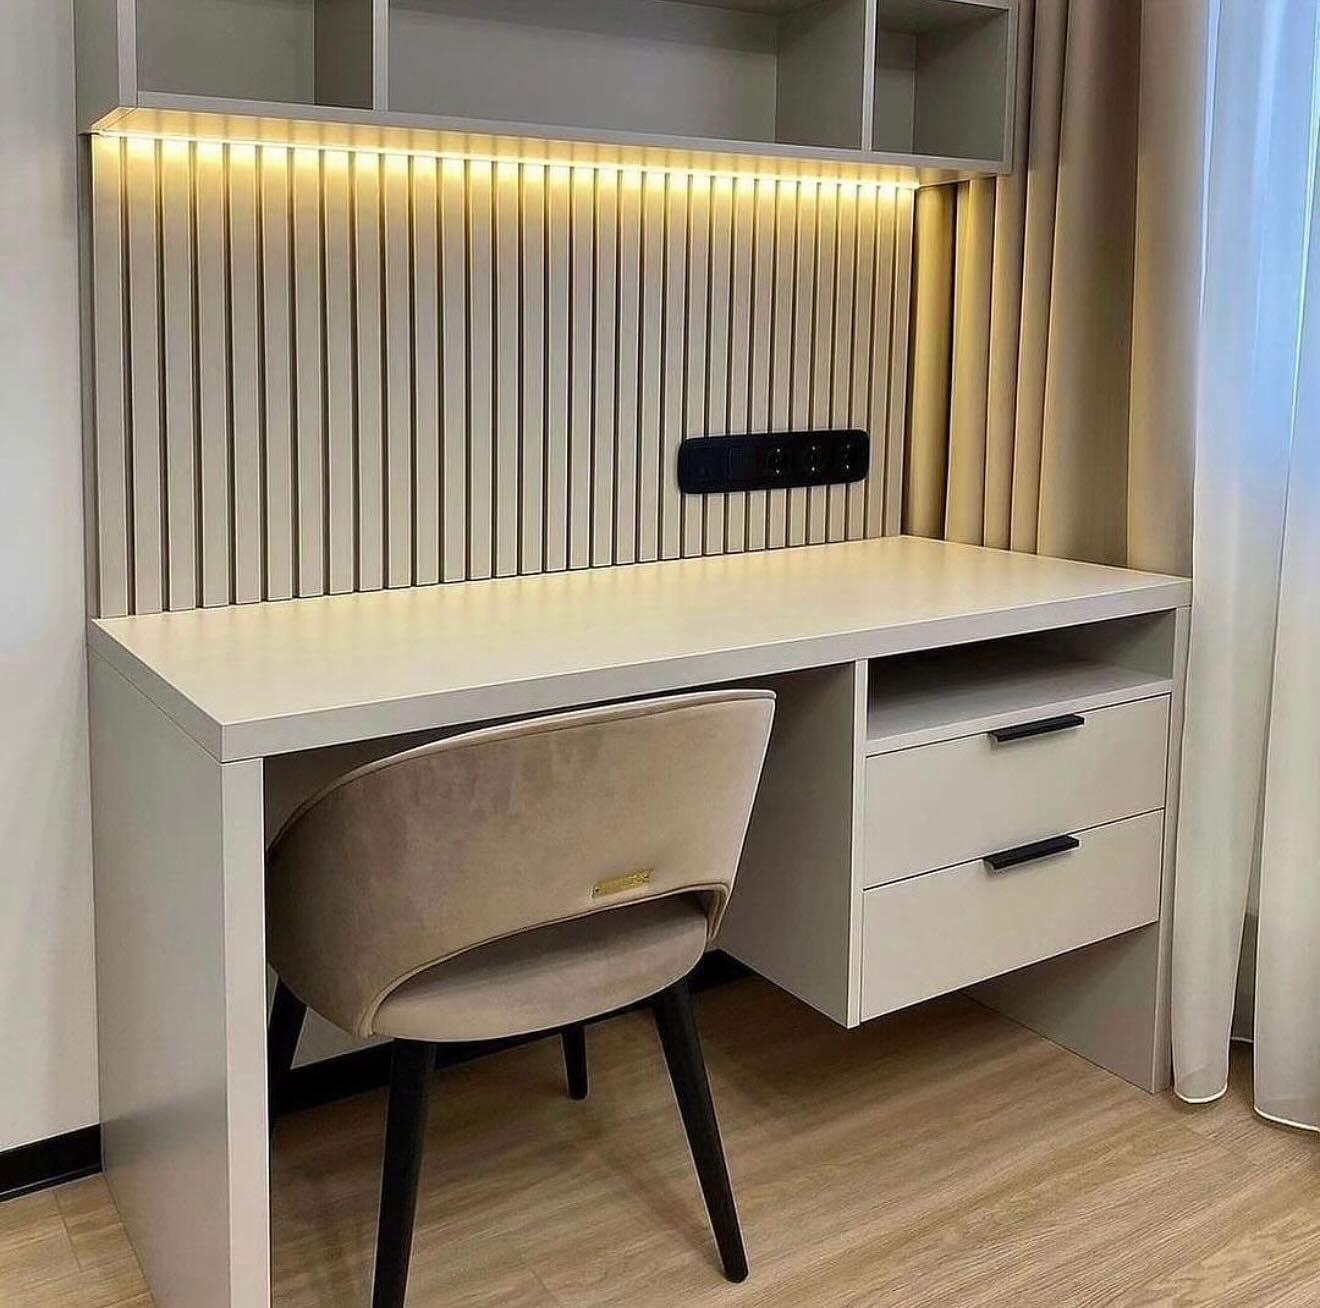
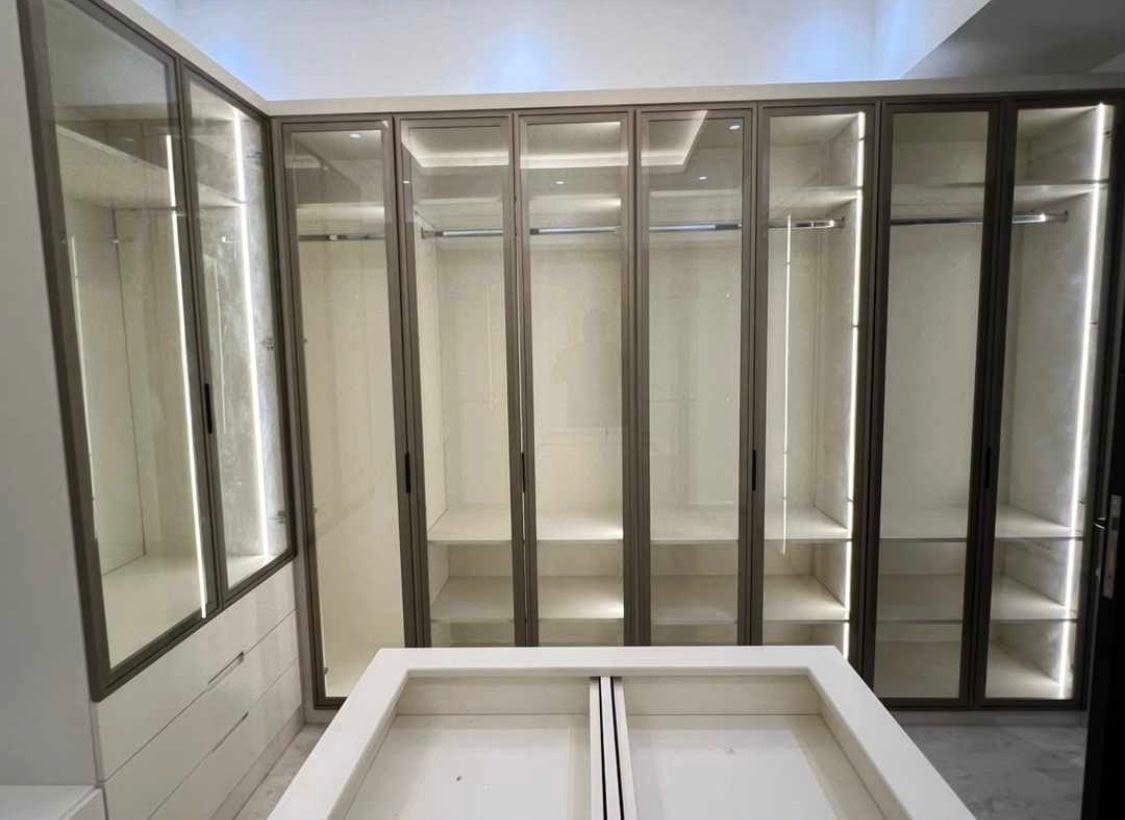
Put the light inside the wardrobe and level with your face at the mirror, not in the middle of the ceiling. A bright room still leaves a wardrobe dark, because the doors and your own shadow cut off the light, so each hanging section gets a strip on its front edge, switched by the door or by a motion sensor.
At the dressing table, light from the sides at cheek height is even, while a single bulb overhead leaves shadows under the eyes and nose. The detail is in wardrobe lighting ideas and dressing mirror lighting: door switch or sensor, mains or battery, profiles, rails, and how bright a make-up mirror should be. For a whole walk-in, dressing room design draws the three layers together.
We make lit glass-front wardrobes and vanities with backlit LED mirrors with the lighting built in; on a dressing unit, which starts from AED 1,800, the touch-dimmed LED mirror is a separate line of the quotation.
Glare: where lights must not be
Keep light sources out of the line between your eyes and the thing you are looking at, and shield or dim anything that shows in glass. The sofa-to-TV line is the classic case: a downlight over the seats and a bare strip beside the screen both reflect in the glass, and a glossy panel can bounce a window or a lamp back at you.
Indirect light is the safe answer, which is why a cove or a lit shelf works in a bedroom where a downlight would glare. Do not put a downlight over a pillow, and check each seat on the drawing before the holes are cut. Sit in your usual seat with a dark scene paused and look for reflections in the glass; any light you can see there should be redirected, shielded or turned down. Gypsum ceiling lighting basics explains downlight positions, and planning a media wall covers the sofa check. Which light to put in the wardrobe, a bare strip or one in a profile, is the subject of wardrobe LED strip or profile.
Drivers, switches and servicing: plan the way in
Every LED strip is fed by a driver, and that small box is what will probably be swapped first over the years, so it belongs behind a panel that opens, or in a section you can reach, and is never sealed in. A driver closed behind a fixed board turns a small repair into stripping out the panel, so its position goes on the drawing before anything is built.
Settle the controls in the same step: a wall dimmer or switch for every layer, the cove and the downlights on circuits of their own, and a remote if you want colour-changing strips. Each choice changes the wiring, and our own team does that work. Anything above a ceiling that needs service, such as an AC unit or a driver, needs an access panel, as ceiling access panels explains. For the joinery side, cable and service access on a media wall and sockets and power on a media wall show where the drivers and plugs go.
What we fit, what you choose, and how to start
We build the lighting into the work and you choose the fittings. That means cove troughs and LED strips with their profiles, cut-outs for downlights, magnetic track, lit wardrobes, niches and mirrors, the wiring and small electrical work for all of it, and a fixing in the structure for a chandelier. The downlights, pendants and chandeliers themselves are chosen with you during the design, and we need each fitting's weight and size before the drawing is final.
At the free visit we take the room's measurements, ceiling height included, and talk through the light you want. The drawing then shows every light, its switch and its driver, and the work is priced line by line, so each layer's cost is visible. Our wardrobe fronts start from AED 550 per m², media walls from AED 3,500 per project and dressing units from AED 1,800, with the lighting listed beside them; use the pricing guide to see how a quotation is built.
Joinery is usually fitted about 10 days after you confirm, and our work carries a 24-month written workmanship warranty. Look at the gypsum ceilings service or our Sharjah ceilings page. If you are lighting a compact flat, small apartment interior ideas puts lighting in the order of the other decisions. Run through these points on the drawing before you approve it:
- Every room has three layers drawn, ambient, task and accent, and each has a switch.
- One warm white per room, about 3000 K, and CRI 90 or higher on wardrobe and mirror lights.
- Any TV backlight is neutral 6500 K and faint, and the sofa has been checked for glare.
- No strip faces the room bare; each is tucked into a profile or behind a lip.
- Each driver sits behind a removable panel or in a reachable section, marked on the drawing.
- Chandelier and heavy fittings are named with their weight, so the fixing is built into the structure.
Common questions
How do I light a living room properly?
Use three layers on separate switches: a cove and downlights for the base, a reading lamp or strip where you work, and accent light on niches and the TV wall, then a dimmer for the evening. Keep everything warm, about 3000 K. Gypsum ceiling lighting basics.
Is 3000K or 4000K better for a bedroom and wardrobe?
3000 K for both, with CRI 90 or more, so clothes keep their true colour. Use 4000 K only in a dressing room with a lot of daylight. Wardrobe lighting ideas.
How do I add LED lighting around a TV?
Give the screen a faint neutral backlight, light the shelves and niches separately, and add slat grooves and a dimmed cove if the wall has them, each with its own switch. Then check for glare from your seat. Media wall lighting ideas.
What is cove lighting and how do I plan it?
A hidden trough along the ceiling edge that lets an LED strip wash light across the ceiling. Its depth and setback decide whether you see a soft glow or the strip itself. False ceiling designs for living rooms and majlis.
What is the best light for a make-up mirror?
Light from both sides of the face, 3000–4000 K and CRI 90 or higher, rather than a bulb overhead. Dressing mirror lighting.
Where does the LED driver go, and can I reach it later?
Behind a removable panel or in a reachable section, marked on the drawing, so a failed one can be exchanged without cutting into finished work. Ceiling access panels.
Do you supply the light fittings?
We build the troughs, strips, cut-outs and wiring and fit the lights agreed with you; the fittings themselves are chosen with you during the design, and a heavy chandelier's weight is needed for its fixing. Gypsum ceilings service.

Sources & specifications
Manufacturer information applies to the named products and systems. Sources reviewed on 29 October 2026.
- US Department of Energy (FEMP): purchasing energy-efficient light bulbs (colour temperature table 2,700–4,100 K, CRI, lumens not watts)energy.gov(opens in a new tab)
- Philips Lighting: bedroom lighting (ceiling, bedside and accent light; extra warm up to 2700 K, warm 2700–3000 K, neutral 3001–4000 K)usa.lighting.philips.com(opens in a new tab)
- LedRise: home lighting guide (recommended lux by room, dimming, indirect light and glare)ledrise.eu(opens in a new tab)
Want this planned for your home?
Consultation and measurement are free. Tell us the rooms, location and what you need; we arrange a sample visit and define the measured quotation.