Media Walls · 16 min read · 9 November 2026
How to clean a fluted TV wall: dust, grooves, LED and wet limits
Remove the dust dry, wipe damp, then dry. This guide gives the routine, the tool that reaches the groove, the wet limits and what to avoid on a fluted TV wall.

By Ali Haider Basra, Founder, Al Tareeq Decor · Contact our workshop
Key takeaways
- Dry first, damp second, dry again: brush the dust out of the grooves before any cloth touches the wall.
- A soft brush reaches the bottom of a groove; a flat cloth only rides on the ribs.
- Keep water from the edges, joints, LED channel and base; Formica warns water near seams can swell the board.
- Avoid abrasive powders, steel wool, rough tools, steam and strong acids or solvents (EGGER, for laminate).
- Follow the care sheet for your own finish, and send us a photo of any mark or lifting early.
On this page
- Key takeaways
- How do you clean a fluted TV wall? The short answer
- Why fluted panels collect dust
- The weekly dry routine: top to bottom, lift and leave
- Which tool reaches the bottom of a groove
- The monthly damp wipe: how to do it properly
- What to use and what to keep away from the wall
- How wet is too wet: the edges, joints and base
- Finish by finish: laminate, veneer, lacquer and marble-effect
- Care at a glance, by finish
- Cleaning around LED lighting
- Fingerprints, grease, tape and scratches
- Dusty days, children, pets and construction dust
- The rest of the wall: shelves, marble panels, the fireplace and the TV
- Mistakes that damage a fluted wall
- A cleaning kit and rhythm that lasts
- What we do about it
- Send us a photo on WhatsApp
- Common questions
How do you clean a fluted TV wall? The short answer
Remove the dust dry first, then wipe damp, then dry. Use a soft brush or a vacuum brush head from the top down along the grooves, and only afterwards a wrung-out microfibre cloth with mild soapy water on the rib faces, dried with a clean cloth. Keep water away from edges, joints, the LED channel and the base of the wall. That order matters more than any product: a damp cloth dragged over loose dust turns it into a film that settles in the grooves.
A fluted wall is easy to live with and slightly harder to dust than a flat one. Every groove is a narrow shelf, and a flat cloth passes over it. This guide gives the routine we suggest for a UAE living room, the tool that reaches the bottom of a groove, how wet is too wet, what to avoid, finish-by-finish notes, how to treat the LED channel, and what to do about marks. It sits beside our guide to choosing fluted and slatted TV walls and the fluted TV wall panels guide, which cover design and profiles; here we only look after the wall.
The care rules for laminate come from two manufacturers' own pages, EGGER and Formica, which we quote below for laminate only. If your finish is veneer or lacquer, or a surface we named differently on your quotation, follow its own care note, and ask us for it if you do not have it.
Why fluted panels collect dust
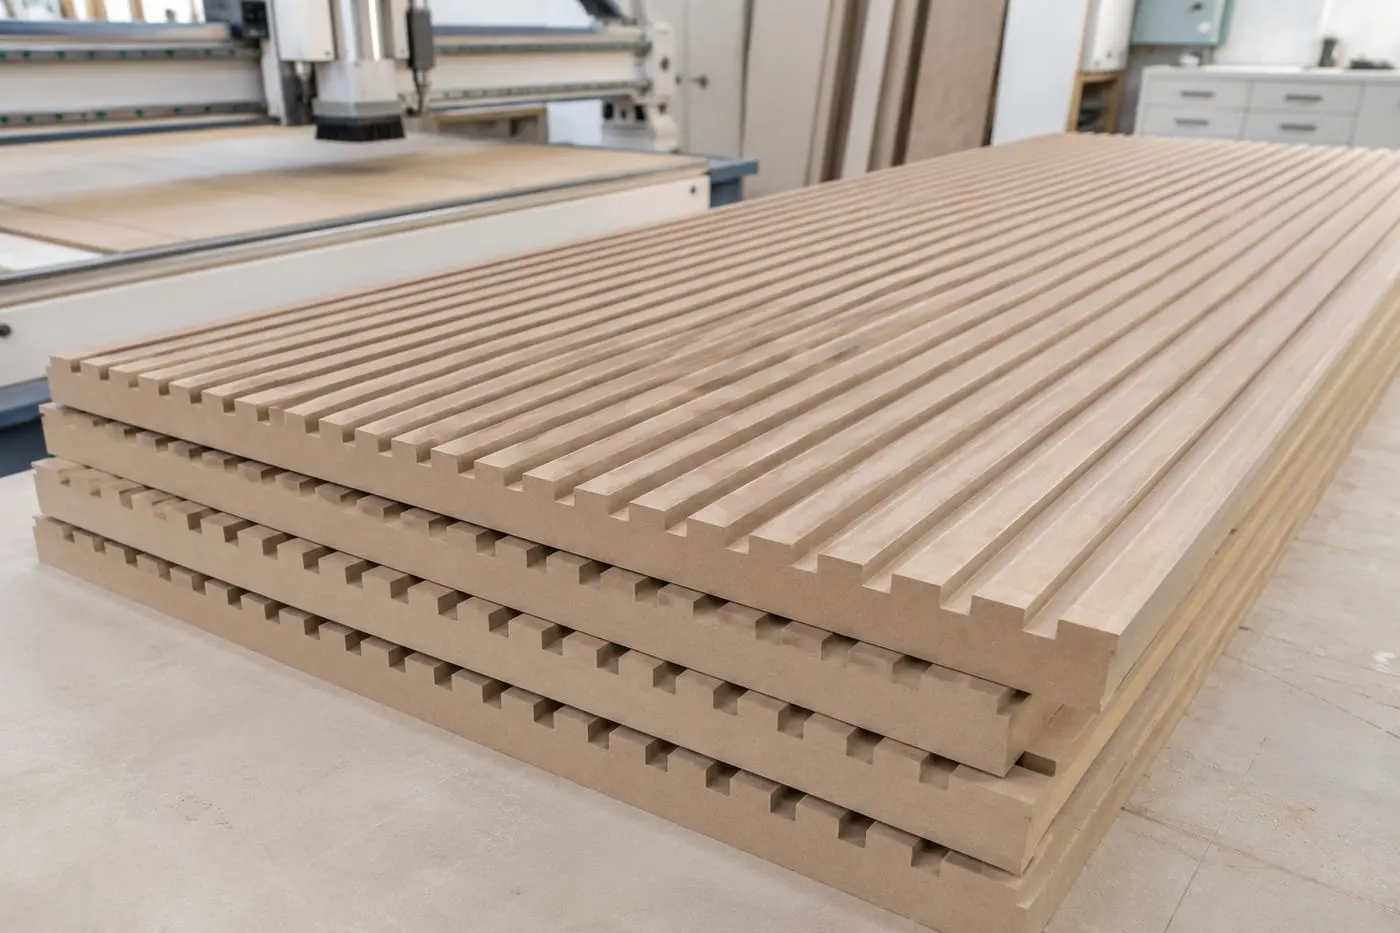
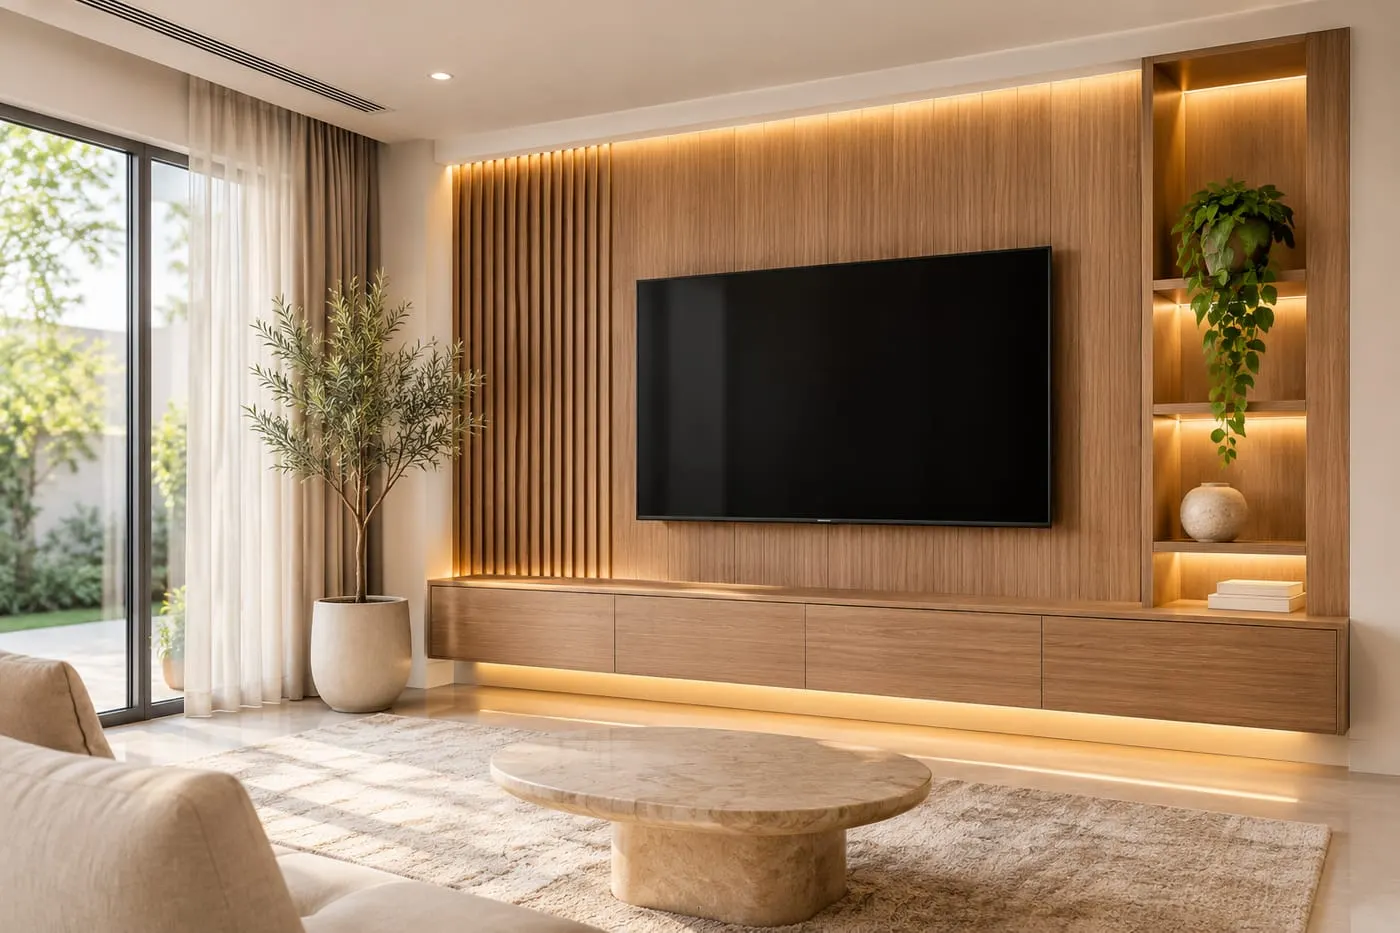
The geometry does most of the work. A fluted panel is a row of ribs with grooves between them, and the grooves are small ledges facing up and into the room. Dust that drifts through the air lands on every upward-facing surface, and a groove holds it where a flat panel would let a cloth sweep it off. The deeper and narrower the groove, the more it keeps.
The room adds to it. A living room with an air conditioner moves dust in a steady slow circuit; a balcony door that opens in dusty weather lets more in; a console beneath the wall holds equipment that warms the air and lifts it past the panel. None of this is a fault of the wall. It simply means a fluted wall rewards a short regular routine, and punishes a long gap followed by a hard scrub.
Our dark versus light TV wall guide explains why dark finishes show dust more than light ones, and a matt mid-tone hides it best; the care routine below applies to every tone, but a dark fluted wall will ask for it a little sooner.
The weekly dry routine: top to bottom, lift and leave
Dry cleaning is the whole of the weekly job. Start at the top of the wall, with the TV off, and work down so that loosened dust falls onto a surface you have not cleaned yet. Use a soft brush, such as a clean paint brush or a dusting brush with soft bristles, and draw it along each groove rather than across it. Hold a vacuum with a brush head just below the brush to catch what lifts, or follow with the vacuum alone on its lowest setting.
A microfibre cloth is useful for the rib faces, and EGGER's cleaning page says microfibre works best for wiping laminate, but a cloth only touches the crests of a fluted surface. Use it after the brush, not instead of it. Shake the cloth outside, or wash it, once it carries visible dust; a dirty cloth just moves dust around.
Five minutes a week is enough for most living rooms. The soft brush and the cloth can live in a drawer of the media wall console, and the habit lasts if the tools are within reach. If you want a longer run, brush the wall while you tidy the room so the dust settles on the floor, then vacuum the floor.
Which tool reaches the bottom of a groove
The diagram shows a fluted profile in section with dust in the grooves and three tools approaching. A flat cloth rides on the crests and passes over the dust. A soft brush's bristles go into the groove and lift the dust out. A vacuum brush head carries the lifted dust away so it does not settle again. The right sequence is brush, then vacuum, then cloth.
The groove width matters. Wide, shallow flutes can be cleaned with a cloth wrapped around a flat, soft edge; narrow, deep ones need a brush. If you are choosing a profile, the fluted TV wall panels guide explains how width and depth change the look, and our experience is that a wider groove is easier to care for. If your wall is already built, a brush with bristles slightly narrower than the groove does the job.
Do not use a stiff brush, a scouring pad or a rough sponge. EGGER lists abrasive powders, steel wool and tools with rough textures among the things to avoid on laminate. The groove floor is the part of the finish you cannot easily see, so protect it.
- 1. A flat cloth wipes the rib tops and passes over the dust
- 2. A soft brush reaches into the groove
- 3. A vacuum brush head lifts the dust away
The monthly damp wipe: how to do it properly
Once the dust is gone, a damp wipe removes fingerprints and the fine film that dry cleaning leaves. EGGER's page on cleaning laminate worktops says to use a damp, not soaking, soft cloth or sponge, with a mild agent such as diluted washing-up liquid or glass cleaner, and to dry with a clean, dry cloth. Formica's care page says much the same: a damp cotton cloth with mild detergent, then a rinse with clean water, then dry. Both are manufacturer guidance for their laminates.
In practice: fill a bowl with warm water and a few drops of mild soap, dip a microfibre cloth, wring it until it stops dripping, and wipe each rib face top to bottom in one direction. Follow with a second cloth wrung out in plain water, and then dry. Do not spray liquid directly onto the wall. A spray runs into the grooves and the joints, and one drop in the wrong place is how swelling starts.
Work in sections no wider than your arm, and dry as you go, so no moisture sits while you clean the next section. In the UAE the air conditioning dries the surface quickly, but do not rely on that near edges.
What to use and what to keep away from the wall
The safe kit is short: a soft brush, a vacuum with a brush head, two or three microfibre cloths, mild soap and a bowl. EGGER's guidance for laminate also names what to avoid: abrasive powders, steel wool, tools with rough textures, strong acids such as descalers and oven cleaners, and steam cleaning, which it does not recommend. It adds that harsh chemicals or strong solvents at edges and joints can cause stress cracks or whitening.
For a stain that soap will not lift, check the care sheet for your finish before trying anything stronger. EGGER mentions a small amount of acetone or methylated spirits, used sparingly, for ink or marker on its laminate worktops. We would not use a solvent on a vertical TV wall without testing it first on a spot you cannot see, and not at all on veneer or lacquer unless the care sheet says so.
If you are unsure, do nothing and ask us. A stain that has been left alone can be assessed; a stain that has been scrubbed with the wrong product usually cannot be reversed. A photograph on WhatsApp is enough for a first opinion.
- 1. Dust: a dry soft brush or vacuum brush head
- 2. Fingerprints and grease: a wrung-out cloth with mild soap, then dry
- 3. Ink or marker: the care sheet first, a tiny amount, tested out of sight
- 4. Keep away: abrasives, rough tools, steam, strong acids and solvents
How wet is too wet: the edges, joints and base
A TV wall is a board with a finish on it, and water that reaches the board is the one thing cleaning can do to harm it. Formica's care page warns against flooding laminate, particularly at seams, because the water can get through to the board below and swell it. EGGER says to keep joints and edges from being overly wet. The Composite Panel Association adds the physics: wood-based panels move as their moisture content changes, and a long run of laminated panel can warp if it is not designed for that movement.
That gives four zones. The top and the LED channel get dry dust only. The rib faces get a damp, wrung-out cloth. The edges and joints get a nearly dry cloth, and any water there is dried immediately. The base by the floor needs special care, because a mop splash is the most common source of moisture for the lowest part of the wall: wring the mop well, keep the head away from the base, and dry any splash.
Our humidity guide explains how the boards behave in UAE air, and the media wall warping and peeling guide explains what to do if you see swelling or lifting. The cleaning routine is the first line of defence against both.
- 1. Top and LED channel: dry dust only
- 2. Rib faces: a wrung-out damp cloth, then dry
- 3. Edges and joints: keep nearly dry
- 4. Base: watch the mop splash
Finish by finish: laminate, veneer, lacquer and marble-effect
Fluted walls are made in several finishes, and the care advice differs. Laminate is the most forgiving: the manufacturer guidance above applies, and a damp cloth with mild soap is the standard routine. Wood veneer has a thin natural layer under an oil or lacquer seal, so it should be wiped with a barely damp cloth and dried at once, and it should never be soaked. Sprayed lacquer takes a soft cloth and mild soap; the EGGER blog notes that rough cloths and melamine sponges can leave marks on glossy surfaces.
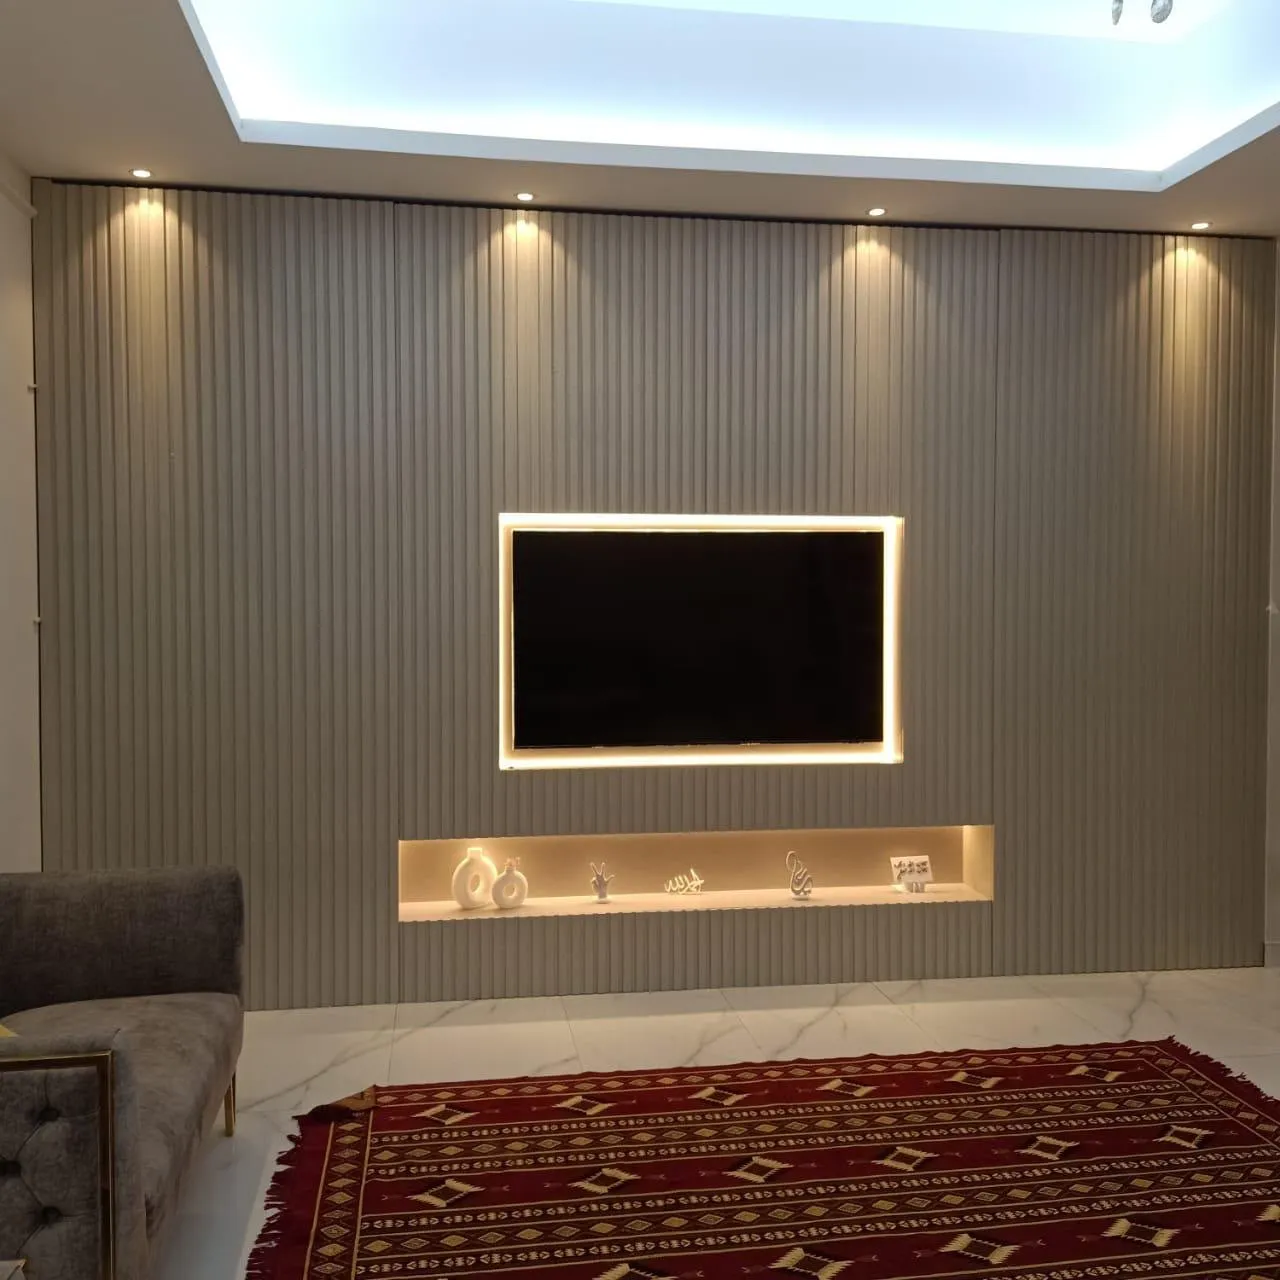
Marble-effect panels beside the fluting are usually smooth and are wiped like laminate, but check the sample, because the care of a specific surface comes from its maker. A dark charcoal fluted finish shows dust and marks sooner than oak or walnut, and gloss shows them most. Whatever the finish, the safest rule is to test any product on an out-of-sight corner and to follow the care sheet.
We do not publish a single care note for all finishes because none would be true for all of them. At handover, ask for the care note for your own finish; our handover checklist lists the questions worth asking, and the colour and finish guide shows what lies under each finish.
Care at a glance, by finish
Laminate (matt or gloss)
- Dry dust
- Soft brush or vacuum brush head
- Damp wipe
- Wrung-out microfibre, mild soap, then dry
- Take extra care with
- Abrasives, steam, strong acids and solvents at edges
Wood veneer
- Dry dust
- Soft brush
- Damp wipe
- Barely damp cloth, dry at once, per its care sheet
- Take extra care with
- Standing water and strong cleaners
Sprayed lacquer
- Dry dust
- Soft brush
- Damp wipe
- Soft cloth, mild soap
- Take extra care with
- Rough cloths and abrasive sponges
Marble-effect panel beside the flutes
- Dry dust
- Soft cloth
- Damp wipe
- As its own sample sheet says
- Take extra care with
- Joints between panels
Laminate rows follow EGGER and Formica guidance for laminate; veneer, lacquer and marble-effect follow their own care sheets.
Cleaning around LED lighting
LED channels collect dust too, and they sit where the wall looks best. Switch the lighting off at its dimmer and let it cool. Brush the dust from the channel and the diffuser with a dry brush; wipe the diffuser with a barely damp cloth if needed, and dry it at once. Never spray cleaner into the channel, and never wet the driver housing.
Our own team installs the lighting inside the wall, so anything that looks wrong with the wiring is a call to us, not a DIY job. If a strip flickers, dims or fails, our guide to replacing a failed LED strip explains what to check; the lighting guide explains how the channels are built.
Fingerprints, grease, tape and scratches
Fingerprints and light grease come off with the damp wipe. Tape residue can usually be rolled off with a clean fingertip or a plastic card edge; EGGER says to scrape wax with a plastic spatula or card edge, never metal, and the same care applies to anything stuck on a wall. Children's marker needs the care sheet first.
Scratches are the one thing cleaning cannot fix. EGGER's page says its restoration advice will not fully remove deep scratches or gouges, so the best defence is prevention: keep bags, toys and ladders away from the wall, and put felt pads under anything that leans against it. If you scratch the finish, take a photo and send it to us; we can say whether the repair is a touch-up or a replacement of one panel.
Dusty days, children, pets and construction dust
On a dusty day, a quick pass with the dry brush saves a long job later. If your building has work going on nearby, or if you have just had a renovation, the wall will collect fine dust for weeks; brush it more often and delay the damp wipe until the air is calmer. If you are renovating the room itself, cover the wall during the work; our renovation guide describes how to protect a wall.
Children touch walls, so expect fingerprints at child height; a monthly damp wipe handles them. Pets rub against the base; a quick wipe of the lowest part keeps the finish clean and is the part of the wall most exposed to moisture, so keep it dry. In a rental, ask your landlord or building management in writing what finish care is expected; a clean wall helps at handover.
The rest of the wall: shelves, marble panels, the fireplace and the TV
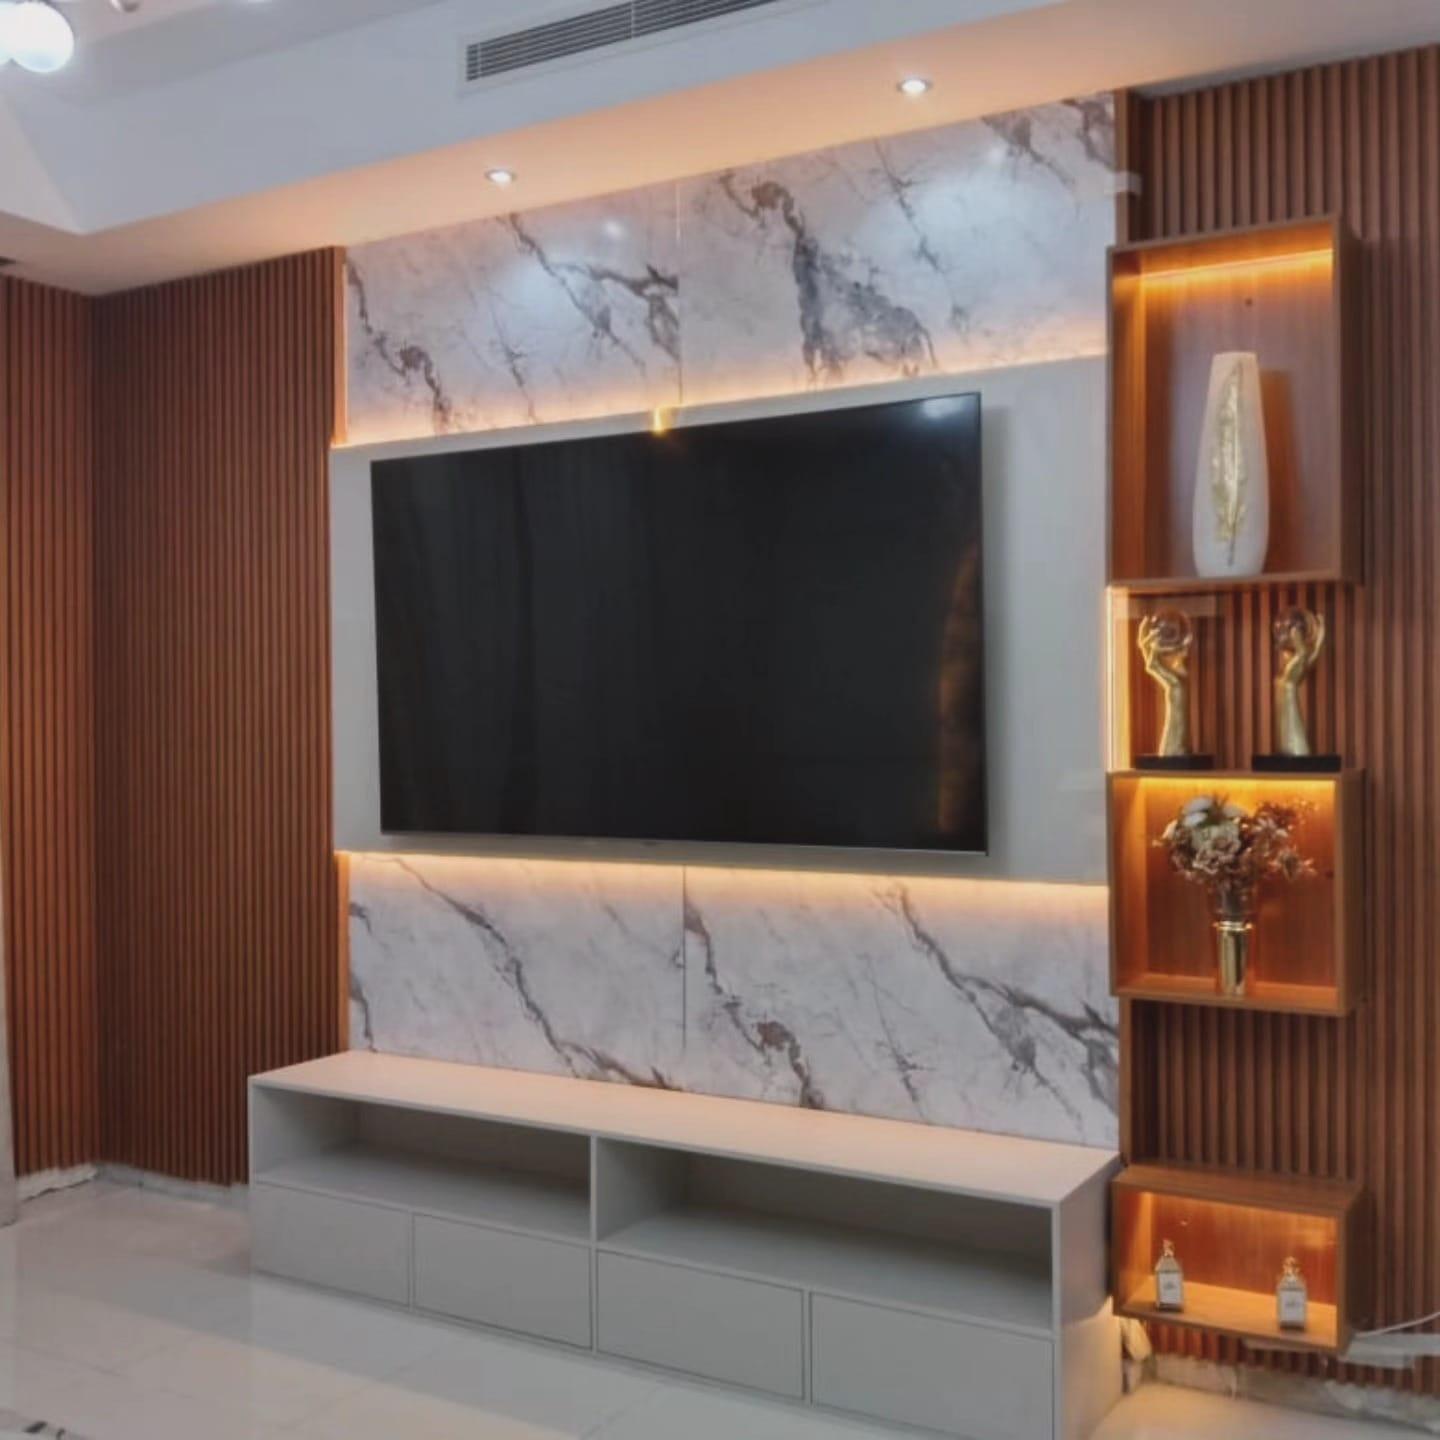
A fluted panel is rarely alone. Beside it there may be open shelves, which our guide to TV walls with shelves describes, a marble-effect panel, an electric fireplace or the screen itself. Each has its own care. Dust the shelves with the same dry brush before the grooves, so nothing falls onto a freshly cleaned rib. Wipe smooth marble-effect panels like laminate, and keep water out of the joints between them; the marble TV wall guide explains how the panels are fixed.
For an electric fireplace, switch it off and let it cool before wiping the surround, and follow its manual for the glass and the flame effect; our electric fireplace guide covers what the unit needs. The TV screen has its own manufacturer care instructions: do not use the cloth you used on the wall, and do not spray the screen. Cleaning the console below is easier when you keep a separate cloth for equipment.
Think of the wall as a sequence: top to bottom, dry to damp, lighting last. A living room TV wall with five different surfaces needs five small decisions, and the routine in this guide covers the most common of them. Write the order on a card and keep it in the console drawer if more than one person cleans.
Mistakes that damage a fluted wall
The first mistake is spraying cleaner onto the wall. The second is a wet cloth dragged over loose dust. The third is scouring a mark; the finish is thin, and the mark you scrubbed becomes a patch you can see from the sofa. The fourth is steam, which EGGER does not recommend for laminate. The fifth is a strong cleaner at the edges.
The sixth is ignoring the base: the lowest panel is where mops, pets and cleaning splashes meet. The seventh is leaving dust for months and then trying to fix it in one go. The eighth is wiping the LED channel with a wet cloth. And the ninth is guessing: if you are not sure what a product does to your finish, test it out of sight or ask.
A cleaning kit and rhythm that lasts
Keep a small kit where you can reach it: a soft brush, a vacuum with a brush head, three microfibre cloths, a bowl and mild soap. Weekly, brush the grooves from the top down and vacuum. Monthly, wipe the faces with a wrung-out cloth and dry them. Every three months, look at the edges, the joints, the LED channel and the base. Once a year, photograph any swelling or lifting and send it to us early.
The rhythm is ours, from experience with fitted walls, not a manufacturer's standard; adjust it to your own dust. A household that opens its balcony doors every day will brush more often than one that keeps them shut.
- 1. Weekly: dry dust, top to bottom
- 2. Monthly: wipe the faces damp, then dry
- 3. Every 3 months: check edges, joints, LED channel and base
- 4. Yearly: photograph any swelling or lifting
What we do about it
We build fluted TV walls in our Sharjah workshop, with acoustic fluted slats in oak, walnut or charcoal and wood-based boards in MDF, plywood or other suitable boards, finished in laminate, veneer or lacquer according to the quotation. Our own team installs the lighting inside the wall, with soft-close hinges on any doors, concealed wiring and 3000K or 4000K LED channels with dimmers where the design needs them.
A media wall starts from AED 3,500 per project for a compact panel with a floating console in standard laminate; the final figure comes from the quotation. We agree the measurements and details, a 60% advance is paid, and production starts once it is received. Work is ready in up to about 10 days, depending on size and design. Wood-based boards carry a 5-year limited warranty; hinges, runners, labour and misuse are excluded, so ask us in writing what the terms say about cleaning and moisture. The founder, Ali Haider Basra, has 10 years in the trade.
See our media walls service page, the wooden feature walls and the display shelving walls; for local information the Dubai media wall page; and for budget the pricing guide and the media wall price guide.
Send us a photo on WhatsApp
If you are not sure how to clean your wall, or you see a mark, swelling or lifting, send us a WhatsApp photo of the wall and a close-up of the problem, with what you have used on it so far. If you are planning a new wall and want to know how easy it will be to care for, send the wall photo, the TV size and the finish you like. Our guide on what to send for a media wall consultation lists the rest.
Common questions
How do I clean the grooves of a fluted TV wall?
Use a soft brush along each groove from the top down, with a vacuum brush head to catch the dust, then a wrung-out microfibre cloth on the rib faces and a dry cloth. Do not spray liquid on the wall. The fluted TV wall guide covers the profiles.
Can I use a wet cloth on a fluted panel?
Use a damp, wrung-out cloth only. Formica warns that water near seams can swell the board beneath, and EGGER says to keep edges and joints from being overly wet. Dry as you go. See humidity and MDF.
How often should I clean a fluted TV wall?
We suggest a dry brush weekly, a damp wipe monthly, a look at the edges and LED channel every three months and a photo check yearly. A dusty home brushes more often. See the colour and finish guide.
What should I never use on fluted panels?
Abrasive powders, steel wool, rough tools, steam cleaners and strong acids or solvents, especially at edges; EGGER lists these for laminate. Check the care sheet for veneer or lacquer. See replacing a failed LED strip for the lighting.
How do I clean the LED strip on a media wall?
Switch it off, let it cool, brush the dust out of the channel and wipe the diffuser with a barely damp cloth, dried at once. Never spray cleaner into the channel. See the lighting guide.
What if the panel is swelling or lifting?
Stop wetting it, dry the area, take a photo and send it to us. See why a TV wall warps or peels.

Sources & specifications
Manufacturer information applies to the named products and systems. Sources reviewed on 13 November 2026.
Want this planned for your home?
Consultation and measurement are free. Tell us the rooms, location and what you need; we arrange a sample visit and define the measured quotation.