Media Walls · 22 min read · 20 October 2026
Where a media wall meets the ceiling: shadow gaps, cornices and cove lighting
How a TV wall should meet the ceiling in the UAE: butt joint, shadow gap, cornice or cove, uneven ceilings, gypsum, AC grilles, light at the top and the order of work.

By Ali Haider Basra, Founder, Al Tareeq Decor · Contact our workshop
Key takeaways
- There are four ways to meet a ceiling: butt joint, shadow gap, cornice or cove; choose by the ceiling you actually have, and use a shadow gap if you are unsure.
- Ceilings are rarely level: we laser them at both ends and in the middle, then draw how the gap is closed (scribe, step or filler strip).
- Gypsum ceilings are boards on a frame and soften with moisture: the wall's weight goes to the wall and floor, and any leak above is fixed first.
- Plan the cove's driver access, the AC grille, downlights and the curtain pocket, and ask building management in writing before touching any ceiling fitting.
- Ceiling first, wall second: measure the finished ceiling, then cut the panels. Media walls start from AED 3,500 per project.
On this page
- Key takeaways
- The last ten centimetres decide whether a wall looks built-in
- Four ways to meet a ceiling
- Choosing among the four
- Which junction for which ceiling
- Ceilings are rarely level: measure, then draw
- Gypsum ceilings: what they do and what the wall should not ask of them
- Light at the top: how a cove works with a media wall
- Air-conditioning grilles, downlights and curtain pockets near the wall
- Full height, stopping short, or crowned?
- Ceiling first, wall second: the order of work
- Paint, filler and who finishes the line
- Access, dust and cleaning at the top
- High ceilings and double-height lounges
- An existing ceiling with cracks, stains or a patch
- With the TV on: how the junction looks at night
- One apartment, walked through
- Mistakes at the top of a wall
- Our part at the ceiling line, and the WhatsApp message to send
- Common questions
The last ten centimetres decide whether a wall looks built-in
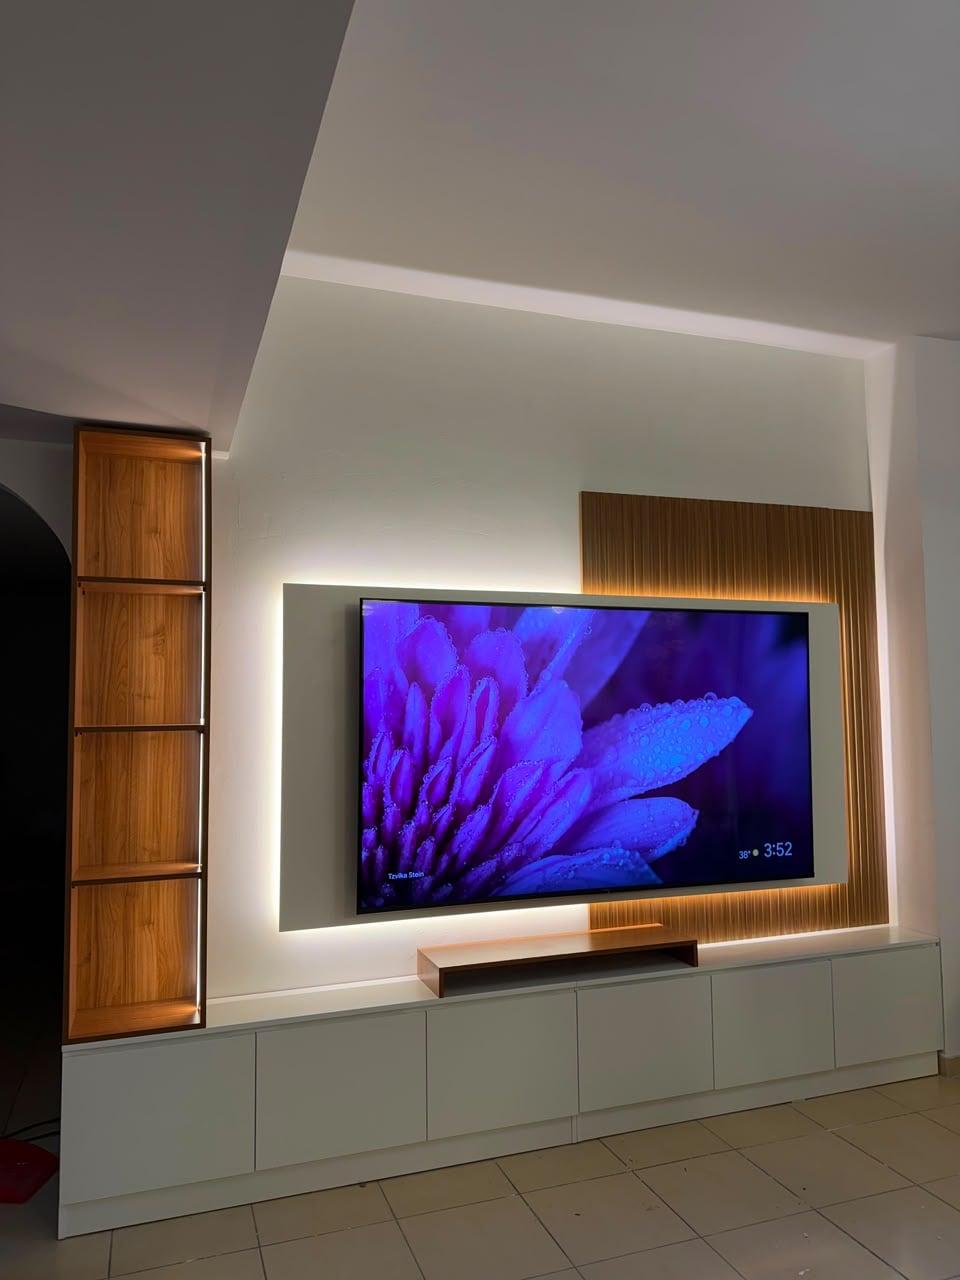
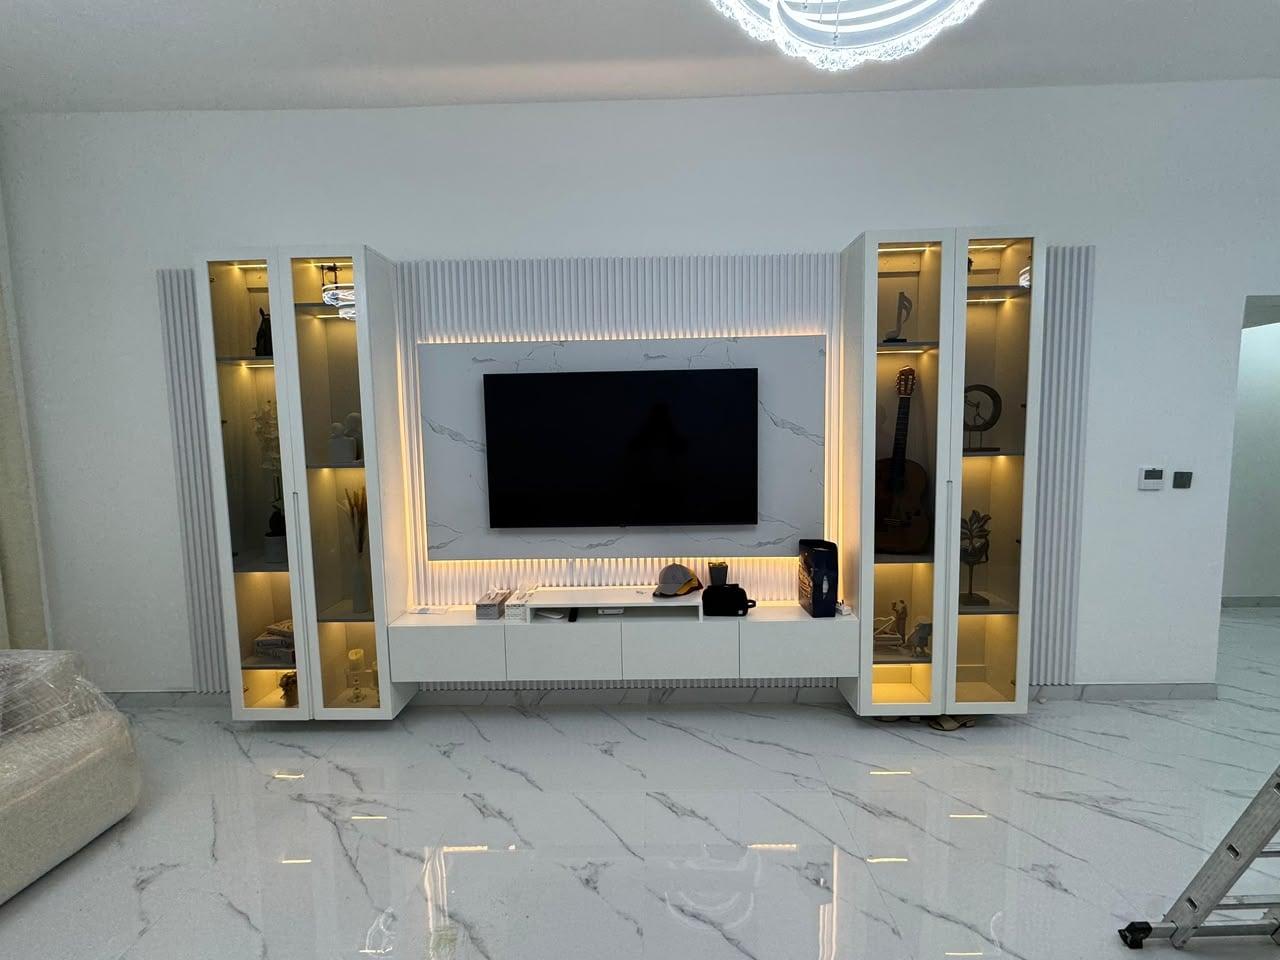
Look at a well-made TV wall from the sofa and your eye does not go to the screen first. It goes to the edges: where the panels meet the floor, where they meet the side walls and, above all, where they meet the ceiling. If the top of the wall ends in a clean, deliberate line, the whole wall looks as if it belongs to the room. If it ends in a wobbling gap, a crack or a strip of filler that does not match, the wall looks like furniture that was pushed against the ceiling.
This guide is about that junction. It covers the four ways a media wall can meet a ceiling, why a ceiling is rarely level, what gypsum ceilings do that panels must respect, how cove lighting at the top works, where air-conditioning grilles and curtain pockets fit, and in which order the work should happen. It does not repeat ceiling types, prices or designs; those are in our guides on gypsum ceilings versus other ceilings and false ceiling designs for living rooms and majlis.
We build the wall; the ceiling is usually someone else's work, whether the building's, an interior designer's or a ceiling contractor's. So a good part of this article is about how the two trades meet: who measures what, who finishes which edge, and what should be agreed before either starts.
Four ways to meet a ceiling
The drawing shows the top of the wall in section, room on the left, for the four junctions we see most. Each one answers a different question: how tight, how forgiving, how decorative and how bright.
The first is a butt joint with a paint line. The panel runs right up to the ceiling and the join is finished with a thin line of paint or sealant. It is the cleanest look, and the least forgiving: if the ceiling is out of level by even a few millimetres, the line shows it. The second is a shadow gap, in which the panel stops a little short and the dark reveal reads as a deliberate line. It hides small differences and is a favourite in contemporary interiors. The third is a cornice. Wikipedia defines a cornice as a horizontal decorative moulding that crowns a building or a piece of furniture, and notes that a simple cornice may be formed with a crown moulding atop an interior wall or above a bookcase; on a media wall it crowns the tall units and covers the joint. The fourth is a cove: the panel stops short and a recess above it holds an LED strip, so light washes the ceiling and the upper wall.
- 1. Butt and paint line: the tightest look, and an uneven ceiling shows at once
- 2. Shadow gap: a dark reveal hides small differences
- 3. Cornice moulding: crowns the wall and covers the joint
- 4. Cove with LED: the panel stops short and light washes the ceiling and the wall
Choosing among the four
No junction is best everywhere. Choose by the ceiling you actually have. If the ceiling has been checked and is straight, a butt joint is beautiful. If you are not sure, a shadow gap is the safe choice, because the gap absorbs the differences. If the wall is tall and traditional in feeling, with doors and shelves to the top, a cornice finishes it with an old-world confidence that suits many UAE living rooms and majlis. If the room already has a drop ceiling with a cove, the wall should respect it rather than fight it.
The table below sets the four against the questions we hear most. The cost column is direction only: butt joints and shadow gaps are the simplest to build, cornices add a moulding and a finishing step, and coves add the recess, the LED and the electrical work. Your quotation states the figure.
Which junction for which ceiling
Butt and paint line
- Best when
- The ceiling has been measured and is straight
- Watch for
- Any movement or slope shows as a line
- Cost direction
- Lowest
Shadow gap
- Best when
- You are unsure of the ceiling, or want a modern line
- Watch for
- A dark gap collects dust; keep it shallow and wipeable
- Cost direction
- Low
Cornice moulding
- Best when
- A tall unit, a traditional or classic room
- Watch for
- Mitred corners and paint matching
- Cost direction
- Medium
Cove with LED
- Best when
- A drop ceiling is planned, or exists
- Watch for
- Heat, access to the driver, dust on the ledge
- Cost direction
- Highest
Direction only; the figure comes from the quotation after a free measuring visit.
Ceilings are rarely level: measure, then draw
Builders work to tolerances, and a ceiling slab or a finished gypsum ceiling can slope a few millimetres across a living room. Over a three-metre wall that can mean a gap that is nil at one end and a finger wide at the other, exaggerated in the drawing below so that you can see the effect. A panel top that is dead level looks wrong against a ceiling that is not, and one that follows the ceiling looks wrong against a level floor, so the answer is a decision, not a guess.
We measure the ceiling at both ends and in the middle with a laser at the free measuring visit, and note the readings on the survey. Then the drawing chooses how to close the gap: scribe the panel top to follow the ceiling line; step the top and let a shadow gap hide the change; or add a thin filler strip, painted to match, along the top. Each has a different look and a different cost, and the choice belongs on the drawing before cutting starts. Our measuring visit guide lists the other measurements taken on the day.
Tell us if the ceiling is going to change. A ceiling that is yet to be installed, repainted or lowered will not match today's reading, and if the wall is built to the old reading it will meet the new ceiling badly. The best moment to build the wall is after the ceiling is finished and checked, and the section on order of work below explains why.
- 1. The gap is widest at one end and nil at the other, and the drawing must say how to close it
- 2. Scribe: cut the panel top to follow the ceiling
- 3. Shadow gap: step the top and let a dark reveal hide the change
- 4. Filler strip: a painted strip closes the gap
Gypsum ceilings: what they do and what the wall should not ask of them
Most modern UAE apartments and villas have gypsum board ceilings, at least in part, often with drops, coves and recessed lights. Wikipedia describes drywall as a layer of gypsum plaster sandwiched between two layers of paper, finished at the joints with layers of joint compound. That is a good surface for paint, and a poor one for carrying loads.
Two features of gypsum matter for a wall that meets it. First, it is a board hung on a frame, so a ceiling is not a place to hang weight from. Ask the drawing to show that the weight of the wall, the screen and its fittings goes to the wall behind and to the floor, and not to a ceiling board. Second, gypsum is affected by moisture: Wikipedia notes that gypsum will soften with exposure to moisture and that water entering from overhead can cause ceiling drywall tape to separate. If there is a leak or damp above a ceiling, fix it before the wall goes up, because a new wall will hide the stain and the board it sits against.
These points are the reason we ask you to tell us about the ceiling's history: any cracks, any stains, any recent leaks, any plan for the floor above. A crack that runs along the line where the wall will meet the ceiling is worth a photograph. Our guide to the price of gypsum ceilings and their specifications explains how the ceiling itself is built, and the media wall renovation guide covers existing rooms.
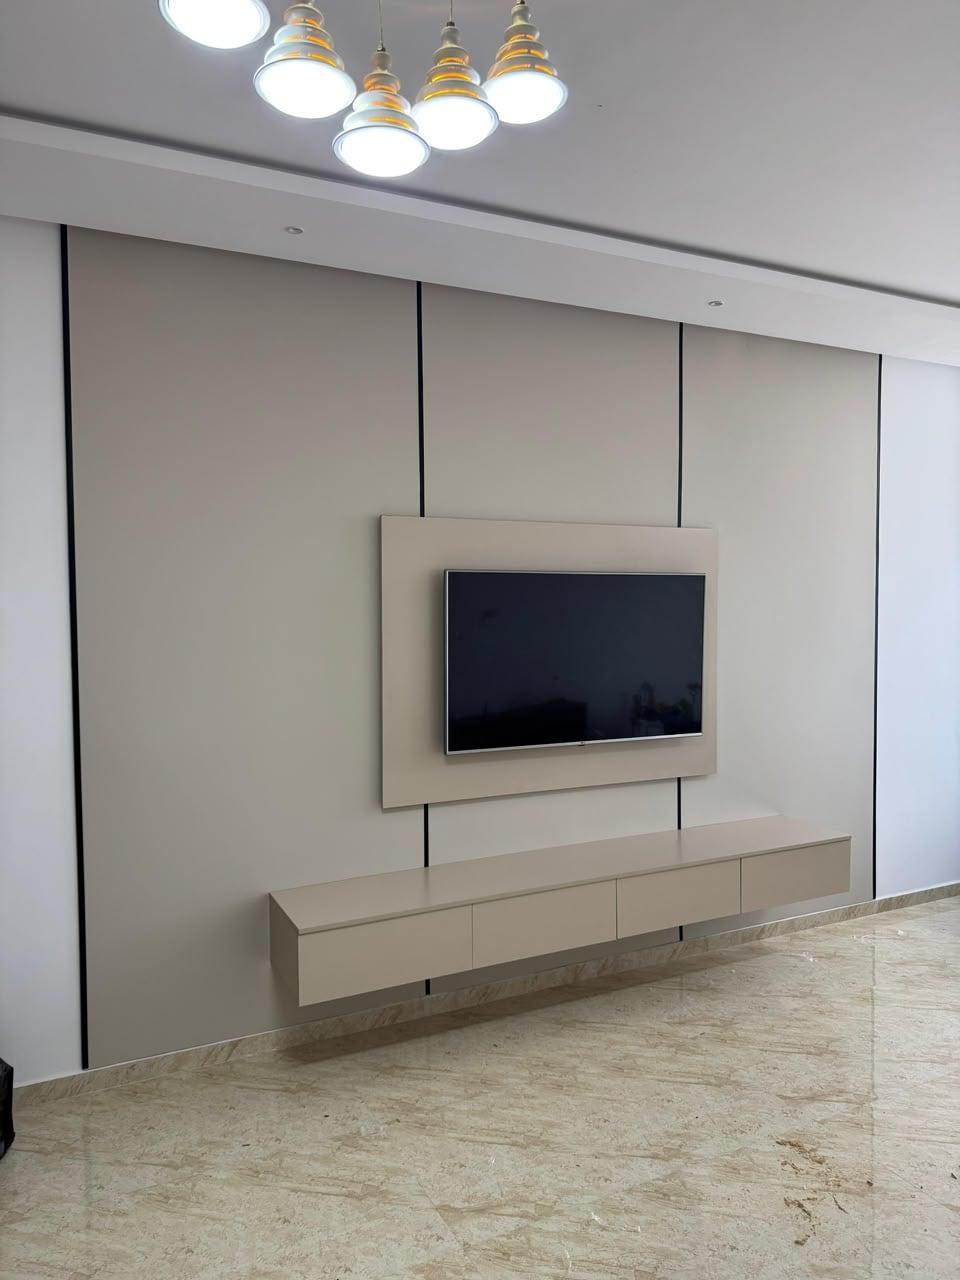
Light at the top: how a cove works with a media wall
Cove lighting is the most common way to light the top of a wall. Wikipedia defines it as a form of indirect lighting built into ledges, recesses or valances in a ceiling or high on the walls of a room, directing light up toward the ceiling and down adjacent walls. It is valued, the article says, because it hides the fixtures and gives a very even light, and it is usually installed with LED strips.
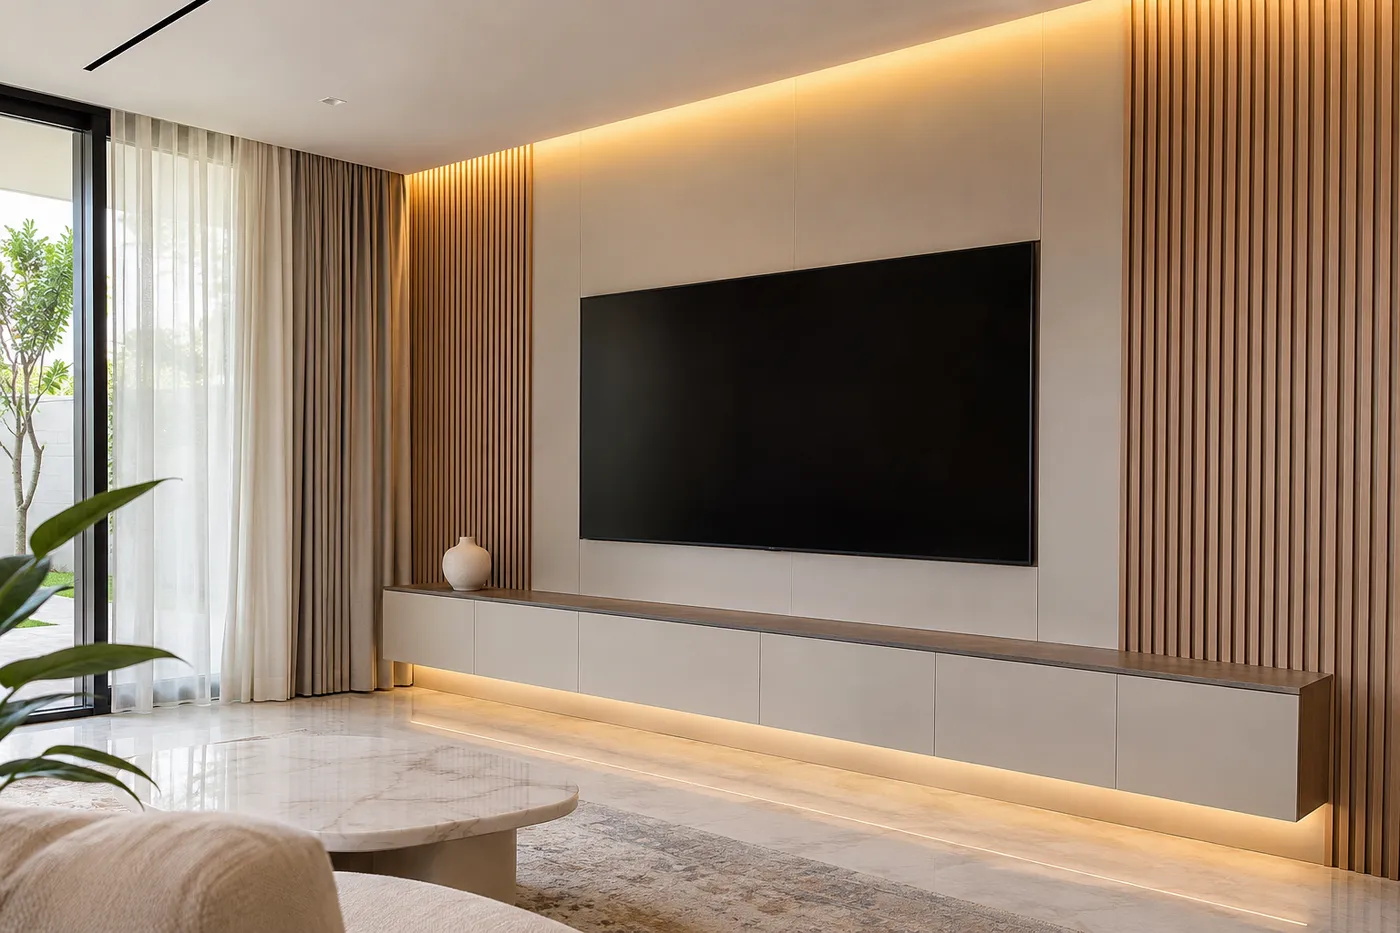
On a media wall the idea works in two ways. The cove can be part of the ceiling, with the LED set in a drop above the wall so that the panel runs up to it. Or the cove can be part of the wall: the panel stops short of the ceiling and a ledge on top of it carries the LED, as in the drawing. In both cases the LED is hidden from a seated eye, the light grazes the surface of the ceiling and the upper wall, and the room feels taller. Our LED channels come in 3000K warm or 4000K neutral with dimmers, as on our service page, and the dimmer is what lets the cove be a soft glow for the evening and almost off at night.
Plan four practical things with the cove. Put the driver where it can be reached behind a lift-off panel; heat and a closed box shorten its life. Keep the cove shallow enough that the strip is not visible from the sofa. Use a plain, wipeable ledge, because a top surface collects dust and a cloth must reach it. And keep the strip's cable on a route that can be pulled through again, as in our cable management guide. For layouts and colours of light, see media wall lighting ideas and gypsum ceiling lighting basics.
- 1. The LED strip sits on the top ledge, hidden from the seated eye
- 2. The light washes the wall above and the ceiling, as in the cove-lighting definition
- 3. The AC grille is kept clear so the airflow is not blocked
- 4. The top ledge collects dust: keep it plain and reachable
Air-conditioning grilles, downlights and curtain pockets near the wall
A ceiling near a TV wall often holds other things. There may be a supply or return grille for the air conditioning, a row of downlights, a smoke detector, a curtain pocket for the window beside the wall, or all of them. The wall must work with them, not against them.
Look at the ceiling plan if you have one, or at the ceiling itself. A grille too close to the top of a panel can blow cold air straight onto an LED strip or a ledge, causing condensation or blowing dust along the top. A grille blocked by a cornice stops doing its job. A downlight directly above the panel top will graze it with harsh light and show every imperfection in the paint line. And a curtain pocket that meets the wall at a corner needs the panel and the pocket to agree on where one ends and the other begins; our guide on curtain pockets in gypsum ceilings explains the pocket side of that meeting.
Do not move any ceiling fitting without asking the people responsible. Smoke detectors, sprinkler heads and access hatches belong to the building's systems, and the rules about them are the building's and the authority's, not ours. Ask building management in writing before covering, moving or boxing in anything, and tell us what they say. The wall can be drawn around a fitting; the fitting should not be moved around the wall.
Full height, stopping short, or crowned?
How high should the wall go? The three answers give three different junctions. A full-height wall runs from floor to ceiling and uses a butt joint or a shadow gap at the top. A wall that stops short, at the height of a door head or a picture line, leaves a band of painted wall above it; the junction is then with the paint, not the ceiling, and a small step or a cove ledge finishes it. A crowned wall, with a cornice or a pelmet, reads as classical.
The choice depends on the ceiling height, the room and the look. In a lower room, a full-height wall can feel heavy, and a wall that stops short with a lit cove above can add height visually. In a taller room or a villa lounge, full height makes sense, and the guide to full-wall or compact media walls lays out the trade-offs. For a tall wall in a high-ceilinged villa, ask how the top is reached for installation and for cleaning; a wall that cannot be reached is a wall that cannot be cleaned or serviced, a point covered in the villa TV wall guide.
Remember the sofa. From a seated position the top of a tall wall is a long way up and the eye reads the proportion, not the detail. A cove at the top is felt as light, a cornice as shadow and a butt joint as a line. Look at your choice from the seat before you approve it.
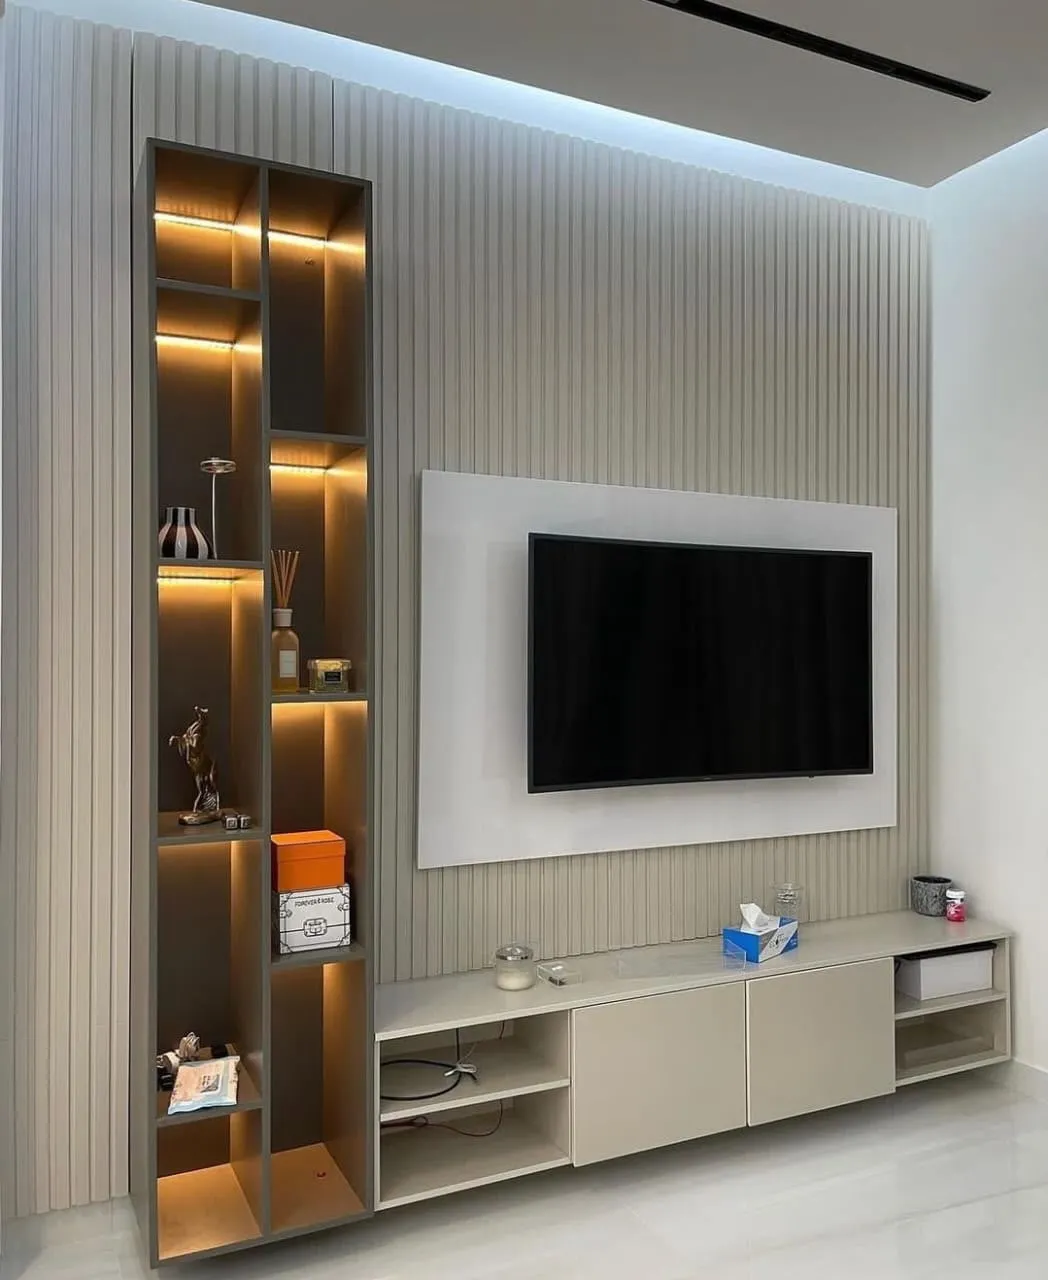
Ceiling first, wall second: the order of work
The ceiling and the wall should not be built at the same time and should not be built in the wrong order. The order in the drawing is the one we suggest and confirm at the measuring visit: ceiling work finishes first, with boards jointed and checked; we measure the finished ceiling with a laser at both ends and in the middle; the panel tops are cut from that reading in our Sharjah workshop; the wall unit is installed level and fixed to its frame; the junction is closed as drawn, whether trim, filler or shadow gap; and finally the LED is fitted and tested with its dimmer.
The reason for that order is simple. A wall built to a measurement taken before the ceiling is finished will be built to the wrong reading. A wall built before the ceiling is painted will be splashed, and the person painting the ceiling will have to work round it. The cleanest result comes from a finished ceiling and a wall made to measure.
If the ceiling is not going to be finished first, say so early, and we will draw the junction with more tolerance, using a shadow gap or a filler strip that is closed on site after the ceiling is done. The installation-day steps in our installation day checklist cover protection, marking, fixing and clean-up, and the handover checklist covers what to inspect at the end, including the top edge.
- 1. Ceiling boards jointed and checked; confirm who does it
- 2. Measure the finished ceiling with a laser at both ends and in the middle
- 3. Cut the panel tops in the workshop from that reading
- 4. Install the wall unit level and fixed to its frame
- 5. Close the junction as drawn: trim, filler or shadow gap
- 6. Fit the LED and test it with the dimmer
Paint, filler and who finishes the line
The line where wall meets ceiling is finished by someone with a brush or a sealant gun, and it is worth deciding who. If the ceiling painter finishes it, the line follows the ceiling colour. If our fitters close it, it follows the wall finish. Where the two colours meet at a butt joint, the person who closes it should have both paints, and should know the sheen of each; a satin wall against a matt ceiling can show the join as a band of reflection even when the colours are the same.
A shadow gap avoids that problem, because the gap is a dark recess and not a joint. A cornice moves it elsewhere, because the moulding is painted to match one or other surface. A cove makes the line disappear into the light. Whatever you choose, put the sheen and the colour code of the ceiling paint on the drawing and ask for a touch-up pot at handover, as suggested in our guide to media wall colours and finishes.
If a seasonal crack appears at the top years later, do not panic. Gypsum and board walls move slightly with temperature and moisture, and a thin line at a junction is the usual place for that movement to show. Send us a photograph and we will tell you whether it is cosmetic or a sign of something else, and what the finish round it needs.
Access, dust and cleaning at the top
The top of a wall is the part nobody sees and nobody cleans, until it is a line of dust on a dark ledge. Plan for it. A plain, shallow ledge is easy to wipe. A deep ledge with a groove collects dust and needs a vacuum nozzle. A fluted top edge, with open ends, collects it fastest of all, as the fluted panel guide explains for the profile itself.
Think about reaching it. A ledge at two and a half metres needs a stool or a step ladder, and a ledge at three and a half metres needs a proper ladder and a plan. For a cove that holds an LED and a driver, add access: a lift-off panel or an access hatch, drawn on the plan so that nobody cuts one in later. Our guide to ceiling access panels and maintenance explains why access points belong on the drawing.
The cleaning routine is the one for every finish: a soft cloth, slightly damp, then dry; no spray aimed at the joint; and an eye on the line where wall meets ceiling. If you see a gap opening or a paint line cracking, take a photograph with a date and keep it. Small changes are far easier to read in a series of photos than in memory.
High ceilings and double-height lounges
Villa living rooms and some tower penthouses have ceilings well above the usual height, and a few have a double-height void above the sofa. For those rooms the question is no longer how to meet the ceiling but whether to meet it at all. A wall that climbs six metres to a high ceiling is a large, heavy and difficult object to build, reach and clean, and it may look better stopping at a natural height with the wall above left as painted surface or a different material.
A good height to stop is a line that already exists in the room: the head of a door or a window, a gallery rail, the underside of a mezzanine or a beam. A wall that stops on one of those lines looks planned, because it echoes something else in the space. A wall that stops at a random height looks as if the budget ran out. If you are considering a very tall wall, ask how the panels are lifted into place, how the top is reached for fixing and cleaning, and whether any scaffolding or access equipment is needed; these are practical points, and the quotation should say who provides them.
Light matters even more in a tall room. A cove at the top of a high wall is too far from the viewer to read as a soft glow and may look like a thin line; a ledge lower down, at the top of a stopping-short wall, puts the light where the eye can enjoy it. Our guide on villa TV walls goes through the scale questions for large rooms, and the full-wall or compact guide covers how much of a wall to use.
An existing ceiling with cracks, stains or a patch
Not every ceiling is new. In a renovation the ceiling above the TV wall may have hairline cracks, a repaired patch or an old stain, and the new wall will be built right under it. Tell us before the visit, and send close photographs. A crack is not always a problem, but a stain tells us there was water, and water must be traced before anything is built beneath it.
If the ceiling will be repaired and repainted first, the junction can be as tight as you wish. If the ceiling will stay as it is, we would choose a junction that does not draw attention to it: a shadow gap or a cornice, which carry the eye along a line and away from a patch. A butt joint against a cracked ceiling invites the eye to compare the two lines.
The renovation guide shows the usual sequence for an existing room, from protecting the floor to closing the junction; read it with media wall renovation in mind. And if the ceiling above is the underside of a floor with a bathroom or a kitchen, ask your building about any leak history in writing, because a ceiling that has been wet once may be wet again, and a wall that has just been built will not forgive it.
With the TV on: how the junction looks at night
Most media walls are used in the evening, with the room dim and the TV bright. The junction looks different then. A shadow gap becomes a black line, which is usually the effect you want. A butt joint almost vanishes in the dark, unless a downlight above rakes along it and shows every flaw. A cornice casts a soft shadow and gives the wall a heavier, more formal feeling. A cove turns into a glow that frames the whole wall and sets the mood for the room.
Look at the junction in the evening before you approve a drawing. If you have a visualisation, ask what the lights are doing in it. Ask also what colour the cove will be: warm 3000K gives a golden, restful light that flatters wood and cream finishes, while neutral 4000K reads crisper and suits marble-look and white. A dimmer lets you choose different moods on different days, and our service page lists it as part of the LED channels we fit.
A last note on glare. A very bright strip aimed straight at the ceiling can reflect in the screen if the screen is a glossy one and the strip is close to it. If you are sensitive to that, tell us, and we will set the strip back, shade it or use a lower setting. The aim is a wall that frames the picture, not one that competes with it.
One apartment, walked through
Picture a two-bedroom apartment on a high floor with a gypsum drop ceiling around the living room, an LED cove already installed at the perimeter and a 2.7 metre ceiling height. The owners want a full-width TV wall with a marble-look panel behind the screen, fluted slats at the sides and a floating console. The ceiling is finished and painted; the cove is lit.
At the visit we measure the ceiling with a laser: there is a small difference between the left and right ends of the wall. We also see that the existing cove sits about where the top of the slats would be. The drawing therefore has the slats stop short of the drop, leaving the cove to light the top of the wall; the junction is a shadow gap that absorbs the difference in the ceiling line; the top of the slats is a plain edge, not a groove, so that dust is wiped in one pass; and the LED driver stays where it is, with the new lights wired to a lift-off panel.
The owners ask about the grille near the left end. It is two hundred millimetres from where the slats would end, so we leave a clear zone and tell the building's AC people what we plan. Before the work begins, building management confirms the working hours and the lift booking in writing. The result is a wall that appears to belong to the ceiling because every junction was decided on paper first.
Mistakes at the top of a wall
These are the faults we most often meet when a wall is brought in to meet a ceiling it was not drawn for.
- Building to a ceiling reading taken before the ceiling was finished.
- Using a butt joint against a ceiling that is not level.
- Hanging a wall from a ceiling board instead of fixing it to the wall behind.
- Blocking or boxing in an AC grille, a detector or an access hatch without asking.
- Placing a downlight right above a panel top, so it shows every flaw.
- Leaving the LED driver in a closed cavity with no access.
- Choosing a deep or grooved ledge that collects dust and cannot be wiped.
- Leaving the paint line unassigned, so nobody finishes it and the sheen does not match.
Our part at the ceiling line, and the WhatsApp message to send
At the free measuring visit we laser the ceiling at several points, look at the grilles, lights, pockets and cove around the wall, and draw the junction you choose, with its gap, trim or cove marked. The drawing and itemised price are approved before production; after measurements and details are agreed, a 60% advance is paid and production starts once it is received, with the remaining stage agreed with you. The boards are built in our Sharjah workshop and fitted by our own team, with dimmable 3000K or 4000K LED channels and concealed wiring where the design calls for them. A wall takes up to about 10 days depending on size and design. The 5-year limited warranty covers the wood-based boards only; hinges, runners, labour and misuse are excluded, and our 24-month workmanship warranty is a separate line. We have been in the trade for ten years under founder Ali Haider Basra.
To start, send us a WhatsApp message with a photo of the whole wall including the ceiling above it, a close photo of where the wall and ceiling meet, the ceiling height if you know it, the TV size and a photo of any crack or stain near the top. If there is a cove, a grille or a curtain pocket nearby, include it. Our guide to what to send for a media wall consultation lists the photos that help most, and our media walls service gives the range.
Common questions
Should a media wall touch the ceiling?
It can, with a butt joint and a paint line, but only if the ceiling is level; a shadow gap or a cove is more forgiving. Full-wall or compact media walls.
What is a shadow gap?
A small dark reveal where a panel stops short of the ceiling, so a small difference in the ceiling reads as a deliberate line. Media wall colours and finishes.
Can I add a cove light above a TV wall?
Yes: cove lighting hides the fixtures and washes the ceiling and the upper wall with indirect light, with the driver reachable behind a lift-off panel. Media wall lighting ideas.
Why is there a gap between my wall and the ceiling?
Ceilings are rarely level, so a gap that varies along the wall is common; it is closed by scribing, stepping or a painted filler strip. The media wall measuring visit.
Do I build the wall before or after the ceiling?
After: measure the finished ceiling, cut the panels from that reading, then fit and close the junction. Installation day.
Can a media wall cover a smoke detector or AC grille?
Not without asking: those fittings belong to the building, so ask building management in writing and tell us the answer. Ceiling access panels.
What should I send on WhatsApp for the ceiling junction?
A photo of the whole wall with the ceiling, a close photo of the junction, the ceiling height and any crack. What to send for a consultation.

Sources & specifications
Manufacturer information applies to the named products and systems. Sources reviewed on 10 November 2026.
- Wikipedia: Cove lighting (indirect light built into ledges and recesses; directs light up toward the ceiling and down adjacent walls; hides fixtures)en.wikipedia.org(opens in a new tab)
- Wikipedia: Cornice (horizontal decorative moulding that crowns a building or furniture element; crown moulding atop an interior wall)en.wikipedia.org(opens in a new tab)
- Wikipedia: Drywall (gypsum between two layers of paper; softens with moisture; water from overhead can separate ceiling tape)en.wikipedia.org(opens in a new tab)
Want this planned for your home?
Consultation and measurement are free. Tell us the rooms, location and what you need; we arrange a sample visit and define the measured quotation.