Media Walls · 17 min read · 14 October 2026
How to inspect a finished TV wall: tests, tools and a snag list
How to inspect a finished TV wall: the right light, a torch, a level, hinge and gap checks, what is normal for boards, and how to write a fair, specific snag list.

By Ali Haider Basra, Founder, Al Tareeq Decor · Contact our workshop
Key takeaways
- Inspect in daily light, from the sofa, the doorway and close up, in that order.
- A torch held low and close shows waves, joints and dents that front light hides.
- Use a level and your eyes: level shelves, equal door gaps and plumb edges.
- Uneven doors are a quick hinge adjustment the team can make before leaving.
- Write each finding the same day with place, description, date and a photo.
On this page
- Key takeaways
- How to inspect a finished TV wall, and how this differs from the handover list
- Ten minutes of preparation and four simple tools
- Step one: stand back and look at the whole wall
- Step two: surfaces under low, close light
- Step three: joints, edges and corners
- Step four: level, gaps and plumb
- Step five: doors, drawers and the hinges behind them
- Step six: the TV, the bracket and the screen's position
- Step seven: lights, power and the fireplace
- What is normal for boards, and what is a fault
- Common findings and what they usually mean
- Sorting findings and writing the snag list
- Four inspection mistakes, and how to avoid each
- A route through the room that does not miss anything
- What to say to the team during the inspection
- After the team leaves: living with the wall
- What we do about it, and the WhatsApp step
- Common questions
How to inspect a finished TV wall, and how this differs from the handover list
At the end of an installation you are asked to look at the wall and sign. Most people glance, see a handsome wall, and sign, then notice a crooked door or a waving panel a week later when the evening light rakes across it. The problem is not carelessness. It is that nobody has told them how to look. This guide is about technique: what to hold, where to stand, what light to use and how to tell a normal board characteristic from a real fault.
It sits beside two other guides. The handover checklist lists the zones and the paperwork of the sign-off, and installation day explains the work that happened behind the panels. Read this one in the half hour before the team finishes, with a torch and your phone, and you will write a snag list that is short, specific and fair.
Ten minutes of preparation and four simple tools
You do not need instruments. You need four things: a small torch, which a phone torch does well; a spirit level app on your phone or a short level; a roll of masking tape to mark findings without marking the wall; and a notepad or notes app. Ask the team to leave the room lights on and the curtains open as they are on a normal evening. Inspecting under work lights, which are bright and flat, hides most of what you want to see.
Plan your route. Start from the sofa, then the doorway, then close up, in that order. Checking from the far end first teaches you what the wall looks like in daily life, and the close inspection afterwards tells you whether anything seen at a distance is real. Allow the time. A rushed signature costs more than an unhurried half hour.
Step one: stand back and look at the whole wall
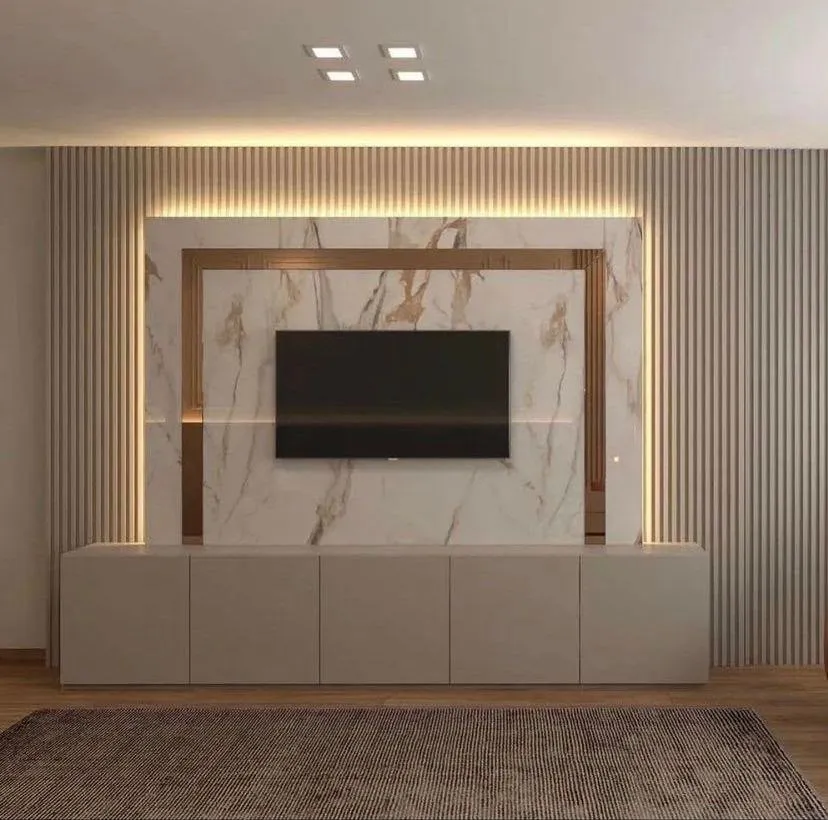
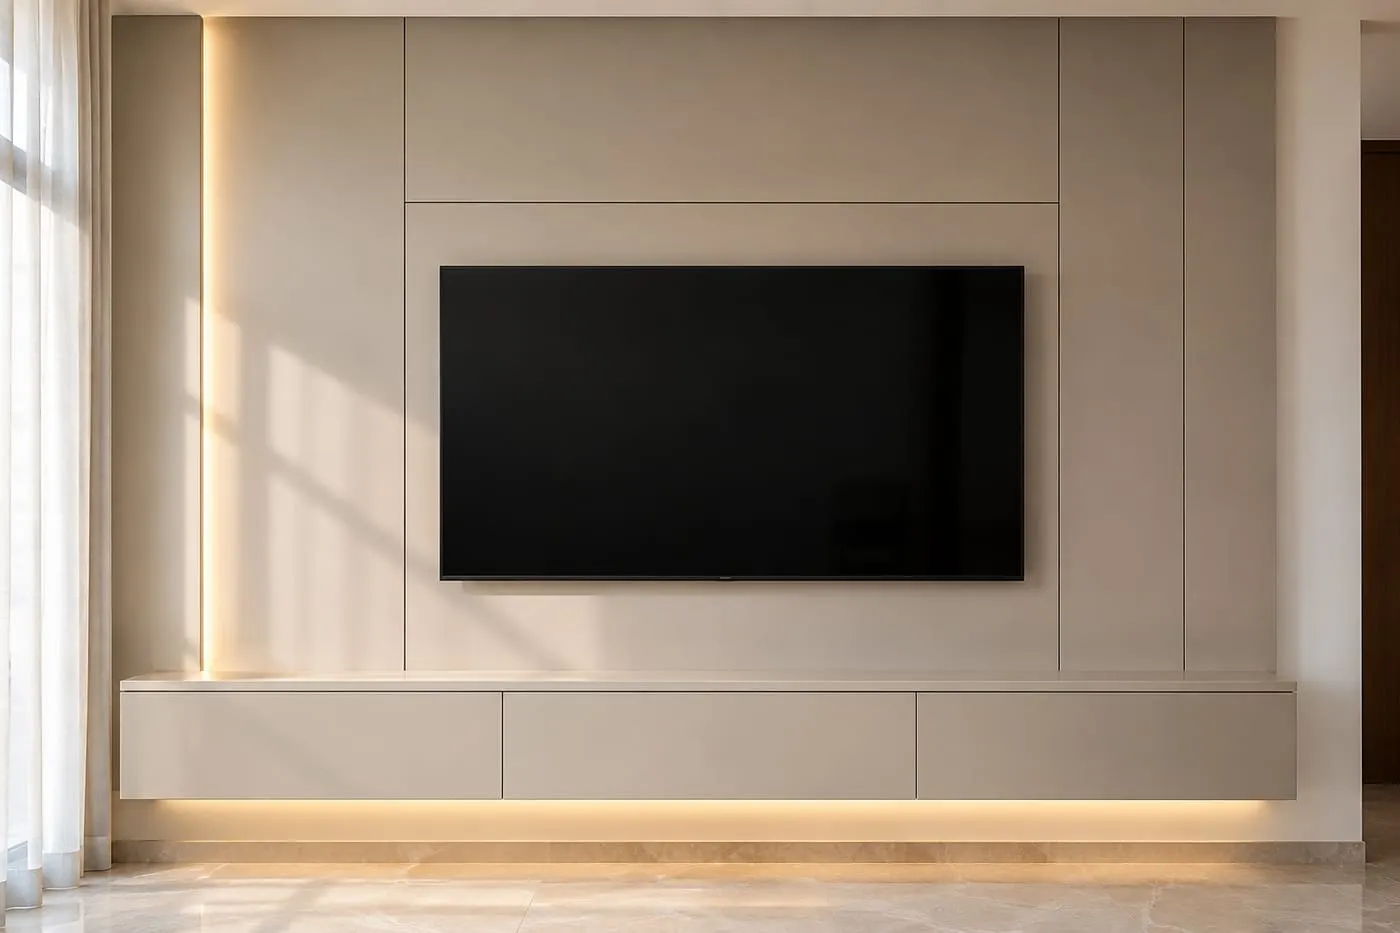
From the sofa, look at the wall as you will see it every evening. Is the TV centred on the panel? Are the two sides balanced? Do the shelf lines run level into each other? Are the lit areas even, with no bright spots or dark patches? The eye notices asymmetry at a distance much more reliably than at arm's length, so this is the moment to catch a centring error. Check the height of the screen against your eye line; the TV height guide explains what a comfortable position is, and TV size and viewing distance shows whether the screen suits the room.
Then stand at the doorway, which is the angle from which guests see the wall, and then at the side of the room. A wall can look perfect from the sofa and show an exposed edge or a visible joint from the door. This is not a flaw in the maker; it is a reminder that a finished wall is seen from many positions. If the wall includes slats or fluting, look along them; the fluted TV wall panels guide explains why a slight variation in spacing is easy to see from the side.
Step two: surfaces under low, close light
Hold the torch low and close to the wall, almost parallel to the surface, and sweep it slowly along each panel. Light that skims a surface throws a shadow behind every high point, so waves, dents, joints and proud edges appear that front light hides. This is the same trick that decorators use to find flaws in plaster. Do it panel by panel and mark what you see with a small piece of tape beside it, not on it.
Different finishes show different things. A laminate face should look even, with no bubbling at edges or corners. A lacquered face may show light orange-peel or a slight difference in sheen from one panel to the next, which is the first thing to compare against the sample you approved. A veneer shows grain, and a joint between two sheets should look like a considered pattern, not a surprise. The colour and finish guide explains what each finish does, and the finish sample approval guide is the reference to hold the wall against.
- 1. Front light: the surface looks flat and small waves hide
- 2. A torch held low and close throws shadows behind high points
- 3. Mark each finding with tape beside it, not on the wall
Step three: joints, edges and corners
Run a fingertip along each joint and edge. A good joint is even and tight, with no step you can feel, and the colour of an edge matches its face. Look at corners, where two surfaces meet: the line should be straight, the finish unbroken and any trim fixed firmly. At the junction with the ceiling and with the neighbouring wall, a small and even gap is intentional; boards move with humidity, and the European Panel Federation's guidance on MDF gives the example of a 600 mm wide panel swelling by about 1.5 mm between 35% and 85% relative humidity. A gap that is wide at one end and closed at the other is different, and is worth noting.
Edges are where cheap work shows first. Look for chips, rough corners, a visible core layer and any place where edging has lifted. If you are unsure whether a mark is a chip or a feature of the finish, photograph it and ask. The colour and finish guide shows junction details, and the guide on humidity and MDF explains why seasonal changes affect a joint.
Step four: level, gaps and plumb
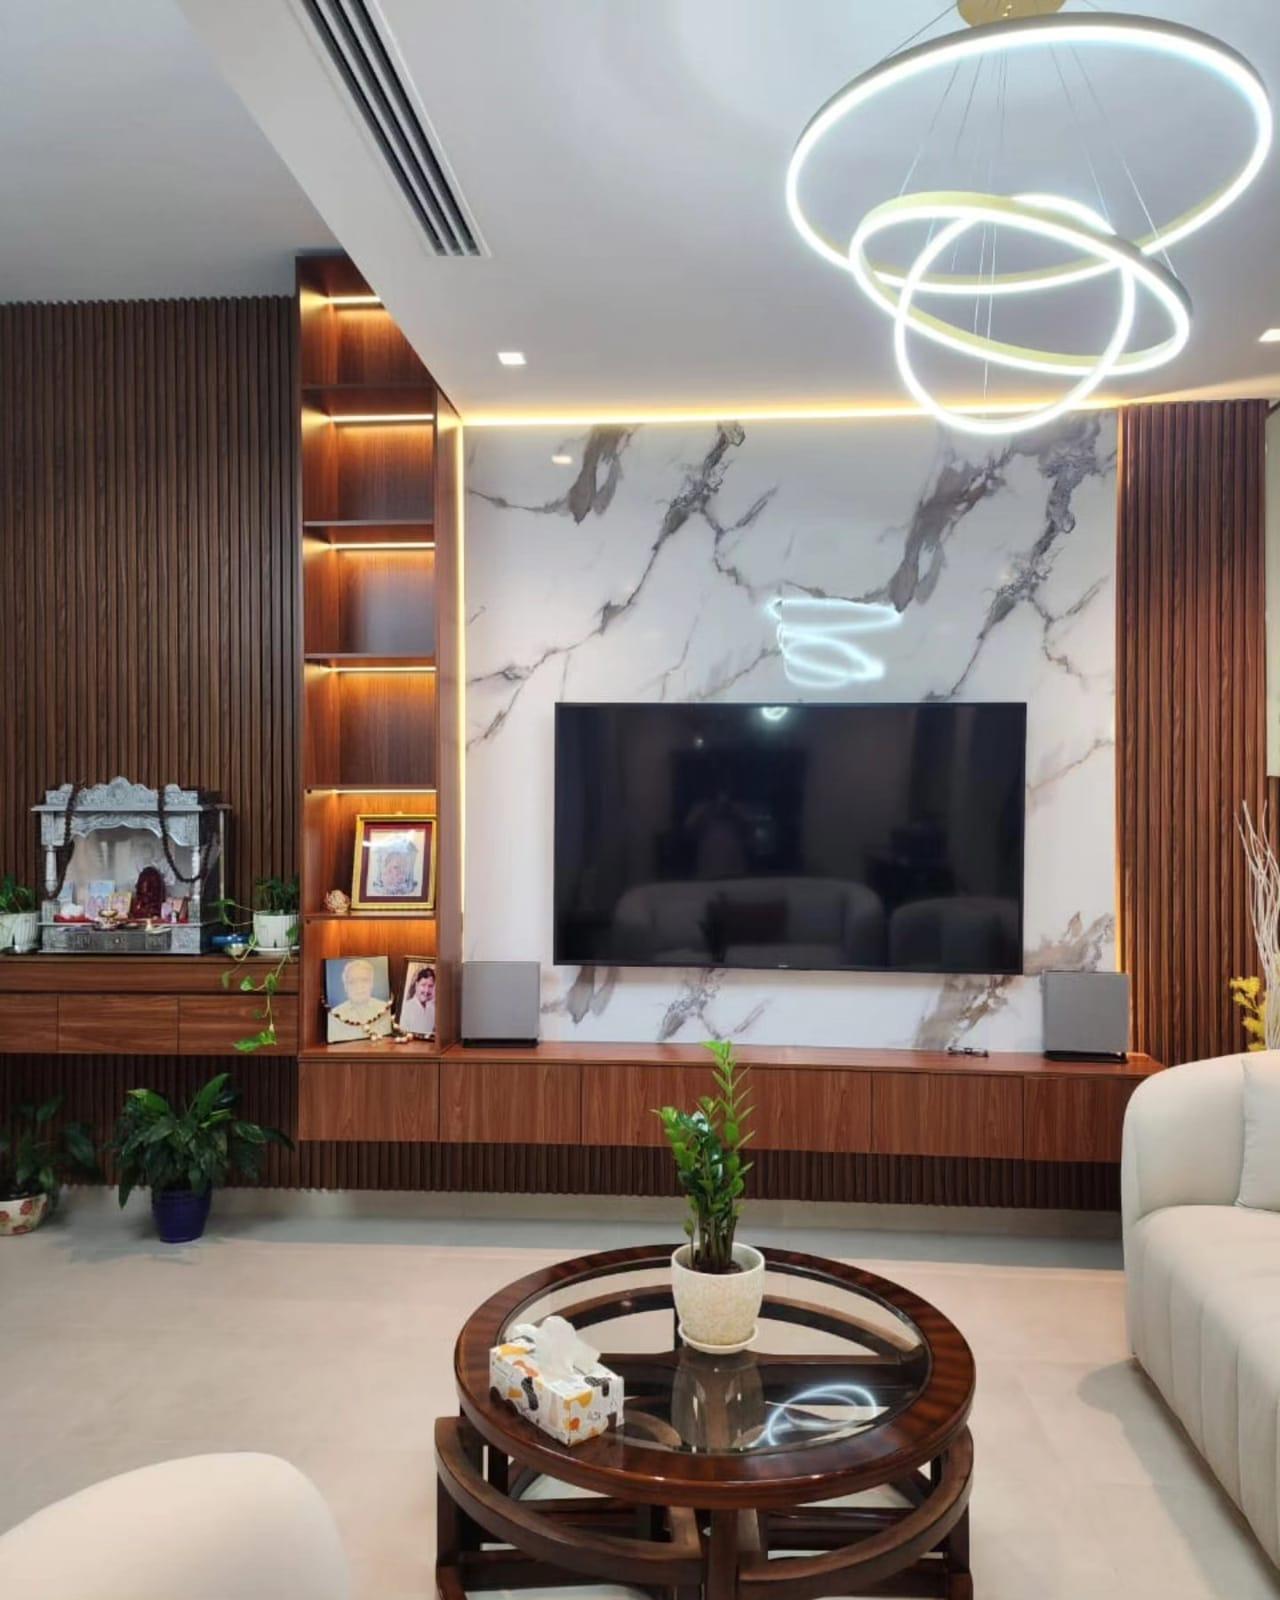
Place the level on the top of the console, on each shelf and along the top edge of the panel, and read it. A tiny tilt is hard to see by eye and easy to read on a spirit level. Do the same on the vertical edges to see if they are plumb. Differences of a few millimetres on a long run may be normal for a real wall, but a shelf that tilts so that a round object rolls is not. Compare the finding to the drawing's tolerance if one is stated.
Then look at the gaps between neighbouring doors and drawers. They should be even from top to bottom and from one pair to the next. Uneven gaps are the most visible sign of a unit that was assembled or hung carelessly, and the easiest to adjust. If the console has soft-close doors, note which door is out; it is a quick fix for the team while they are there, and covered in step six.
- 1. Level along the top and the shelves
- 2. Equal gaps between neighbouring doors
- 3. Vertical edges plumb
Step five: doors, drawers and the hinges behind them
Open and close every door and drawer, slowly and then normally. They should move without catching, close fully, and stay closed. Listen for a rattle and feel for a drag. If a door has a soft-close mechanism, it should slow and finish without a push. Check that no door hits a socket plate, a vent or a speaker placed beside it. Open every door to its limit and look at the hinge; a hinge that has not been tightened shows a gap between its plate and the door.
Installers who adjust cabinet hinges describe three movements, side to side, up and down and in and out, and they describe the adjustments as interactive, so a change in one affects the others. An installer forum on woodweb.com advises making the final adjustments on site, once the unit is installed, because the installation itself can rack a cabinet a little. For you this means that an uneven door at handover is normal to find and quick to correct, and it should be corrected before the team leaves.
- 1. Side: evens the gap
- 2. Height: aligns the doors
- 3. Depth: the door sits flush
Step six: the TV, the bracket and the screen's position
Look at the TV as a piece of the wall. It should sit square to the panel, with an even margin on each side, and it should not wobble when you adjust it by hand. Tilt or swivel it if the bracket allows, and check that the cables still reach and the screen does not touch anything. If the screen is on a fixed bracket, look at it from your seat and from the side to see that it sits where the drawing said it would. A television that has been swapped since the drawing was approved can sit differently; the guide on changing the TV later explains what to expect.
Do not test the bracket by pulling on the TV. If you doubt its stability, ask the team to check the fixing and explain it. The bracket is chosen to match the mounting pattern and the weight of your screen, and the drawing should have said so. The guide on TV ventilation lists the clearances to look for around a screen, and the soundbar and speakers guide covers what sits beneath it.
Step seven: lights, power and the fireplace
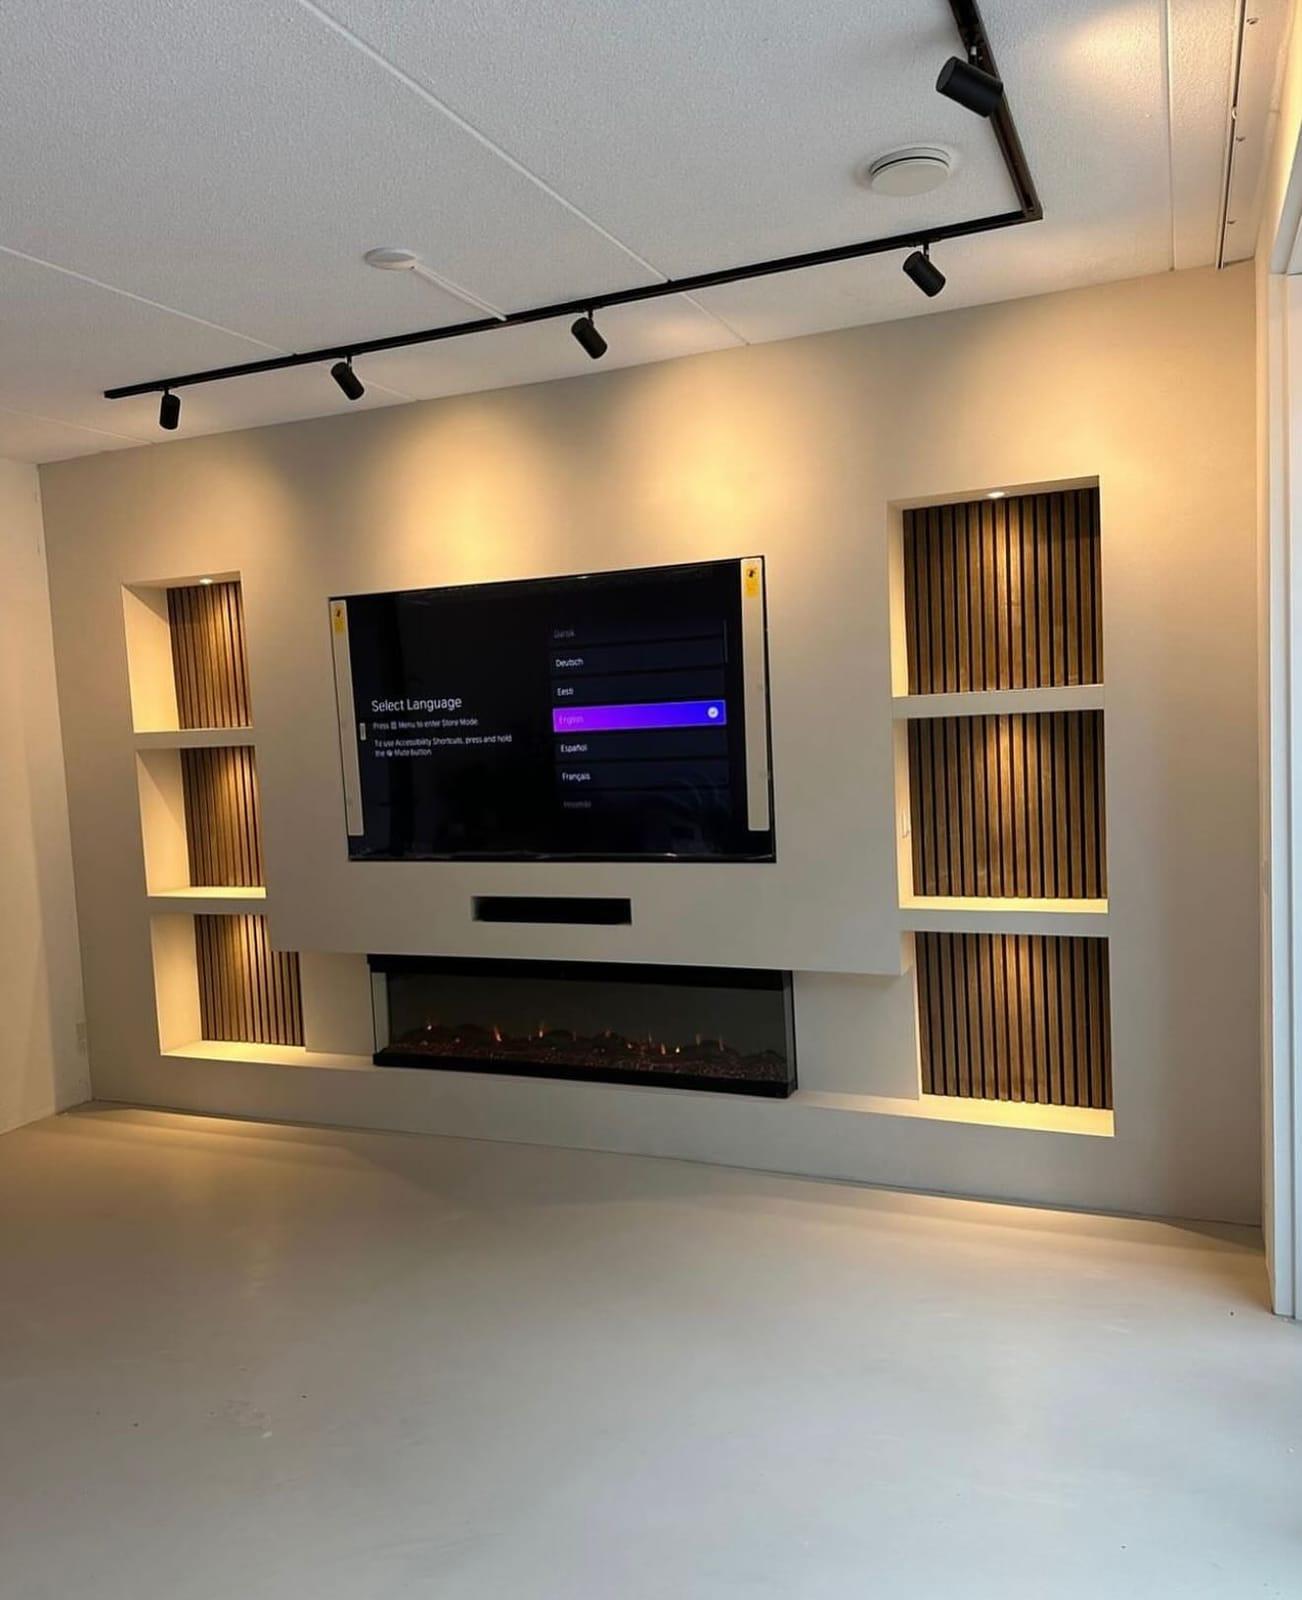
Switch on every light at full and then dim it. Look for flicker, uneven brightness along a strip, a colour that differs from one channel to the next and any visible dots where an LED line should look continuous. Check the switch or dimmer does what it should. If there is an electric fireplace, switch it on and check it works as the manual says, that the flame effect and heat settings respond, and that the surrounding panel does not look affected. The lighting ideas guide shows what good lighting looks like and the fireplace guide lists the points to test.
Then test the power. Plug something into every socket you can reach, not only the ones the TV uses, and check that the AV plate carries what you plan to connect. Make sure the equipment in the console has air and the remote works through closed doors. The cable management guide explains why the access panel should lift off, and sockets and power shows what to expect. If you photographed the open frame during installation, you know where the hidden routes lie if anything fails.
- Every light works at full and dimmed, with no flicker.
- Colour matches from one light channel to the next.
- The fireplace, if any, switches on and responds to its controls.
- Every reachable socket has power.
- The remote controls work with the doors closed.
What is normal for boards, and what is a fault
Not every imperfection is a defect. Wood-based boards move with humidity, and a tidy wall can still show a hairline at a joint after the first season. One cabinet maker's own warranty guide lists moisture exposure showing as separation at joints and colour variance between painted MDF and wood parts as characteristics outside its warranty; it is one maker's terms, not a rule for every product, but it shows the kind of thing that is treated as normal and the kind that is not. The European Panel Federation notes that MDF, compared with solid wood, is highly stable, and still moves slightly with moisture.
The table below is a first guide. It is not a verdict; an uncertain finding goes on the list and the team explains it. What matters is that you record it the same day, with a photograph and a place, and that you keep the conversation factual. The warranty guide explains how we treat defects covered by our written terms.
Common findings and what they usually mean
Hairline gap at a ceiling or side junction
- Usually
- A planned movement gap or a seasonal change
- What to do
- Ask where gaps were drawn; list it if it is uneven
One door slightly out of line
- Usually
- A hinge adjustment
- What to do
- Ask the team to adjust it before they leave
Shadow lines or waves under a low torch
- Usually
- A surface or panel joint to be explained
- What to do
- Photograph with tape beside it; list it
Chipped edge or corner
- Usually
- Handling damage
- What to do
- Photograph; agree repair or replacement
Sheen or colour differs from the sample
- Usually
- A finish difference to check against the sample
- What to do
- Hold the sample against it; list it
Light flickers or one section is dim
- Usually
- A connection or driver issue
- What to do
- Tell the team now; it is a function fault
Sorting findings and writing the snag list
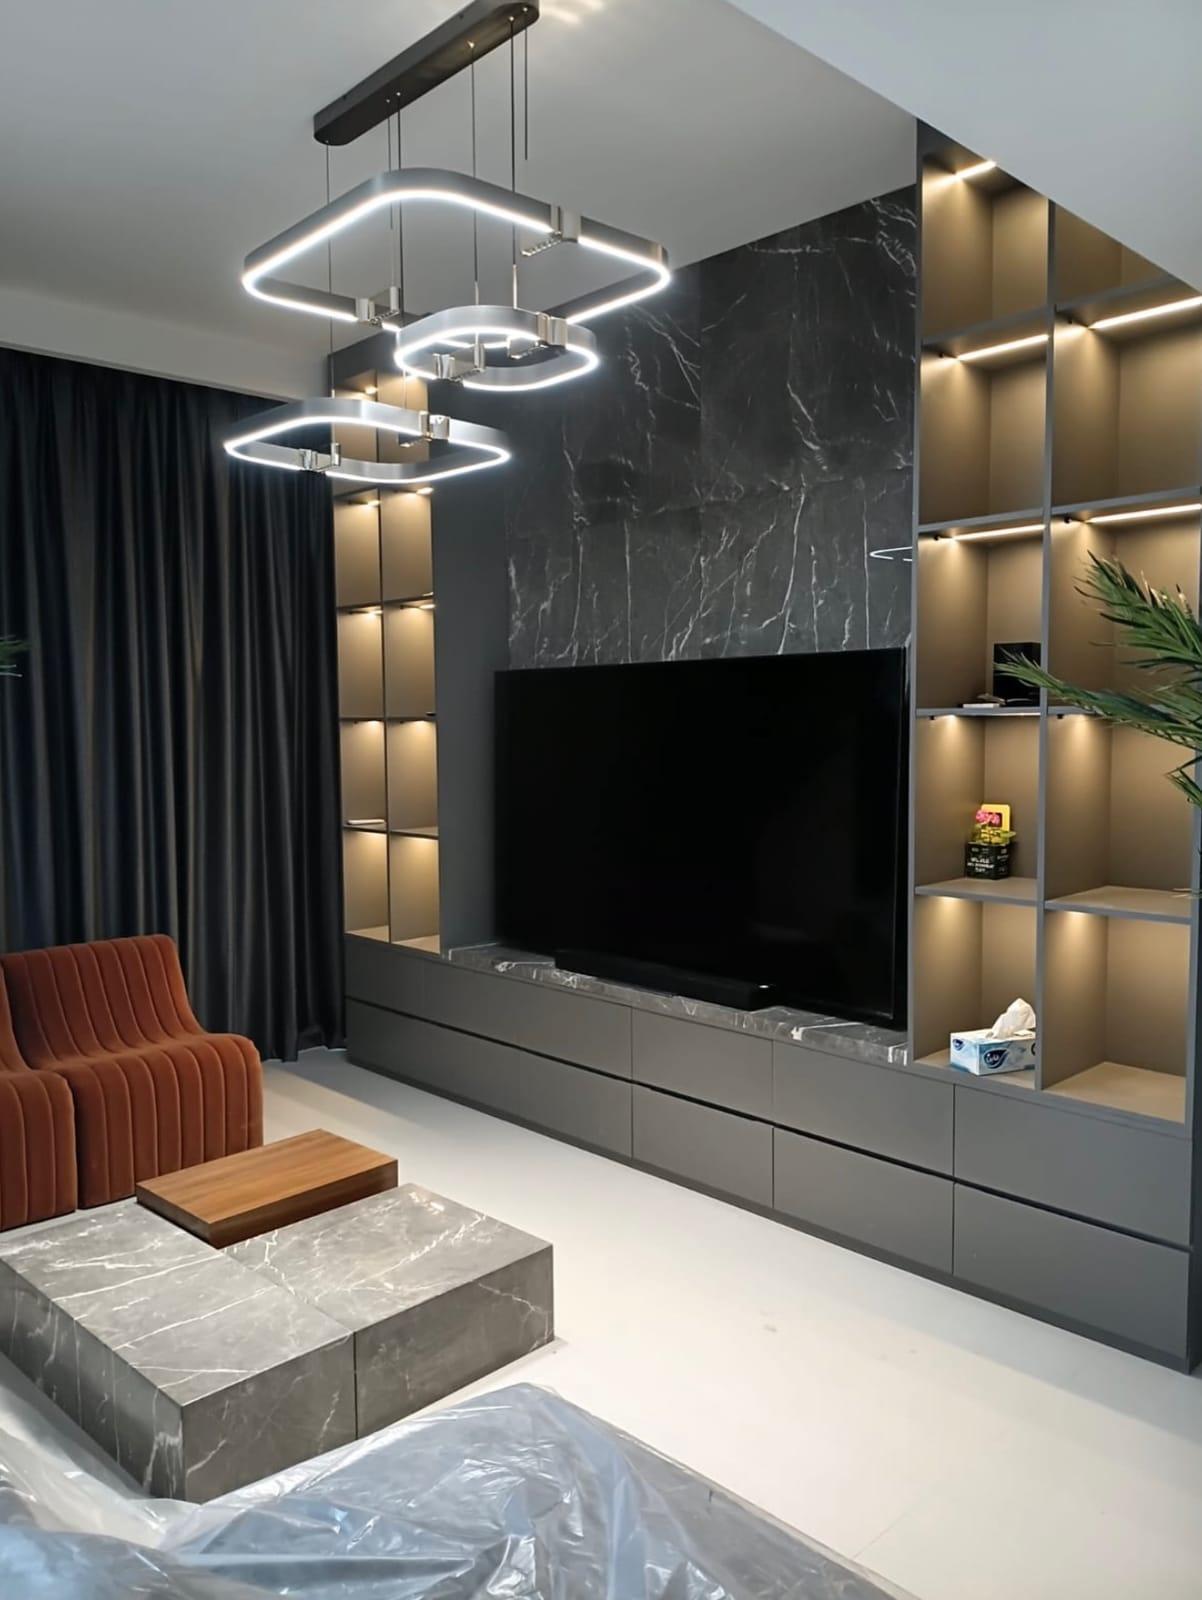
Sort what you found with two questions. Does it stop something working or closing safely? If it does, tell the team now, before they leave, and agree a fix or a date. If it does not, can you see it from your seat in normal light? Either way it goes on the list, and the answer decides how you word it, not whether you write it. A small, specific list is fairer to everyone than a long vague one, and it is much easier to close.
For each item write four things: where it is, what it is, the date you saw it and a photograph. "Left door of the console, top edge, chipped corner, 12 November, photo 3" is a line that can be acted on. "Wall not perfect" is not. Agree with the team who will deal with each item and when. The handover checklist has a snag record format you can use, and the timeline guide shows where the handover sits in the calendar.
- 1. A fault that stops something working: tell the team now
- 2. A mark you can see from your seat: photograph and list it
- 3. A small item: note it anyway
Four inspection mistakes, and how to avoid each
People who inspect a wall badly are rarely careless; they are usually rushed, polite or dazzled. Four patterns come up again and again, and each has a simple remedy. None needs any technical knowledge, only the decision to slow down for half an hour and to treat the inspection as a normal part of the job rather than a sign of distrust.
The first is inspecting in the wrong light. Work lights are bright and flat, and a wall that looks perfect under them can look different at nine in the evening with the lamps on. The remedy is to ask the team to leave the room as it is on an ordinary evening and, where possible, to look again once natural light has changed. If the handover is in the morning and your evenings are when the wall matters, take a photograph of each surface now and look at it again after dark.
The second is inspecting only from the sofa. From there a wall is judged as a picture, and details at the edges or in the corners are lost. The remedy is the three-position route: sofa, doorway, then close up. The close-up pass is where the torch, the level and a fingertip earn their keep, and it is also where you notice that a drawer front stands a millimetre proud of its neighbour.
The third is politeness. It feels awkward to point at a small chip while a team is cheerfully packing up, so people say nothing and sign. The remedy is to treat the list as a shared tool, not an accusation: you are helping the team make sure that what leaves the house matches what was approved. A calm, specific remark such as "left door, top edge, chipped corner" is easy to hear and easy to act on.
The fourth is the unwritten snag. A problem is mentioned in conversation, everyone agrees it will be fixed, and a week later nobody remembers who was meant to do what. The remedy is the four-part line from this guide: where it is, what it is, the date and a photograph, with a name beside it and an agreed date for the fix. Sending the list by message the same evening turns a conversation into a record.
A route through the room that does not miss anything
Having a fixed route is the best defence against forgetting. The route below follows the order of this guide, so that each step uses the tool you have prepared and leaves the next one fresh. Walk it slowly, speak each finding aloud so the team can hear it, and write it down as you go; do not wait until the end to remember what you saw.
Begin at the sofa with nothing in your hands and look at the whole wall for a full minute. Move to the doorway and look again. Then switch on every light at full and dim them in turn. Go close, hold the torch low, and sweep each panel from left to right and then from top to bottom, since a wave that runs vertically is invisible to a sweep that runs the same way. Run a fingertip along joints and edges. Place the level on the console top and on each shelf. Open every door and drawer, then close them and look along the gaps. Finally, try the remote controls with the doors shut and test each socket.
Finish by walking out of the room and coming back in, as a guest would. First impressions are honest, and a flaw that you only notice on the second glance is probably one that you will notice every evening. Then sit down with the team for five minutes and go through your list, item by item, agreeing who will deal with each and by when.
- Sofa: look at the whole wall without moving for a full minute.
- Doorway: look again as a guest would.
- Lights: full, then dimmed, one channel at a time.
- Close up: torch low, sweep along and across each panel.
- Fingertip: joints, edges and corners.
- Level: console top, every shelf, vertical edges.
- Doors and drawers: open, close, look along the gaps.
- Devices: remotes with doors shut, every reachable socket.
What to say to the team during the inspection
The inspection goes better when it is a conversation and not a verdict. Say at the start that you would like to walk the wall together and note anything that needs attention, and that you will send the list by message afterwards. That sentence sets the tone: you are not hunting for faults, you are closing a job.
During the walk, name each finding with its place and what you can see, without guessing at the cause. "The gap between these two doors is wider at the top" is a fact; "somebody hung this badly" is a judgement that may be wrong and invites an argument. Ask the question that moves things on: "Can this be adjusted today, or does it need another visit?" At the end, repeat back the list and the agreed dates so that everyone leaves with the same understanding. The warranty guide explains what is covered if a problem appears later, and the timeline guide shows how follow-up visits fit the calendar.
After the team leaves: living with the wall
Some things only show after a few days: a door that drifts, a light that flickers when warm, a joint that opens with the air conditioning. Keep your snag list open for these. Photograph anything new at once, with the date, and message the team with the order reference or the address; our warranty guide explains how we deal with a covered defect. It is easier to settle a finding that is reported when it is seen.
Give the wall a normal life. Keep the shelves for what they were drawn for, and keep heavy objects off the console top unless the drawing says it can carry them. Keep humidity in the room steady, as the humidity and MDF guide suggests, and clean surfaces as the care notes say. And remember that the best inspection is the one done on the day, with the team still there, as the installation day checklist says.
What we do about it, and the WhatsApp step
We make every wall in our Sharjah workshop, our own team fits it across the UAE, and the founder, Ali Haider Basra, has ten years in the trade. Media walls start from AED 3,500 per project, with the final figure from your quotation, which depends on the wall size, finish, any marble-effect panels, lighting and an electric fireplace. Workmanship is under our written 24-month warranty, and the wood-based boards carry a 5-year limited warranty on the board material only. The media walls service page shows how we work.
If you are planning a wall and want to know how it will be inspected, send a WhatsApp message with a photo of the wall, the TV size and the room, and ask for the handover walk-through to be booked into the plan. The consultation guide lists what helps most, and the price guide explains the numbers.
Common questions
How do I check a media wall for defects?
Look from the sofa, the doorway and close up, use a low torch for surfaces, a level for shelves and edges, and open every door and drawer. Handover checklist.
What tools do I need to inspect a TV wall?
A small torch, a spirit level app or short level, masking tape and a notepad are enough. Installation day checklist.
Is a hairline gap at the ceiling a defect?
Often it is a planned movement gap, because boards move with humidity; an uneven or widening gap should be listed. Humidity and MDF.
What if a door is slightly out of line?
It is usually a hinge adjustment that the team can make before they leave. Installation day.
What should a snag list include?
For each item: where it is, what it is, the date and a photo. Media wall warranty.
Should I inspect the lights and fireplace too?
Yes: switch each light on and dim it, test every socket, and run the fireplace if there is one. Media wall lighting ideas.
Who do I contact if a problem appears later?
Message us with your order reference or address and a photo. Warranty and aftercare.

Sources & specifications
Manufacturer information applies to the named products and systems. Sources reviewed on 11 November 2026.
- WoodWeb: Adjusting hinges (side, height and depth adjustments interact; installation can rack a cabinet)woodweb.com(opens in a new tab)
- European Panel Federation: Controlling moisture content (MDF stability; 600 mm panel example)mdf-info.eu(opens in a new tab)
- European Panel Federation: Handling and storing MDF (flat, dry storage; average 50% RH gives 7 to 9% moisture)mdf-info.eu(opens in a new tab)
- Wellborn Cabinet: Installation, Care and Warranty Guide, product awareness statement (one maker's own terms)d108vkt3kpq1qa.cloudfront.net(opens in a new tab)
Want this planned for your home?
Consultation and measurement are free. Tell us the rooms, location and what you need; we arrange a sample visit and define the measured quotation.