Media Walls · 15 min read · 13 October 2026
Media wall installation day: what happens, stage by stage
What happens on media wall installation day, in order: the level line, frame, wiring, panels, console and TV, who does what, and what to photograph before the panels close.

By Ali Haider Basra, Founder, Al Tareeq Decor · Contact our workshop
Key takeaways
- A wall is built in a set order: level line, frame, wiring and light channels, panels, console and shelves, then the TV.
- The fixing follows the base wall, so ask what the drawing assumes: block, partition or old plaster.
- Photograph the frame, conduits, sockets, light channels and driver before the panels close.
- Be present at three moments: the start, before the panels close and the final walk-through.
- Test every device, door and light before the team leaves and note anything in writing the same day.
On this page
- Key takeaways
- What happens on media wall installation day, in the order it happens
- Before the team arrives: three things only you can do
- Arrival, protection and the level line
- Six stages of building the wall
- What the base wall decides: block, partition or old plaster
- First fix: wiring, conduits and light channels
- Photograph everything the panels will cover
- Panels, joints and finish on site
- Console, shelves, doors and hinges
- The TV, the bracket and the first power-up
- Who is busy when, and when you should be there
- Decisions that come up on the day
- Common decisions on the day and a sensible response
- Ten minutes at the start: questions worth asking the team
- Protecting the finish: what to watch for as the wall closes
- Living in the house while it happens
- What we do on installation day, and the WhatsApp step
- Common questions
What happens on media wall installation day, in the order it happens
Most guides to installation day tell you what to do with your room: move the furniture, clear a path, switch off the router. That is useful and it is covered in our installation day checklist. This guide answers a different question: what is actually being done to the wall, in what order, and why that order matters. If you understand the sequence you can watch the day without hovering, ask one good question at the right moment and notice when something is skipped.
The day is the end of a long chain: the free measuring visit, the drawing, the approval, the advance and the workshop. The wall arrives as made pieces, and the team's job is to turn them into one wall on a real, slightly imperfect surface. We describe the typical order below. Every team and every wall differs a little, so treat it as a map and ask your team to confirm its own version before the day.
Before the team arrives: three things only you can do
Three decisions belong to you and cannot be made by the installers. The first is access: the lift, the parking and the entrance must be agreed with your building, in writing, well before the day; the apartment delivery guide shows how to measure the route and write the sheet. The second is the room: the wall area must be reachable and the furniture moved, which the checklist covers line by line. The third is the TV: the model you gave us should be the model on the wall, because the bracket and the niche were drawn for it.
A fourth thing is smaller but surprisingly effective: be reachable. Questions come up on the day, and a household that answers within a few minutes keeps the work moving. If the drawing needs a small clarification, such as which side a socket should be, a quick answer saves a decision made in the wrong direction. If you cannot be present, name someone who can.
Arrival, protection and the level line
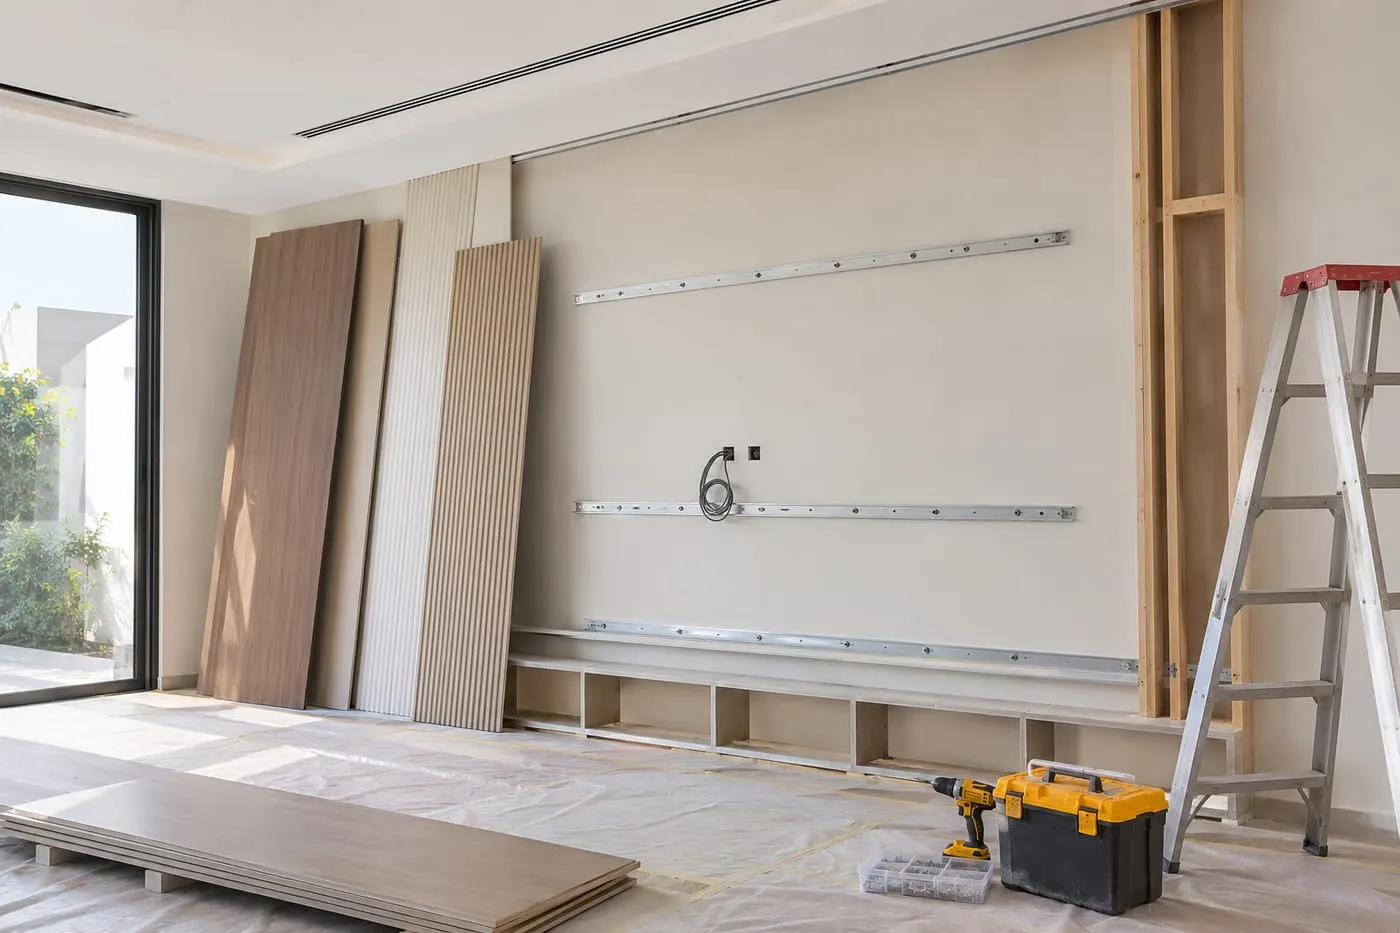
A careful team starts by protecting what is not part of the job: the floor, the route from the door, the furniture left in the room and the wall edges next to the new wall. Dust sheets and board covers go down before a panel is opened. Then the team measures again. The wall in the room should match the drawing; where it does not, the discrepancy is recorded and the drawing's tolerance, such as the reveal at a ceiling, absorbs it. This is the point at which the free measuring visit pays off, because the team is confirming numbers it has seen before, not discovering them.
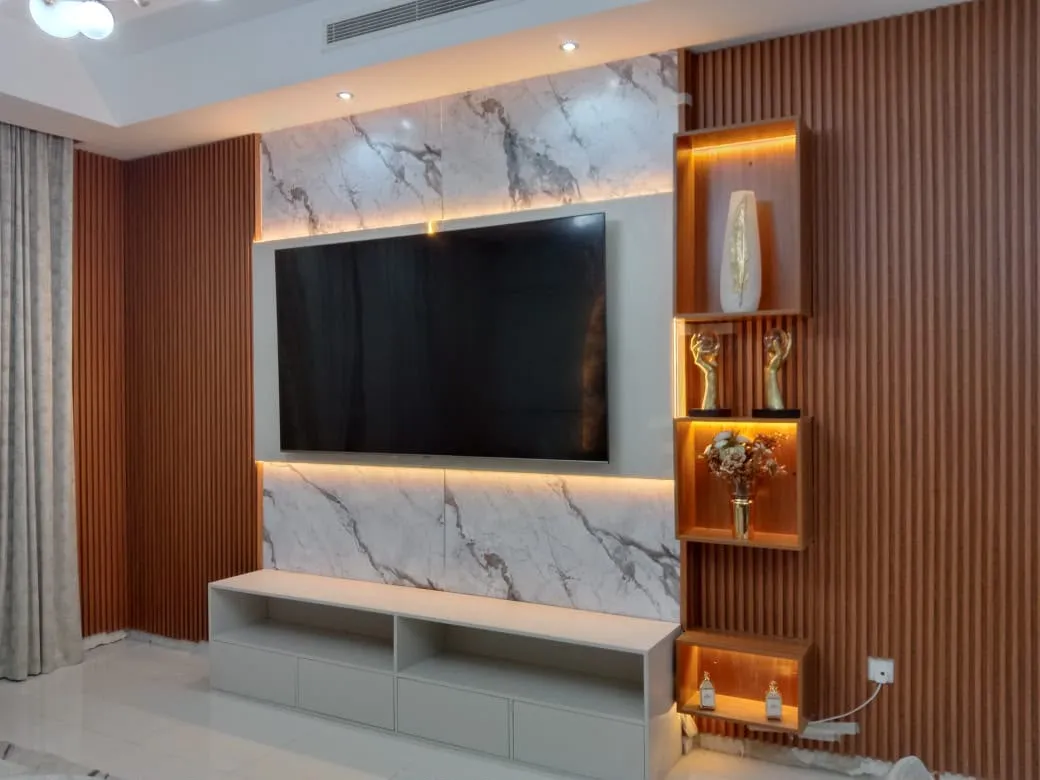
The next step is a level line. A laser or a long spirit level marks the datum across the wall, and every vertical and horizontal on the finished wall is measured from it, not from the ceiling or the floor, which are rarely perfectly flat. Nothing is fixed yet. This is a quiet stage and sometimes feels slow; it is where straight walls come from. The illustration below is a design-idea picture of the stage, not a photo of one of our jobs.
Six stages of building the wall
Once the line is set the wall grows in six stages. First the frame is fixed to the wall. Then wiring and light channels are placed in the spaces the frame leaves. Then the panels go on and cover the frame. After that the console and shelves are fitted. Last the TV is mounted and everything is powered up. The drawing shows each stage on the same wall so that you can see where you are when you walk in.
The reason for this order is simple: everything that must be reachable later goes in before the panel closes, and everything that is easily damaged goes in last. A TV is the most expensive and most fragile piece, so it is the last to arrive on the wall. A panel with a finished face is more fragile than a frame, so it comes after the dirty work of drilling and fixing. If the order seems reversed on your day, ask why; there may be a good reason, and there may not.
- 1. Arrive, protect the room, mark the level line
- 2. Frame fixed to the wall
- 3. Wiring and light channels placed
- 4. Panels fixed over the frame
- 5. Console and shelves fitted
- 6. TV mounted and powered up
What the base wall decides: block, partition or old plaster
The frame is only as good as what it is fixed to. A solid block wall, a hollow block wall and a gypsum partition each take different fixings, and an old plaster surface may need checking before anything is screwed to it. A fixing maker is clear on the principle: fischer's universal plug page says the plug suits solid, hollow and board building materials, and its safety page notes that holding values depend on correct installation, the quality of the base material and the conditions. One plug for every wall is not a plan.
You do not need to select the fixings. You do need to know that the choice depends on the base, which is why the drawing should name it, and why we ask about the wall at the measuring visit. The note on block walls and gypsum walls for TVs explains the difference, and the guide to heavy panels explains why a heavier face changes the plan. If you rent, ask your landlord or building management in writing what is allowed in the wall before the day.
- 1. Solid block: fixings made for solid material
- 2. Hollow block or gypsum partition: fixings made for hollow or board material
- 3. Old or uneven plaster: a sound base is found before fixing
First fix: wiring, conduits and light channels
With the frame in place, the hidden work begins. Power and signal routes are placed on separate paths, with a pull cord left in the signal conduit so that a future cable can follow the old one. Socket boxes and the AV plate go in at the heights on the drawing. Lighting channels are fixed along the panel edges, and the drivers are placed where they can be reached. All of this is explained in the cable management guide, and the sockets and power guide shows where outlets usually sit.
Lighting deserves a moment of your attention while the frame is still open, because it is the last time you can change it cheaply. If you imagined a softer glow, or a warmer one, say so now; the lighting ideas guide shows the common choices. If the wall carries an electric fireplace, the fireplace guide explains the extra power point and the clearance it needs. Equipment that lives in the console needs air, as the TV ventilation guide explains.
- Signal and power run on separate routes.
- A pull cord is left in the signal conduit.
- Socket boxes and the AV plate sit at the drawing's heights.
- Drivers are placed where they can be reached.
- Light channels are checked with a quick power-on before closing.
Photograph everything the panels will cover
Before the first panel goes on, take photos. This is the single most useful habit for an owner, and it costs two minutes. Photograph the frame and rail positions, the conduit routes and pull cords, the socket box and AV plate, the light channels and wiring, and the driver and any access panel. Ask the team to point out what is where as you photograph, and save the photos in a folder named with the drawing's version.
The photos matter in the years after the day. When you want to add a speaker, change a TV or find a fault, you will know where the hidden routes lie without opening anything. They also help any future technician who has never seen the wall. Keep them with the warranty papers described in the warranty guide. Ask for this with any team; one that will not let you photograph an open wall is a team to ask questions of.
- 1. Frame and rail positions
- 2. Conduit routes and pull cords
- 3. Socket box and AV plate
- 4. Light channels and wiring
- 5. Driver and any access panel
Panels, joints and finish on site
Panels go on after the first fix. This is the stage where the finish you approved from the sample meets the wall for the first time, and where joints, grain direction and edges are seen in the room's own light. The finish sample approval guide is the way to avoid surprises here. If the panels are fluted or slatted, the direction and the spacing are set by the drawing and checked against the level line; the fluted panels guide explains why. If the face is marble-effect, the joints are set as drawn, as the marble TV wall guide shows.
Boards that arrive from the workshop have settled in their own conditions. A room that is much cooler or more humid than the workshop will nudge them slightly, which is one reason a small reveal at a junction is drawn on purpose. The European Panel Federation's guidance on MDF describes boards reaching equilibrium with the surrounding air, and notes that they should be kept flat and dry before use. In practice, the installation team should not leave panels leaning in the sun or in a wet area during the day; if you see that, ask for them to be laid flat.
Console, shelves, doors and hinges
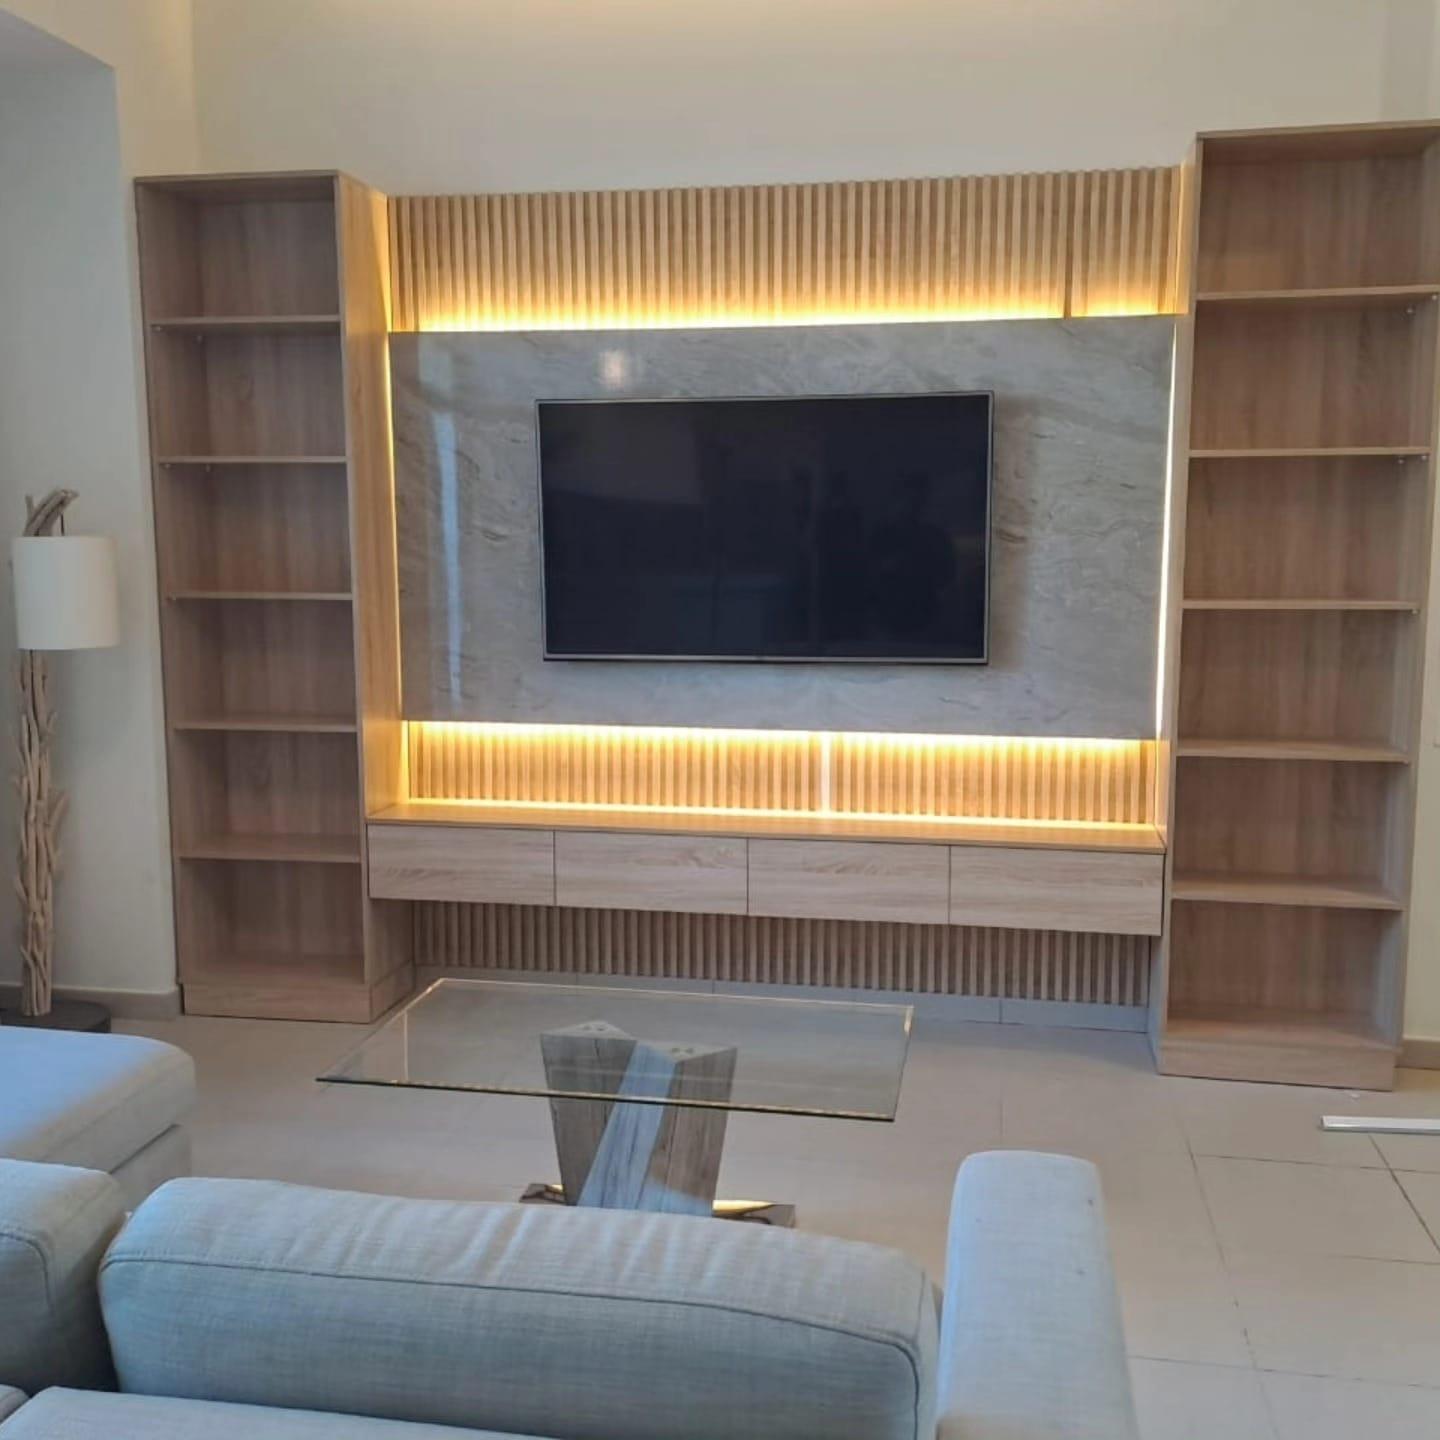
With the panels fixed, the console, drawers, shelves and doors go in. This is also where the small corrections are made: a door that closes a hair wide, a drawer front that sits proud, a shelf that is not quite level. Installers describe the three hinge adjustments as interactive, so they are made in a sequence and re-checked once the unit is installed, because installation itself can shift a cabinet slightly. An installer forum on woodweb.com records this advice, and it applies to the soft-close hinges and doors on a media wall console as it does to a kitchen.
Open and close every door and drawer yourself before the team leaves. Look at the gaps between neighbouring doors: they should be even from top to bottom. Check that nothing catches on a socket plate or a vent. If something is out, it is easy to fix while the team is there. We cover the inspection methods in the guide to inspecting a finished TV wall, and the final sign-off in the handover checklist.
The TV, the bracket and the first power-up
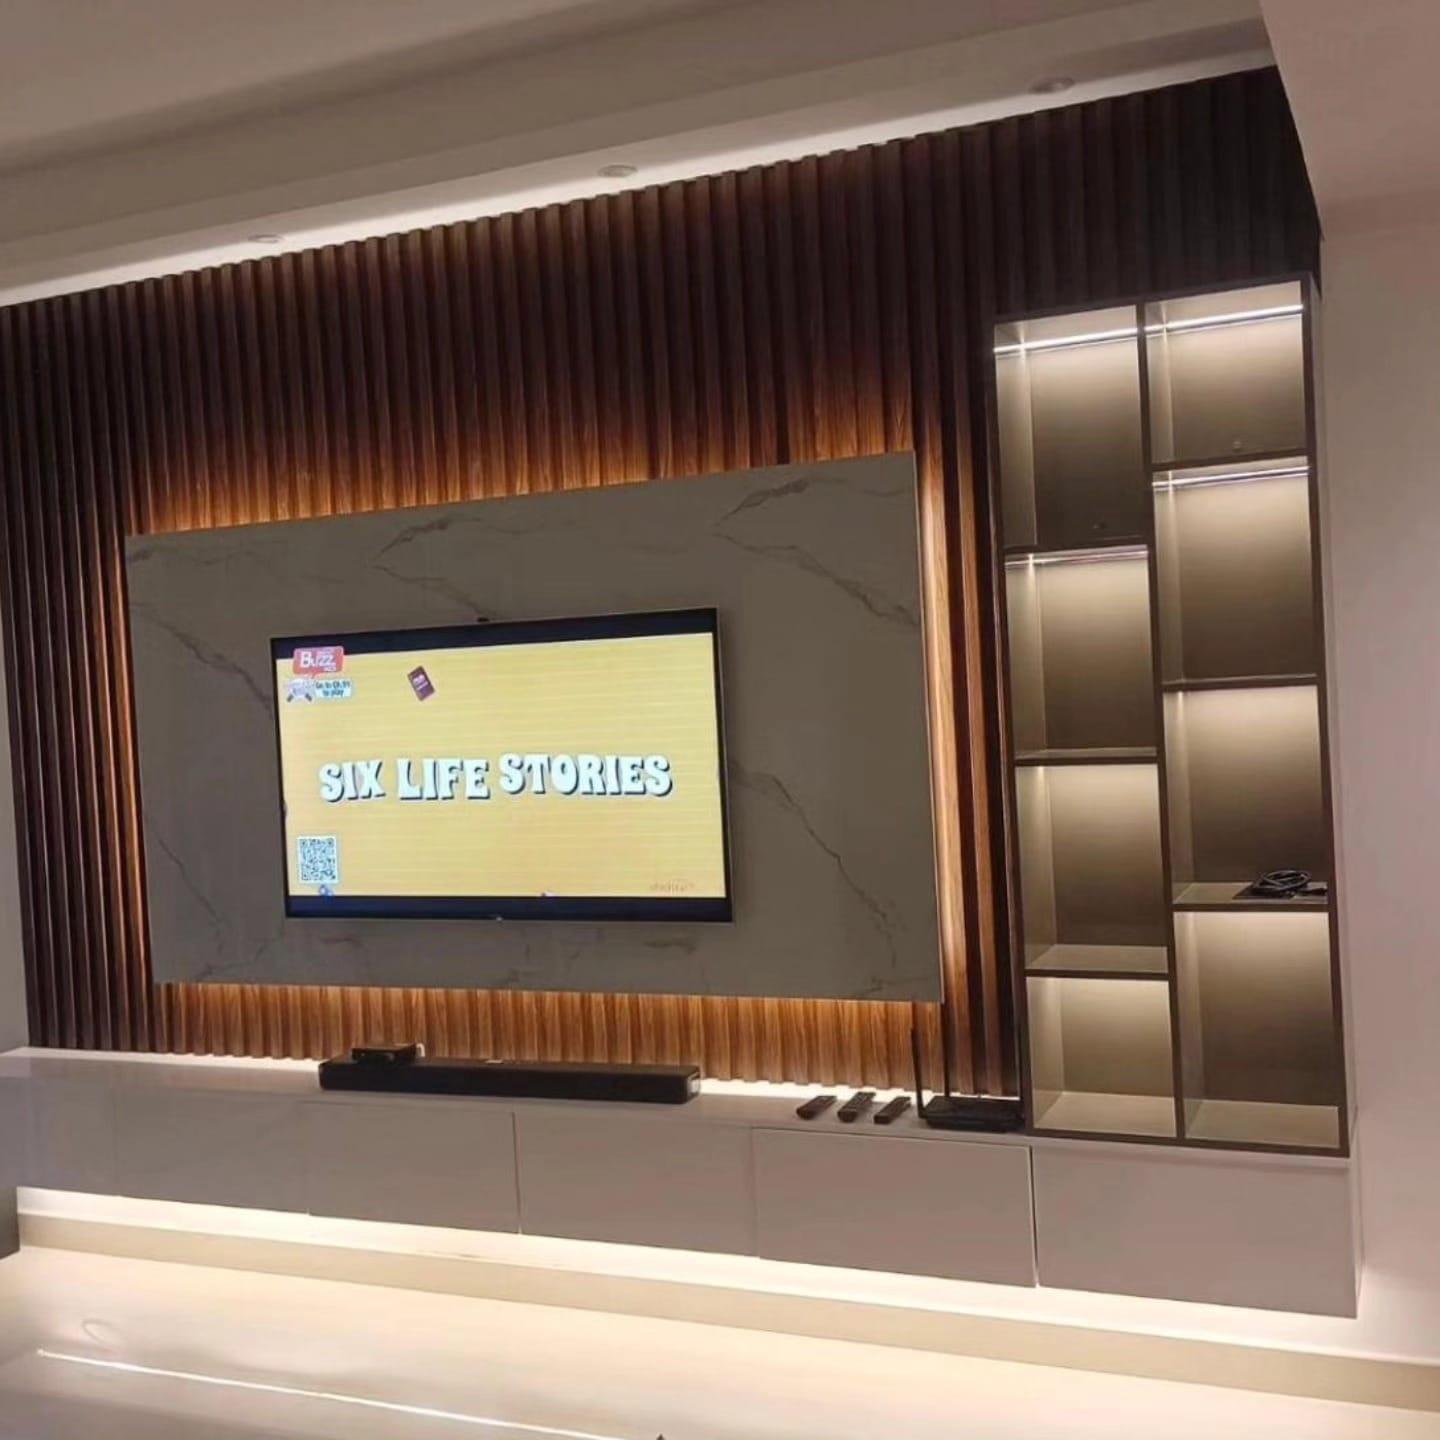
The TV is the last item to go on. The bracket is fixed to the structure at the position drawn, then the TV is lifted on and secured. A TV bracket and a TV are matched by the mounting pattern on the back of the screen and by weight, so the model you gave us matters, as the guide on buying the TV before the media wall explains. If you changed the TV after the drawing was approved, tell the team before the day, not during it; the change TV later guide shows what is and is not easy to change.
Power-up is the moment of truth. Every device is switched on, the lights are tested, the fireplace if any is turned on, the remote controls are tried with the cabinet doors closed, and the router is checked. The sound from a soundbar is tried at a sensible volume, as the soundbar and speakers guide suggests. Check the height of the screen from your own seat too; the TV height guide tells you what comfortable looks like. Anything that does not work is noted before the team leaves.
Who is busy when, and when you should be there
You do not need to stand in the room all day. There are three moments when your presence helps. At the start, to confirm access and the plan. Before the panels close, to take the photographs. And at the end, to walk the wall with the team. In between, the installers are busy, and the best help is to keep children and pets out of the working area and the household noise down.
The chart shows the typical pattern. It does not carry clock times because the length of the day depends on the size and design of the wall, and we publish no figure beyond the production window described in the timeline guide. If you want to know roughly how your day will go, ask the team for the plan when the date is confirmed.
- 1. Arrive: confirm access and the plan
- 2. Frame and wiring: installers only
- 3. Before the panels close: you take the photographs
- 4. TV and power-up: devices tested
- 5. Walk-through: you and the team
Decisions that come up on the day
Even a well-planned day throws up small decisions. The table lists the ones we meet most often and what a sensible response looks like. None of them is a disaster if it is handled the same day, in a conversation, with a note.
Common decisions on the day and a sensible response
A socket is slightly off the drawing
- Sensible response
- Show the drawing; agree a position and note it
- Who decides
- You and the team
The TV has not arrived
- Sensible response
- Fit the wall; leave the bracket position marked
- Who decides
- You
A panel edge is chipped in transit
- Sensible response
- Photograph it; the team advises repair or replacement
- Who decides
- Team
The wall behind is uneven
- Sensible response
- Frame is packed level; the reveal is checked
- Who decides
- Team
You want a light warmer or dimmer
- Sensible response
- Say it before the panels close
- Who decides
- You
The lift booking has lapsed
- Sensible response
- Call building management; work paused, not rushed
- Who decides
- You and the team
Ten minutes at the start: questions worth asking the team
The start of the day is the cheapest moment to align expectations. You do not need technical language; you need the team to say, in their own words, what they intend to do. A short conversation at the door, with the drawing in your hand, reveals more than any later inspection. It also tells the team that the drawing is being used and that someone will notice if it is not followed.
Ask what order they will work in and whether it matches the one you expect. Ask where they will store tools and off-cuts, and which door they will use. Ask when the dusty work, such as drilling and cutting, will happen, so that you can keep the household away. Ask what they will do if they find that the wall is different from the measurements. And ask when they would like you to come back to the room for the photographs and the final walk-through.
- In what order will the wall be built, and does it match the drawing?
- Which stage makes the most dust and noise, and when?
- What happens if the wall is not as measured?
- When should I come back to photograph the open frame?
- Who is my contact on the day if a decision is needed?
- When will the final walk-through take place?
Protecting the finish: what to watch for as the wall closes
The face of a media wall is the part you will live with, and it is the part most at risk during the final stages. Laminate, veneer and lacquer each mark differently, and the colour and finish guide explains how. On the day, the risk comes from three ordinary things: edges knocked while a panel is carried, surfaces scratched by tools laid down on them, and adhesive or dust smeared on a face that was clean in the workshop.
A good team carries panels on edge with clean hands or gloves, lays protective sheet on any surface it works above, and wipes the face as it goes. You can help by keeping the room free of other trades and by not stacking things on the console. If you see a scratch, photograph it at once and mention it that day. A mark noticed immediately is a mark that can be dealt with; the same mark noticed a week later is an argument about when it happened. The inspection guide shows how to look at a surface so that you see what is there.
Living in the house while it happens
Installation produces dust, noise and traffic. Keep small children and pets away from the working area and from tools and off-cuts. Cover items that cannot be moved. Open a window if the building permits it, and switch off anything that sits near the wall. The checklist gives a full list for an occupied household; what matters here is that the team treats your home as a workplace for the day and cleans up when they finish.
If the wall is replacing an old unit, the old unit has to come out first, and that adds a stage. The media wall renovation guide covers this case, and the villa TV wall guide covers the extra planning a larger house needs.
What we do on installation day, and the WhatsApp step
Our own team fits every wall we make in our Sharjah workshop, across the UAE. Media walls start from AED 3,500 per project; the final figure comes from your quotation and depends on the wall size, finish, any marble-effect panels, lighting and electric fireplace. The founder, Ali Haider Basra, has ten years in the trade. Workmanship is under our written 24-month warranty, and the wood-based boards carry a 5-year limited warranty on the board material only, as the warranty guide explains. See the media walls service page or the Dubai media walls page for coverage.
To plan your day, send a WhatsApp message with a photo of the wall, the TV size and the room, and mention your building's access rules if you know them. The consultation guide lists the three photos that help. We will book the free measuring visit and tell you in writing how the installation will be organised for your wall.
Common questions
How is a media wall installed?
In a set order: level line, frame fixed to the wall, wiring and light channels, panels, console and shelves, then the TV and power-up. Media wall installation preparation.
Do I need to be at home during installation?
Be there at the start, before the panels close and for the final walk-through, or name someone who can be. Handover checklist.
How long does installation take?
It depends on the wall's size and design; the production window we publish is up to about 10 days from order confirmation. Media wall timeline.
What should I photograph during installation?
The frame, conduits, socket box, light channels and driver before the panels close. Hidden cable routes.
What if my TV is not delivered yet?
The wall can be fitted and the bracket position marked, but tell the team early. Buy the TV first.
What wall can a media wall be fixed to?
Block, hollow block and gypsum partitions each take different fixings, so the base is checked first. Block or gypsum wall.
Do you install outside Sharjah?
Yes, our own team fits across the UAE. Media walls in Dubai.

Sources & specifications
Manufacturer information applies to the named products and systems. Sources reviewed on 11 November 2026.
- fischer: universal plug UX 5 x 30 (suits solid, hollow and board building materials)fischer-international.com(opens in a new tab)
- fischer: Safety first (holding values depend on correct installation and the base material)fischer-international.com(opens in a new tab)
- WoodWeb: Adjusting hinges (adjustments interact; re-check after installation)woodweb.com(opens in a new tab)
- European Panel Federation: Handling and storing MDF (flat, dry storage; equilibrium with surrounding air)mdf-info.eu(opens in a new tab)
Want this planned for your home?
Consultation and measurement are free. Tell us the rooms, location and what you need; we arrange a sample visit and define the measured quotation.