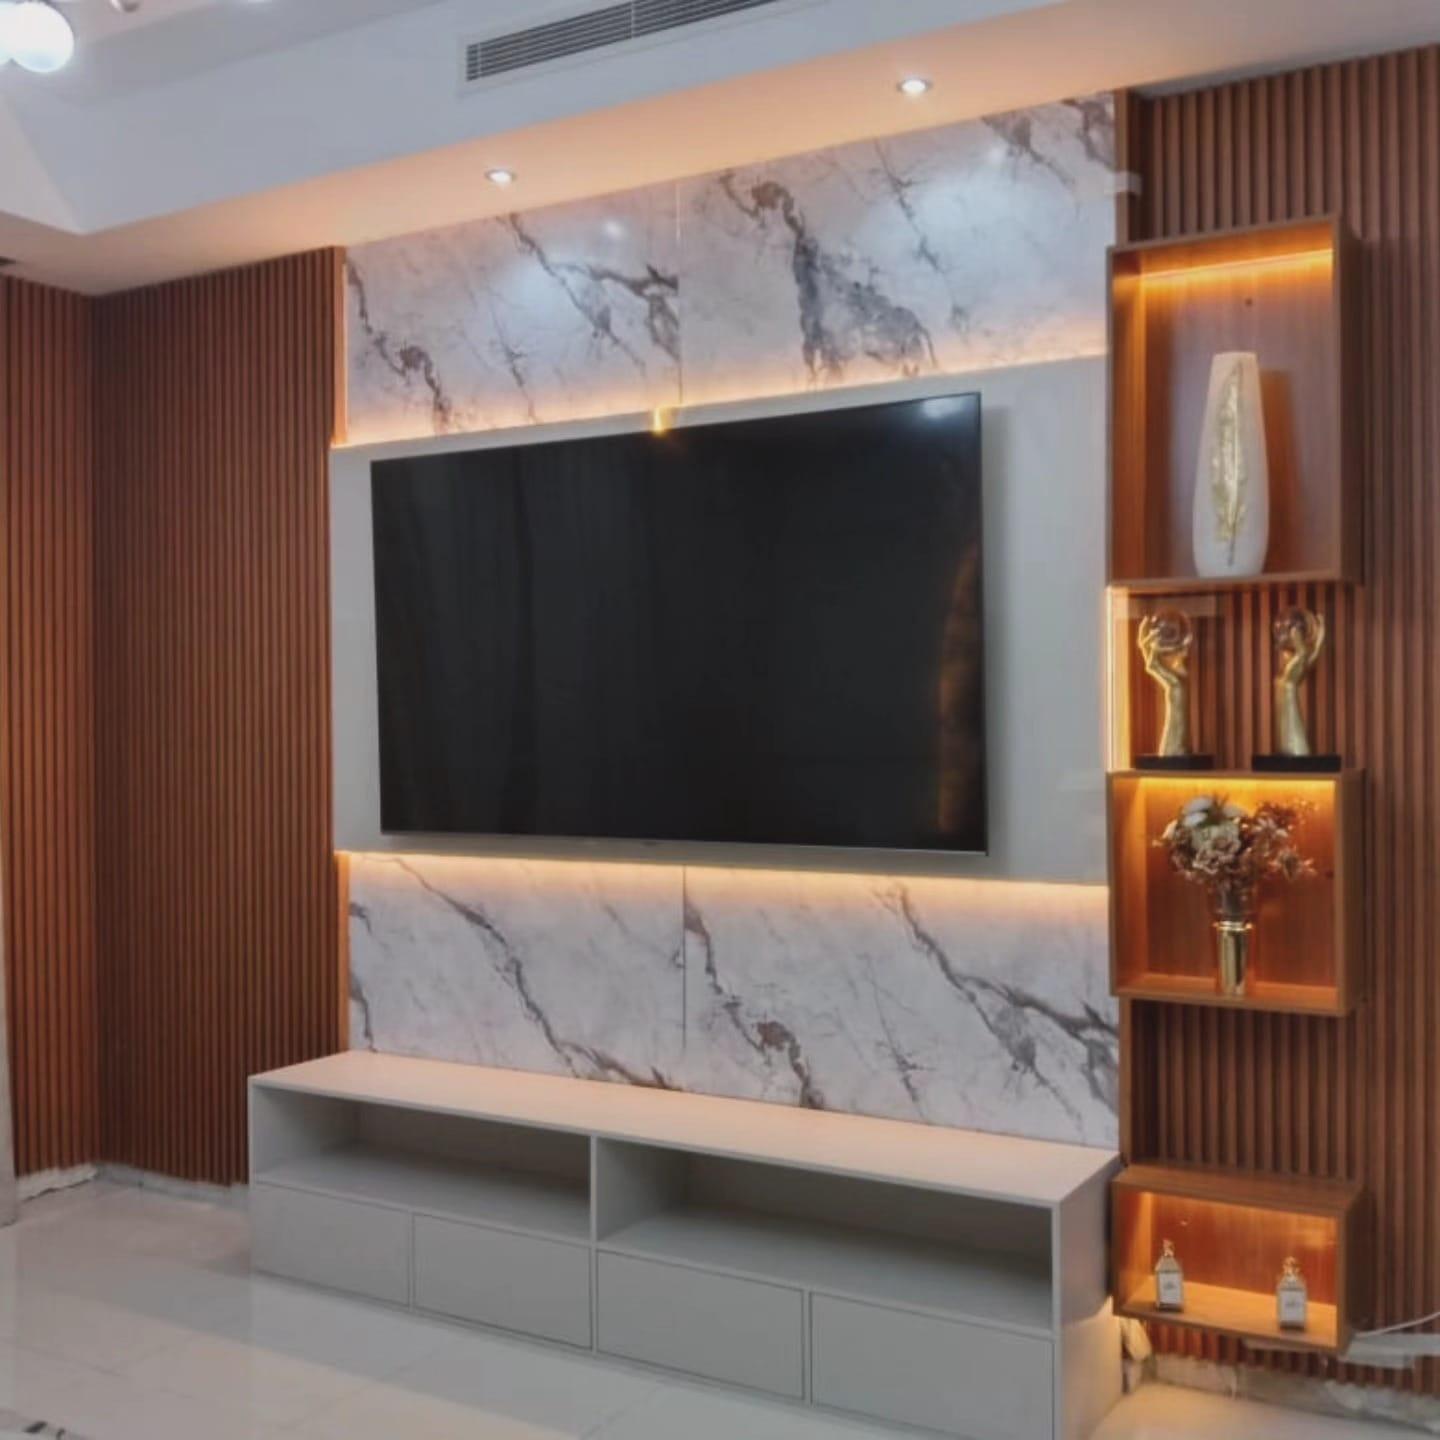
Media Walls · 22 min read · 22 October 2026
Media wall edge banding and sealing: where the edges are and what to ask
Where the board edges of a TV wall are, how a strip and a seal protect them, the six edge zones of a media wall, corner options, LED and cable cut-outs, site changes and what to ask in a quotation.

By Ali Haider Basra, Founder, Al Tareeq Decor · Contact our workshop
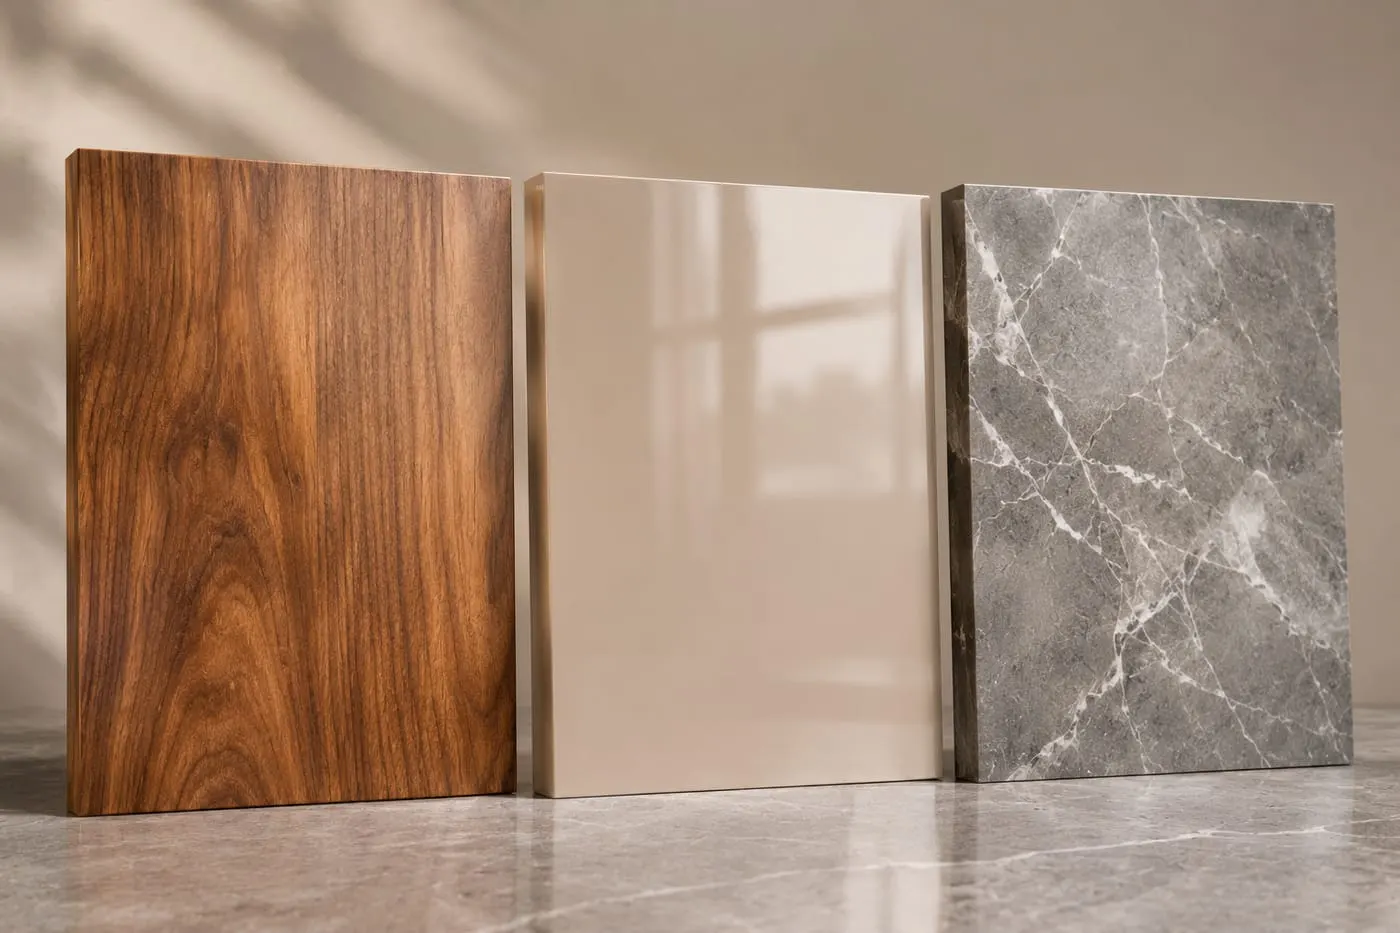
Key takeaways
- On a media wall six places show board edges: door and drawer edges, shelf fronts, the console underside, cable cut-outs, LED slots and panel joins.
- Every cut makes a new edge. Boards made of wood fibre draw moisture from the air, so a cut should be banded or closed another way, not left raw.
- Edge banding is agreed per design and customer requirement; ask the quotation which edges are banded and how cut-outs and LED slots are closed.
- A cover plate or grommet hides a raw edge but does not close it. Ask for both a neat cover and a closed edge behind it.
- Check edges twice: in the written quotation, and with a fingertip and raking light on delivery. Treat any hole you drill later as a new edge.
On this page
- Key takeaways
- Edge banding on a media wall: the short answer
- Why the edge deserves its own conversation
- The six places where a media wall shows its edges
- Doors, drawers and shelf fronts: the edges that get touched
- The console underside, the base and the floor line
- Cable and socket openings: edges you cut through a finished board
- LED channels and slots: a routed edge near warmth
- Fireplace walls and heat near the edge
- Three ways a corner can meet
- Matching the strip or contrasting it
- Edge look: match, contrast or blend
- Sealing: closing the places a strip cannot reach
- Changes on site: why every cut needs its own finish
- Checking edges: in the quotation and on delivery
- Edge checks at quotation and at handover
- A chipped or lifted edge: what to do
- What we do about edges at Al Tareeq Decor
- Your WhatsApp step: what to send
- Common questions
Edge banding on a media wall: the short answer
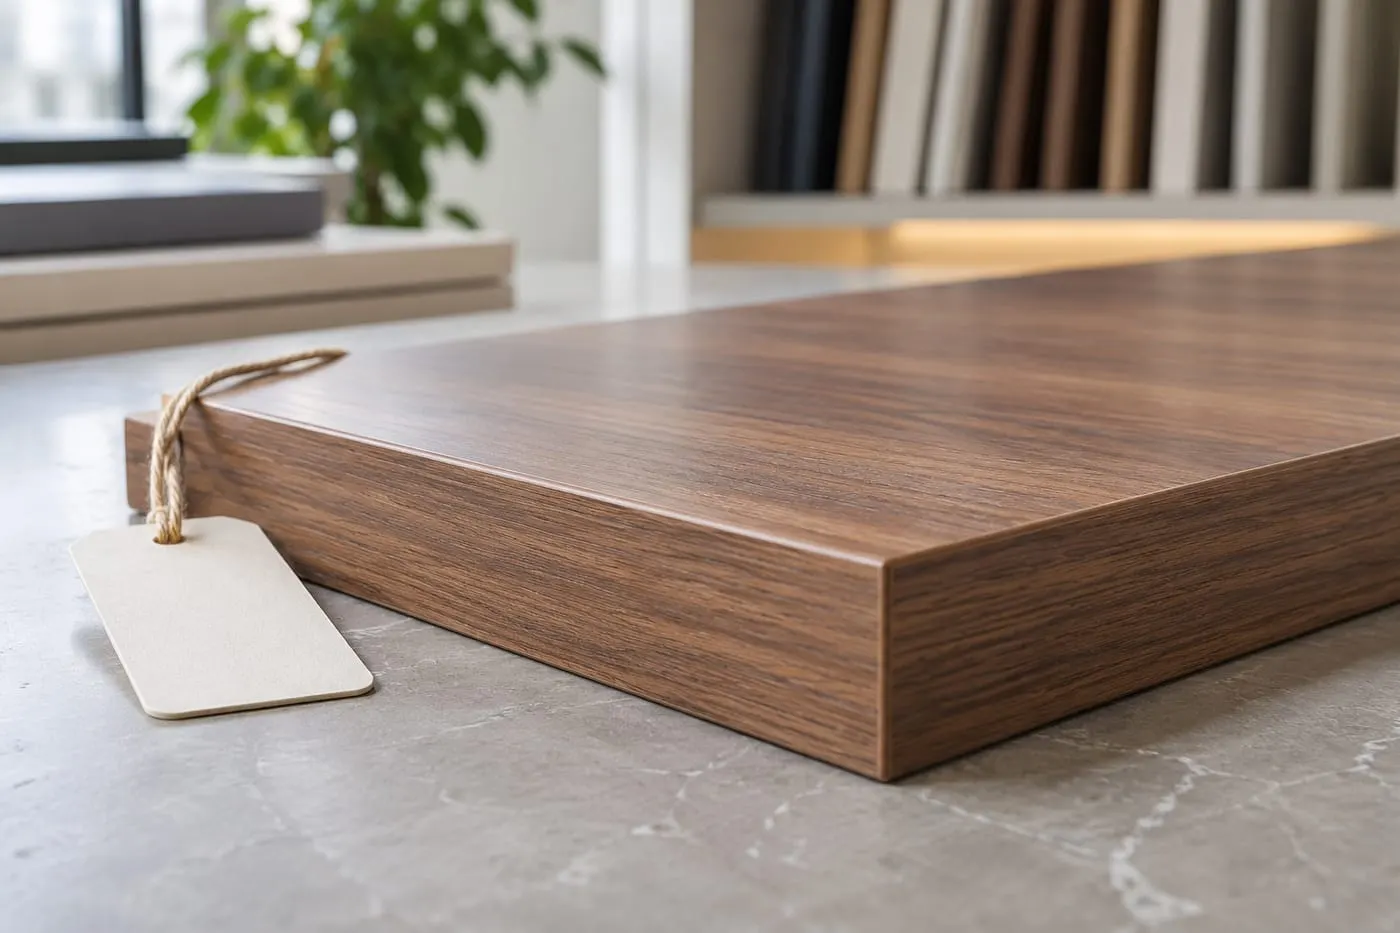
Edge banding is a thin strip of finishing material fixed to the cut side of a board, so that the narrow edge matches or complements the face instead of showing the raw core of the board. On a media wall it matters in a few specific places: the fronts of doors and drawers, the fronts of shelves, the underside of a floating console, the openings cut for cables and sockets, the slot that holds an LED strip and the lines where one panel meets the next.
The practical rule is simple. Every edge on your wall is one of three things: banded, sealed another way, or left raw because nobody ever sees or touches it. Your job at the quotation stage is to know which is which. We do not band every edge by default, and no honest workshop should claim to; the treatment is agreed per design and per customer requirement, and it belongs in writing on the quotation.
This guide is about media wall edges, not wardrobe edges. If you are comparing materials for a wardrobe, our wardrobe edge banding guide covers how strips are made and fixed. If your concern is where moisture reaches a TV wall, the media wall humidity guide maps the whole path. Here we stay with the edge: where it is on your wall, what it should look like, how to seal the places a strip cannot reach, and what to ask before the wall is cut.
A media wall starts from AED 3,500 per project for a compact panel with a floating console in standard laminate, and edge treatment is one of the things the final figure depends on, along with wall size, finish and lighting. We come back to how that appears in a quotation near the end.
Why the edge deserves its own conversation
Look at a piece of board from the side and you see the core: a pale, fibrous interior that the decorative face was made to hide. The face is a thin skin of laminate, lacquer or veneer. The edge is the one place where that skin stops and the interior is open to the room.
That openness is the reason edges fail first. Materials made of wood fibre draw moisture out of the surrounding air. [The reference on hygroscopy](https://en.wikipedia.org/wiki/Hygroscopy) describes the property as attracting and holding water molecules from the surroundings and names wood and cellulose fibres among the materials that behave this way. It also gives a telling everyday example: a paperback cover laminated on one side only curls, because the unlaminated side absorbs more moisture than the laminated side. A board with a closed face and an open edge is the same story in a stiffer form.
For MDF, the board behind most media walls, [the general reference on medium-density fibreboard](https://en.wikipedia.org/wiki/Medium-density_fibreboard) lists among its drawbacks that it may warp or expand in humid environments if it is not sealed, and that poor-quality MDF can swell and crack once it is soaked. We do not repeat those lines as a scare. A normal air-conditioned UAE living room is not a wet environment, and our humidity guide explains that what really hurts boards is liquid water and damp walls, not ordinary humid air. But they explain why a good build closes the edge anyway: a closed edge costs little at the workshop, and an open one turns a splash, a mop or a leaking air-conditioner drain into swelling that no cleaner can undo.
The second reason is wear. Edges are the first part of a unit to meet a knee, a vacuum cleaner or a child's toy. A face is rarely touched; an edge is struck. The strip is as much a bumper as a decoration.
The third is looks. An edge is seen at eye level on every shelf and door. A strip in the wrong colour, or a visible join in the wrong place, spoils a wall that was otherwise carefully chosen.
The six places where a media wall shows its edges
It helps to walk the wall with a pencil. The diagram below draws a typical front view with six edge zones marked in the order we would check them. The wall itself will differ, but the zones repeat on nearly every design.
The first zone is the edges of doors and drawers, which you touch every day. The second is the front of each shelf, which sits at eye level when you stand in front of it. The third is the underside and the base of a floating console, the part nearest to the floor cleaner. The fourth is any opening cut through a finished board for a cable or a socket. The fifth is the slot or channel that holds an LED strip. The sixth is the joint where two panels or two sections meet, where two edges sit side by side.
Each zone has a different reason for needing care. Touched edges need toughness. Seen edges need a good match. Low edges need protection from water. Cut openings need closing. The LED slot needs thought about heat and access. Joints need to be placed deliberately.
- 1. Door and drawer edges: touched every day.
- 2. Shelf fronts: seen at eye level.
- 3. Console underside and base: closest to floor cleaning.
- 4. Cable and socket cut-outs: cut through a finished board.
- 5. LED channel slot: a routed edge near a heat source.
- 6. Panel-to-panel joins: two edges side by side.
Doors, drawers and shelf fronts: the edges that get touched
These are the edges you will look at most and touch most, so they deserve the most attention. A door edge is struck by a handle, a bag or a hip every time the unit is opened. A drawer front is pulled by fingertips on its top or bottom edge. A shelf front is brushed by a duster and by anything placed on it.
On a wall with handles, the strip runs around the door's four edges and the handle sits on the face. On a handleless wall the opening line or finger groove is cut into the edge or into the face, and that cut is itself an edge. It can be banded, closed with a lacquer coat, or left to the face material to cover; ask which and ask to see a sample. Our guide to samples and what to check on them explains how to look at an edge sample, and a second sample of the edge itself costs nothing to request.
For shelves the question is thickness and look. A thick shelf front reads sturdy, a thin one reads light, and the strip decides which. Glass shelves are different: they have polished edges, not strips, and the shelving guide compares glass, wood and lacquered shelves. For a mixed wall, our team decides which material goes where on the drawing so you can see it before it is made.
One common mistake is to focus on the colour of the strip and forget its feel. Run a fingertip along an edge sample. It should feel smooth, continuous and slightly rounded, with no step between strip and face. A step you can feel will catch dust and eventually a fingernail.
For a family home, one practical tip. If children will open the lower doors every day, ask for the lower door edges to be treated as the hardest-working edges on the wall. The guide to a second living room used by children explains why the lower band of a wall deserves this attention.
The console underside, the base and the floor line
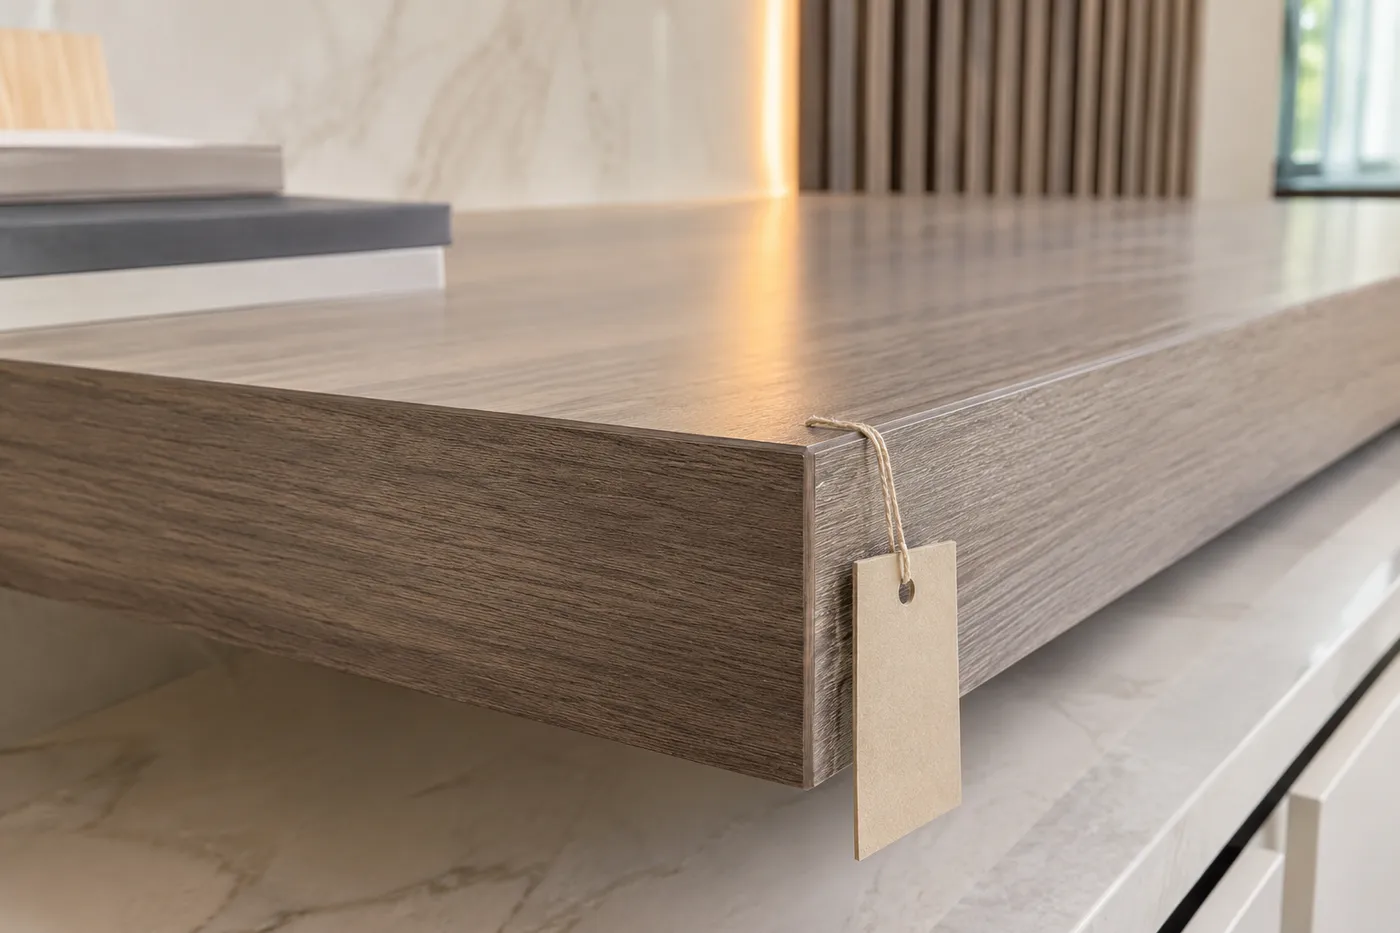
A floating console hangs from the wall with a gap beneath it. That gap is useful: a robot vacuum can pass, mop water has less chance of reaching the base, and the unit looks lighter. But it also exposes the underside of the console, which people forget to think about because they cannot see it from the sofa.
The underside is the surface nearest to cleaning water, damp cloths and, in some homes, the output of an air-conditioner above. A raw edge or an unfinished underside is exactly where a splash can wick into a board, and the wicking is the same property that [the hygroscopy reference](https://en.wikipedia.org/wiki/Hygroscopy) describes. We cannot see how a workshop finishes an underside from a photograph, so ask. The question to put is short: what is on the underside and the lower edges of the console, and how are they closed? A good answer names a treatment. A vague answer is a reason to ask again.
On a base unit that stands on the floor, the lower edge is the most exposed of all, because mop water arrives there first. A plinth, a recess or a floating design keeps the board off the floor. Our humidity guide covers floor lines and AC drains in detail, and our guide to the floating console against a standing unit helps you choose between the two.
One habit protects any base. When the floor is mopped, dry the wet band along the bottom of the unit with a cloth. This takes a few seconds and keeps a clean edge clean for years.
Cable and socket openings: edges you cut through a finished board
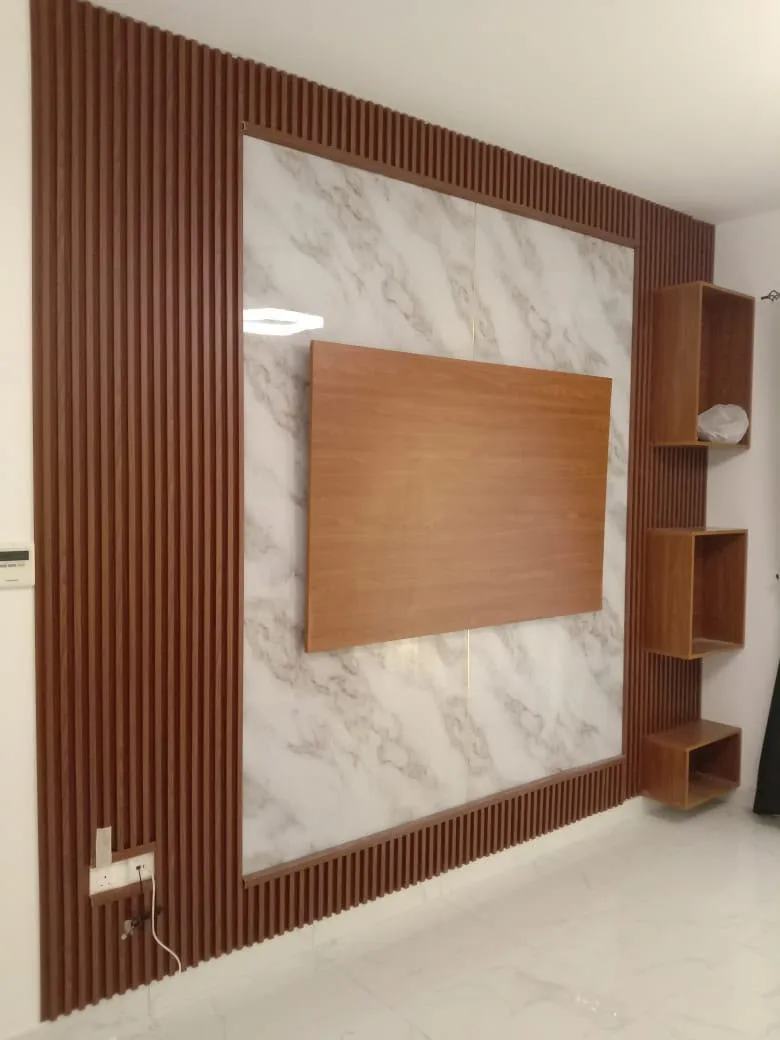
The fourth zone is the one that most often goes wrong, because the openings are cut late. A hole for a cable, an opening for a socket and a notch for a power strip all pass through a board whose faces are finished. The cut leaves a raw edge inside the opening where nobody looks, which makes it easy to forget.
The question to ask is whether openings are cut before the face is applied or after, and how the raw edge inside is closed. Where the opening is cut in the workshop from the drawing, the edge can be closed at the same time as the rest. Where it is cut on site, for example because a socket has to move, the closing has to happen on site too. The guide to media wall sockets and power explains why sockets are planned on the drawing, and the cable and service access guide shows how routes are drawn.
A grommet, a cover plate or a trim can cover the opening's edge and give a neat finish, but a cover hides an unsealed edge rather than closing it. Ask for both: a neat cover and a closed edge behind it. A cut-out near the floor or under the console is the highest priority because it is the likeliest to meet moisture.
When you are planning your own wall, the cleanest approach is to settle every socket, cable route and LED feed on the drawing before production starts, so that all cut-outs are made in the workshop. If you want to move a socket later, tell the team and let them close the new cut properly; a hole made with a hole saw and left raw is a fault waiting for a leak.
LED channels and slots: a routed edge near warmth
A recessed LED channel is a slot routed into a board and fitted with a strip and a diffuser. The slot has two edges that you see only when the light is off, and a space behind them that you never see. Because the strip and its driver make some warmth, the slot is a place where heat and a raw edge meet.
Ask three questions. How is the routed edge closed? Is there a diffuser or profile that covers the strip and finishes the line? Where does the driver sit, and can it be reached later? Of all the electrical parts, the driver tends to need attention first, so a driver sealed in behind a fixed panel is a design flaw; the cable service guide says so, and the lighting guide covers where strips go.
Follow the strip maker's guidance on heat. We do not quote temperature figures for any strip here because every product has its own datasheet, and what applies to one strip does not apply to another. What we do say is that an edge near a strip should be sealed and that the slot should never be left as a raw channel.
Our team installs the LED lighting inside the wall as part of the project, with warm 3000K or neutral 4000K channels and dimmers as published on our media wall service page. The lines of light you see in photos of finished walls are neat because the slot edges were planned and closed in the workshop, not improvised.
Fireplace walls and heat near the edge
If the wall includes an electric fireplace, a further edge question appears: the strips and finishes around the opening. An electric fireplace insert has its own clearances and heat output, set by its maker, and the finishes around it must tolerate that. We do not state a figure here because the right number is in the manual for the unit you choose.
What we recommend is to bring the fireplace model to the planning stage, so the opening, the surround and every strip next to it are designed around the real product. The electric fireplace guide covers the planning in detail. A strip fixed with an adhesive that softens near heat is a risk you avoid by naming the fireplace early, not by guessing later.
The same applies to any hot equipment: amplifiers and consoles inside cabinets need air, as the TV and equipment ventilation guide explains, and an edge near a vent or an air gap should be treated as an edge, not left raw.
Three ways a corner can meet
Where two faces meet at a corner, the edge can be handled in different ways, and the choice changes the look of the whole unit. The diagram shows three common treatments in plan: a strip on a butt joint, a mitred corner, and a face that overlaps the side.
A strip on a butt joint is the simplest. Two boards meet square and a strip covers the cut end of one. It is robust and easy to repair, and the line of the strip is a visible detail that you can choose to match or contrast. A mitred corner cuts both faces at an angle so they meet in one clean line, with no strip. It looks continuous, particularly with a wood-grain face, because the grain appears to wrap round the corner, but it asks for accuracy and the sharp meeting line is vulnerable to a knock. A face that overlaps the side hides the end of the board under the overlapping face, which looks clean from the front and pushes the join to the side.
None of these is better in general. The right one depends on the design, the household and the finish. Ask which your drawing uses, and ask whether the hidden end is closed before it is covered. For a wall with fluted or slatted sections the corners meet differently again, and the fluted panels guide covers how those profiles finish at the edge.
Matching the strip or contrasting it
The strip can match the face, contrast with it or blend with the wall behind. Each choice is a design statement. A matching strip makes a unit read as one block. A contrasting strip draws a line round every door and shelf and can look sharp on a modern wall. A strip that matches a neighbouring finish, for example the wood colour of a console against a white panel, can tie two materials together.
A few cautions apply. A matching strip is only as good as the match: the face and the strip come from different production runs and can sit a shade apart, especially in wood-effect finishes. Look at them together in daylight and at night, and use the thinking in our guide to colour and finish. Gloss faces can show a strip that is matt, and the opposite; sheen should match unless the contrast is intended.
A real-wood veneer face raises one more point. [The wood veneer reference](https://en.wikipedia.org/wiki/Wood_veneer) describes veneer as a thin slice of wood, so a veneer edge needs its own consideration: ask whether the edge is covered with a strip, finished with a veneer strip, or sealed in another way, and ask to see it. For laminate faces, which [the decorative laminate reference](https://en.wikipedia.org/wiki/Decorative_laminate) describes as layers of paper pressed together, the main question is whether the strip's colour tracks the printed face and how the join looks under a raking light.
Edge look: match, contrast or blend
Strip matches the face
- Effect on the wall
- Each unit reads as one solid block
- Watch for
- A slight shade difference in wood-effect finishes
Strip contrasts with the face
- Effect on the wall
- A drawn line round every door and shelf
- Watch for
- Fingerprints and chips show more
Strip matches a neighbouring finish
- Effect on the wall
- Ties two materials together
- Watch for
- Needs the colour approved in the room
Edge hidden by an overlap or mitre
- Effect on the wall
- Cleanest front view
- Watch for
- Accuracy at the corner; harder to repair
Raw edge hidden inside
- Effect on the wall
- Nothing to see
- Watch for
- Must still be closed; ask how
None of these is a recommendation in general. The right choice depends on the finish, the household and the light.
Sealing: closing the places a strip cannot reach
A strip covers a straight edge, but a media wall has places no strip reaches: the inside of a cut-out, the walls of a routed slot, the back of a panel, a notch round a pipe. Those places are closed another way, with a coat, a seal or a trim. We describe the principle here and do not name a product, because the right choice depends on the board and the finish, and we publish no sealing method as a standard for every job.
The principle is that every cut makes a new edge and every new edge should be closed. Boards made of wood fibre draw moisture from the air, so an open edge works like a small door in. A strip and a seal together turn that door into a wall. The animated diagram shows a raw edge taking in humid air on the left and a closed edge keeping the air at the surface on the right.
In practice, you can check a seal by asking, not by guessing. Ask what is on each cut edge that has no strip, how that was applied, and whether the same treatment is used on the underside of a console. A team that has a ready answer has thought about it.
An edge that has been closed is not waterproof, and we make no such claim. Liquid water standing on a board will eventually find a way in, which is why drains, mops and leaks are fixed at their source. Our humidity guide says the same: a seal helps, a dry wall helps more.
Changes on site: why every cut needs its own finish
A media wall is built in a workshop from a drawing and fitted at your home. Almost all of the edges are made in the workshop, where tools and finishes are on hand. Site changes are the exception, and exceptions are where edges are forgotten.
A few changes happen often. A socket needs to move a few centimetres. A cable route turns out to be longer than expected. A bracket needs an extra fixing. A shelf has to be shortened to fit an alcove that is slightly out of square. Each makes a new cut, and each new cut makes a new raw edge.
The order of work in the diagram is worth keeping in mind: boards are cut to the drawing, visible edges are banded where the design agrees, cut-outs and slots are closed, the wall is wrapped for transport, and any change on site is closed on site. The final step is the one to watch. If our fitters make a cut at your home, ask what they do to close it; a short answer such as "it is closed before the panel goes back" is exactly what you want to hear.
If you make a change yourself later, for example drilling for a new accessory, treat the hole as an edge. Use a drill bit sized for the fixing, avoid cutting near the lower edge, and close the opening or ask us how. A drilling job is small, but a raw hole near the floor line in a base unit is the kind of detail that shortens the life of a board.
Checking edges: in the quotation and on delivery
Edges are easy to check if you know where to look, and easy to discuss if you have the right words. Here is a plan in two stages.
At the quotation stage, look for edge treatment in the written scope. The line does not need to be technical. It should say which edges are banded, which finish the strip uses, and how the openings and routed slots are closed. If those words are missing, ask for them; our quotation checklist shows what a good media wall quotation names, and the guide to what a media wall is made of covers the layers.
At delivery and installation, run your fingertip along each visible edge. It should feel continuous with no step, no lifting at a corner and no gap between strip and face. Look along the edge in raking light, with the light skimming the surface, for ripples and glue lines. Check the underside of the console and the inside of any cut-out you can reach. Then open each door and drawer and look at the edge from the front and from the side. If you find a fault, photograph it and tell the team on the day; the handover checklist shows how to record a snag so it is fixed.
Edge checks at quotation and at handover
Quotation
- What to check
- Which edges are banded
- What a good answer sounds like
- Named per door, drawer, shelf and panel
Quotation
- What to check
- How cut-outs and LED slots are closed
- What a good answer sounds like
- A stated treatment, not "finished"
Quotation
- What to check
- The underside of the console
- What a good answer sounds like
- Mentioned, not skipped
Delivery
- What to check
- Strip is continuous, no step or gap
- What a good answer sounds like
- Fingertip finds nothing at the join
Delivery
- What to check
- Corners and ends
- What a good answer sounds like
- No lifting, no chips
Installation
- What to check
- Any change cut on site
- What a good answer sounds like
- Closed before the panel goes back
Photograph any fault on the day and send it by message, so the record is dated.
A chipped or lifted edge: what to do
Edges do get damaged in everyday life. A heavy bag swings against a door, a vacuum hits the console, or a strip lifts at a corner. What you do first matters.
Take a photograph, keep the area dry and do not pick at a lifting strip, because picking opens it further. Do not use a household glue; many glues leave marks and make a professional repair harder. Message us with the photo and, if you can, a close-up and a wider shot with the unit in view. We assess the cause and tell you what is possible; the written warranty covers workmanship defects for 24 months, and the 5-year limited warranty applies to the wood-based boards only, subject to its terms, with accidental damage and misuse excluded. A knock by a bag is accidental damage, so we say honestly what is covered and what is a paid repair.
For older walls with several worn edges, it can be cheaper to renew the faces than to patch each edge. Our renovation guide explains refacing doors and fronts while keeping the structure.
What we do about edges at Al Tareeq Decor
Our free measuring visit brings samples and a laser measure to your home anywhere in the UAE. During it we talk through the design, including which edges are seen and touched, and we note what you want. We then send a drawing and an itemised quotation, and your wall is made in our Sharjah workshop and fitted by our own team. Production starts once the details are agreed and the 60% advance has been received, and the wall is usually ready in up to about 10 days, depending on size and design.
Edge banding is available per customer requirement and agreed design. That is the honest scope: we band the edges the design calls for, and we do not claim that every edge of every wall is banded or sealed in one standard way. If an edge matters to you, ask for it by name and get it in the quotation. Our media wall price guide explains how finish and fittings move the figure, and the price factors guide shows what to compare between quotations.
Our media wall service is described on the media walls page, and the local pages cover media walls in Sharjah and media walls in Abu Dhabi. The pricing guide tool gives a starting picture for any service.
Your WhatsApp step: what to send
If you are planning a wall and want the edges handled properly, message us on WhatsApp with a photo of the wall, the TV size and the room. If you already have a unit and an edge is damaged, send two photos: a close-up of the damage and a wider shot of the whole unit. Tell us whether the unit stands on the floor or hangs from the wall, and whether the damaged edge is near a cut-out or the floor.
What to send for a media wall consultation lists the photos that help us answer in one message. We will reply with what we need next and arrange a measuring visit.
Common questions
What is edge banding on a media wall?
A thin strip fixed to the cut side of a board so the narrow edge matches or complements the face instead of showing the raw core. It is agreed per design. What a media wall is made of.
Do MDF edges need sealing on a TV wall?
A closed edge is sensible because wood-based boards take up moisture from the air and cut edges are where it goes in. Ask how each edge is closed. Does a media wall swell in UAE humidity.
Are all edges of a media wall banded?
Not automatically. We band the edges the design calls for, and edge treatment is written into the quotation. Media wall quotation checklist.
How are cable and socket cut-outs finished?
Cut-outs are best made in the workshop from the drawing so the raw edge inside can be closed with the rest. A cover plate alone is not a seal. Cable and service access.
What do I do about a chipped edge on my TV unit?
Photograph it, keep it dry, do not glue it, and message us a close-up and a wider shot. We tell you what is covered and what is a paid repair. Renovating a media wall.
Can a strip match my wood-effect finish exactly?
Strip and face come from different runs and can sit a shade apart, so look at both in daylight and at night before you approve. Media wall sample boards.
What does a media wall start from?
From AED 3,500 per project for a compact panel with a floating console in standard laminate; size, finish, lighting and edges set the final figure. Media wall price guide.

Sources & specifications
Manufacturer information applies to the named products and systems. Sources reviewed on 11 November 2026.
- Hygroscopy: how wood and cellulose fibres take up water from the airen.wikipedia.org(opens in a new tab)
- Medium-density fibreboard: may warp or expand in humid environments if not sealeden.wikipedia.org(opens in a new tab)
- Decorative laminate: overlay, decor paper and kraft layersen.wikipedia.org(opens in a new tab)
- Wood veneer: thin slices glued onto a core panelen.wikipedia.org(opens in a new tab)
Want this planned for your home?
Consultation and measurement are free. Tell us the rooms, location and what you need; we arrange a sample visit and define the measured quotation.