Wardrobes · 14 min read · 5 August 2026
A wardrobe in an alcove or wall niche: measuring, fillers and doors
An alcove or wall niche suits a wardrobe because three walls already exist. Measuring at several heights and depths, the narrowest-reading rule, switches, sockets and the AC grille, filler panels and scribing, sliding or hinged doors between walls, lighting and ventilation.

By Ali Haider Basra, Founder, Al Tareeq Decor · Contact our workshop
Key takeaways
- A niche already has walls on three sides, so a wardrobe can run wall to wall with a flush front. What decides the fit is the measuring: width and depth at several points and heights, not one reading.
- Build the body to the narrowest reading and close the rest with two filler panels scribed to the walls. Our drawing's readings (238 and 241 cm, a 222 cm body, fillers of about 8 cm) are invented examples of the order of work.
- Switches, sockets, skirting and an air-conditioning grille belong on the drawing before production. We do not move electrical points: tell us before the drawing is approved.
- Sliding doors need no floor in front but give one half at a time; hinged leaves open the whole inside but need swing room, and the hinge side may need a filler to clear the wall.
- We build alcove wardrobes from AED 550 per sqm for the entry specification (MDF laminate, hinged doors, installed); the free measuring visit confirms the readings, the fillers, the doors and what is provided for light and air.
On this page
- Key takeaways
- A wardrobe built into an alcove: the short answer
- Why an alcove is a good place for a wardrobe
- Measuring a niche: the readings that matter
- What to measure in a niche
- Plumb walls, the ceiling and the floor
- Switches, sockets, skirting and the AC grille
- Closing the gap: filler panels and scribing
- Doors that fit between walls: sliding or hinged
- Doors in a niche at a glance
- Lighting and ventilation in a niche: ask, do not assume
- What a measuring visit confirms in a niche
- What we do about an alcove wardrobe
- Common questions
A wardrobe built into an alcove: the short answer
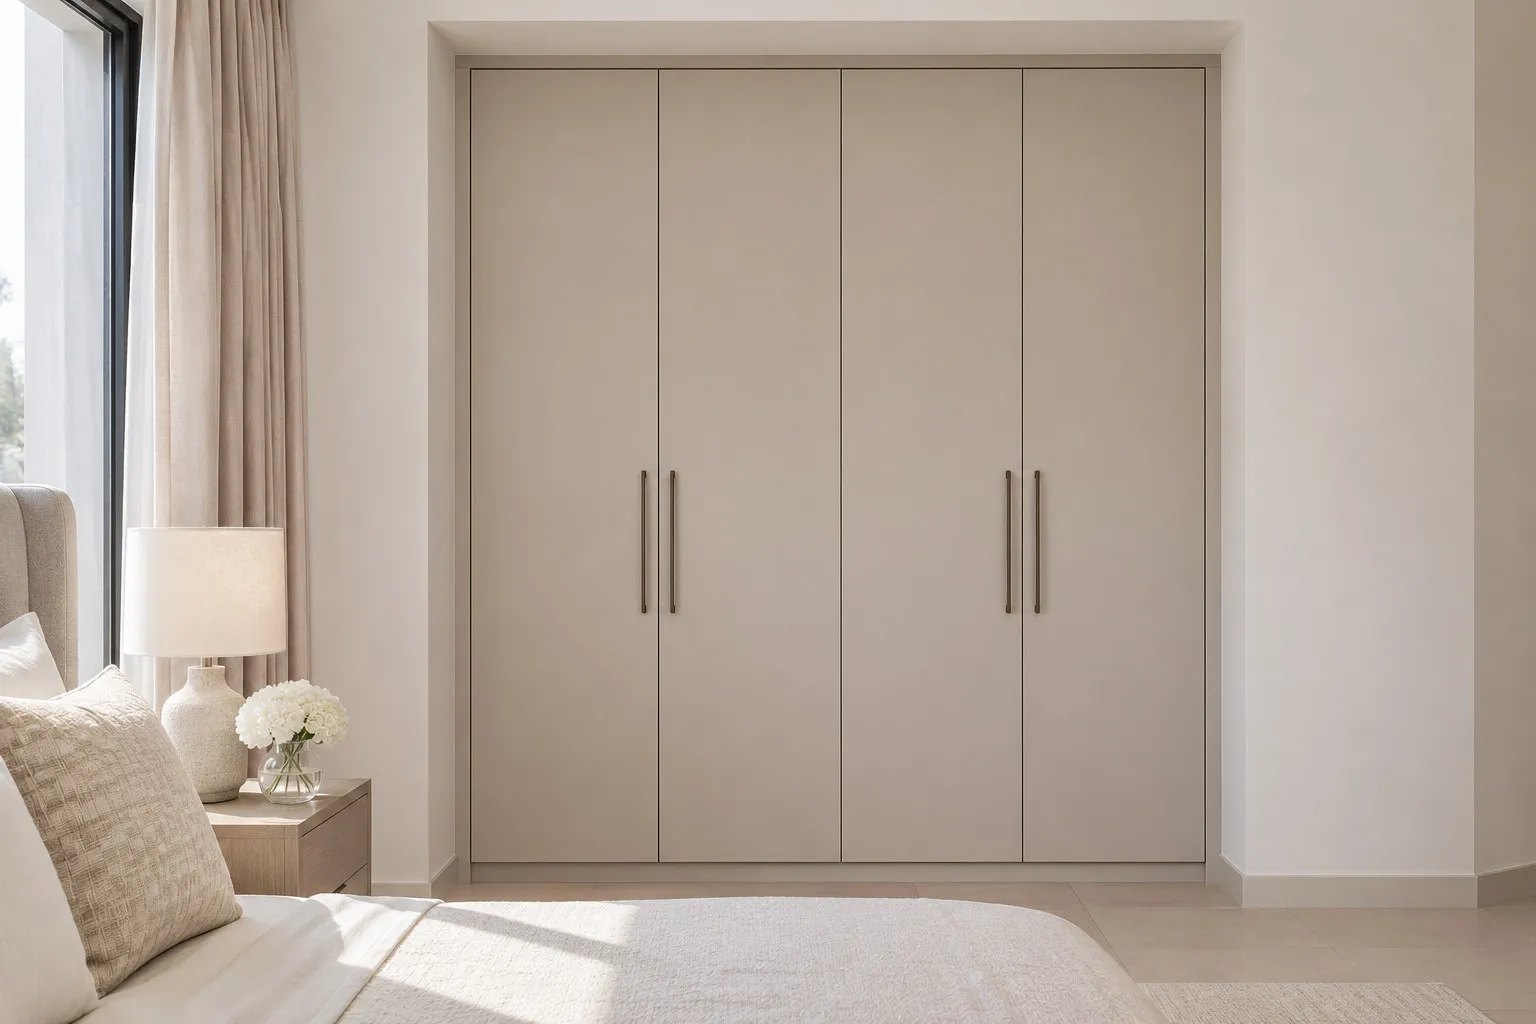
An alcove or wall niche is one of the best places for a wardrobe, because three of its sides already exist. What the wardrobe has to do is meet those walls without gaps, and that is decided by measuring, not by the wardrobe's design: the width and depth are read at several points, the body is built to the narrowest reading, and two filler panels, cut to the walls, close what is left.
Our drawing below shows that order of work in plan view. The readings on it are examples we made up to show the sequence, not a rule and not your niche. We make custom wardrobes to the walls we measure, so the figures that count come from the measuring visit.
This page is about niches only. Whether to choose a reach-in or a walk-in is on the reach-in versus walk-in wardrobe page, and the narrow-room sums are in narrow room wardrobes.
- 1. Measure: the width at the back and the front, and at three heights
- 2. The body: built to the narrowest reading, not the widest
- 3. The fillers: a strip each side, scribed to the wall and fixed to the body
- 4. The doors: flush on the front between the fillers; a hinged leaf swings into the room
Why an alcove is a good place for a wardrobe
A wardrobe on an open wall needs two side panels, a top and a finish that meets the ceiling. In a niche the walls do the sides for you, so the body can run from wall to wall and the front can sit flat, level with the surrounding wall or set back from it by the thickness of the doors, and a niche is also one of the places where a desk bay can work in a wardrobe wall. The result looks like part of the room instead of a piece of furniture standing in it, and it is why Spaceslide, a UK maker, says that "hinged wardrobes can be fitted into alcoves and adapted to work with uneven walls".
It also keeps the floor free. The recess already has the depth a wardrobe needs, so the wardrobe takes no floor from the room. That is the reverse of a narrow room, where the box eats the walkway, and the narrow-room sum is a different calculation.
The trade-off is that a niche cannot be made bigger. The width is whatever the walls give, and the depth is whatever the recess gives; if hanging needs more depth than the niche has, clothes may have to hang sideways or the front has to come out into the room. Wardrobe depth shows the hanger arithmetic, and whether the front should sit flush or proud is something the drawing shows before you approve it.
Measuring a niche: the readings that matter
Walls in a niche are rarely perfectly straight or parallel, so one tape reading is not enough. Online Bedrooms, a UK retailer, tells its customers to "measure the width of your space, at 3 different heights" and to note down the smallest, and to measure the height "in 3 different places" and note the tallest. A second page from the same retailer asks for the depth as well, "including irregular shapes", and measuring "at three separate points, in case they aren't completely straight".
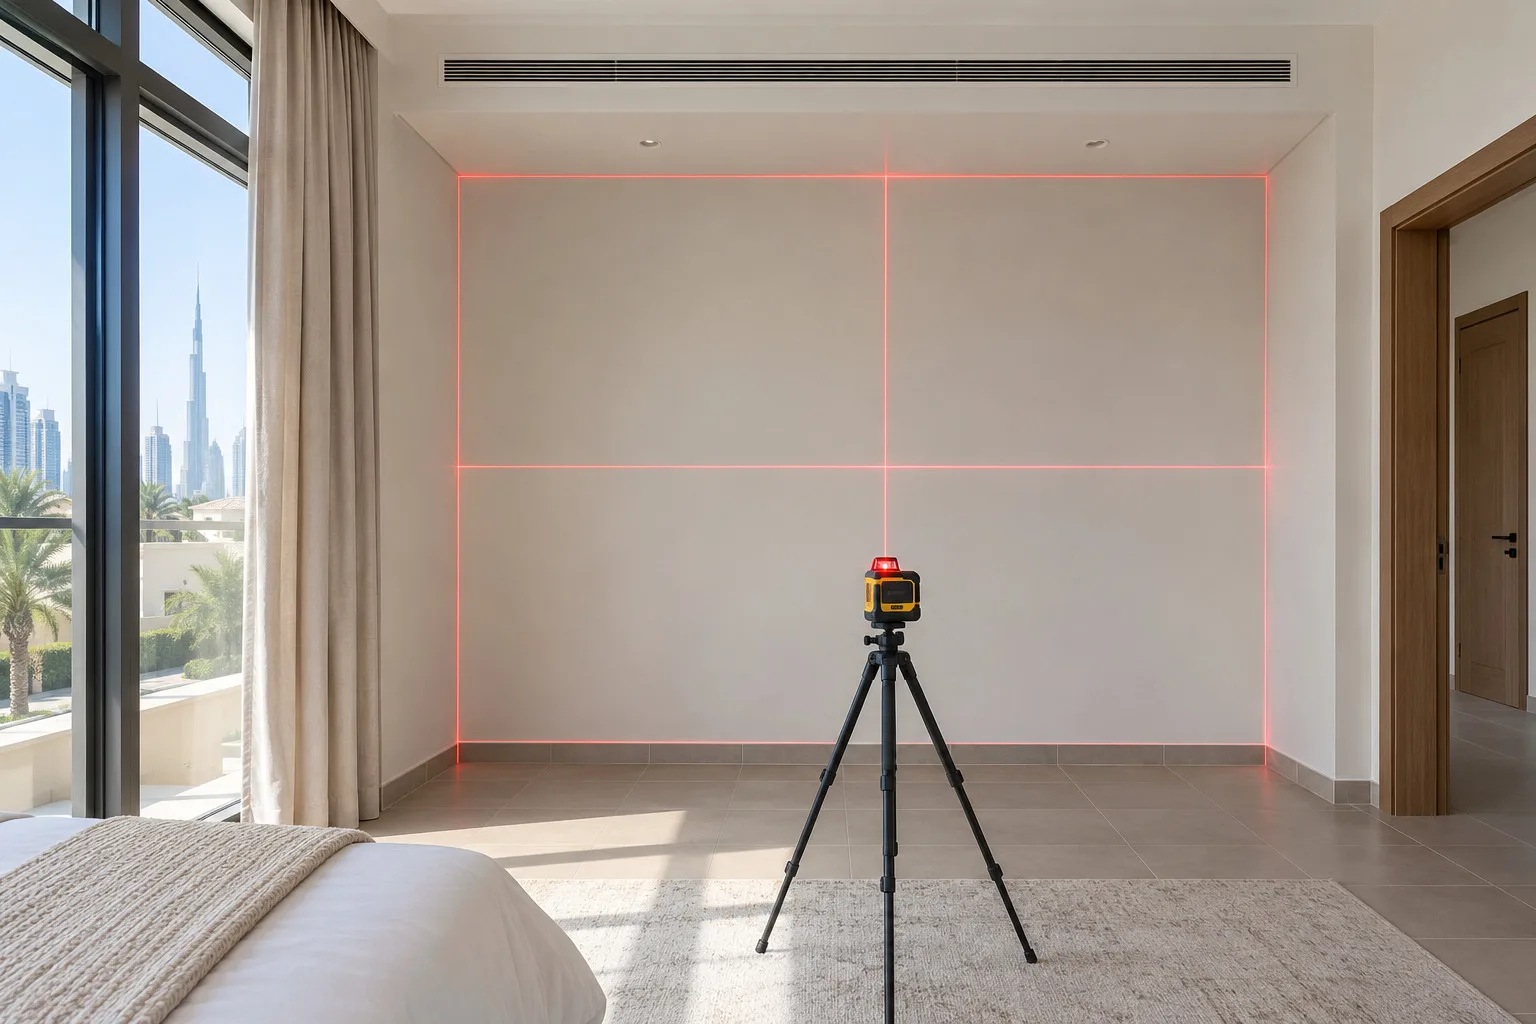
We use the same idea in a fuller form at our visit. Width goes at the back and at the front, each at the top, the middle and the bottom; depth goes at the left, the middle and the right; height goes at the left, the middle and the right. Those are about a dozen readings, which take minutes and are the cheapest part of the whole job. The wardrobe measuring visit guide describes the general routine; the table below is the niche version, and the wardrobe dimensions guide lists the other measurements to take.
What to measure in a niche
Width
- Where
- Back and front, each at three heights
- What it decides
- The width of the body and how wide the fillers must be
Depth
- Where
- Left, middle and right, floor to ceiling if the wall leans
- What it decides
- How deep the body can be and where the doors sit
Height
- Where
- Left, middle and right, floor to ceiling
- What it decides
- Whether the body can run to the ceiling and how much top filler is needed
Plumb
- Where
- A level held on each wall
- What it decides
- Whether the side fillers must be scribed to a leaning wall
Floor
- Where
- Level across the niche
- What it decides
- Whether the plinth or the base needs shimming
Things on the wall
- Where
- Switches, sockets, the AC grille, pipes, skirting, a ceiling step
- What it decides
- What the drawing has to leave clear or work around
A checklist of ours, drawn from the sources named above. Ask the drawing to show every reading it used.
Plumb walls, the ceiling and the floor
A wall that leans, or a ceiling that is not level, shows up at the edge of a built-in as a gap that gets wider towards one corner. Stegbar, an Australian door maker, says "if the wall is greater than 3mm out of plum, scribing is recommended"; that is advice for its own panels, so it tells you how small the margin is rather than setting a rule for a niche. A level held against each wall and a straight edge along the ceiling line answer the question in a minute.
The narrowest reading governs the body. If the width is 238 cm at the back and 241 cm at the front, the body has to pass through the narrowest point, which is why Online Bedrooms asks customers to "note down the smallest of the three measurements". Anything wider than that needs to be made to fit by a filler, and a body built to the widest reading would never go in at all. The tallest reading governs the filler at the top, where the ceiling gap is closed. The floor matters last: a floor that slopes across the niche shows as a gap under one door unless the plinth is levelled.
Switches, sockets, skirting and the AC grille
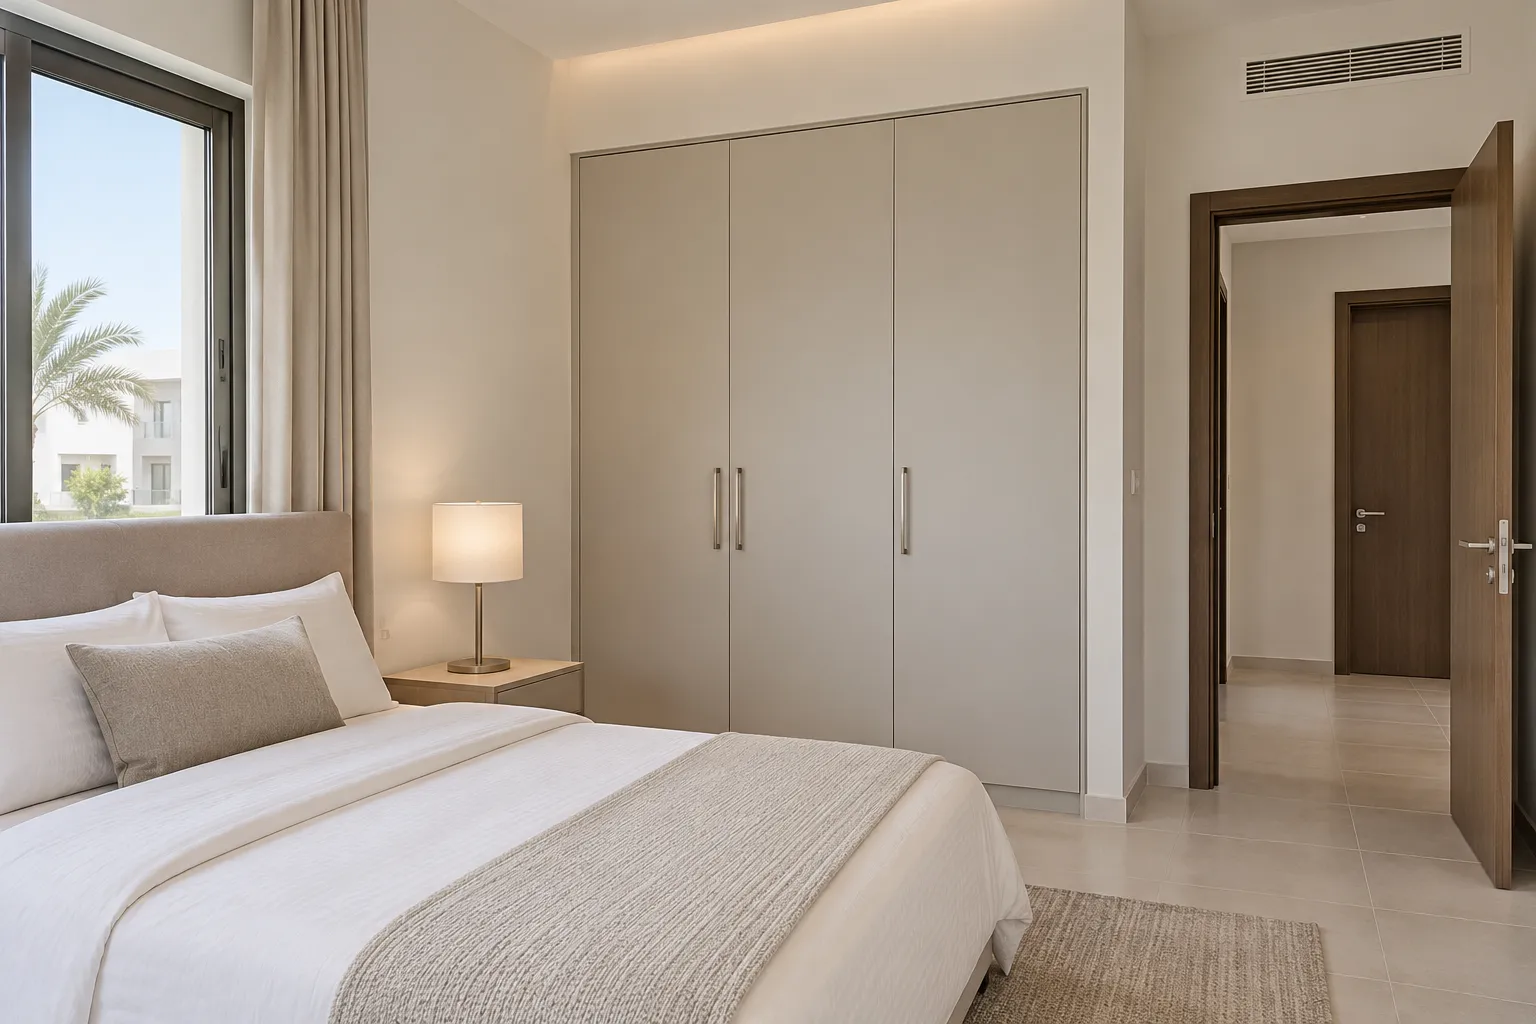
A niche rarely arrives empty. There may be a light switch inside its edge, a socket low on the back wall, a skirting board that runs round the three sides and, in a UAE flat or villa, an air-conditioning grille or a pipe that has to stay reachable. Each of them is a decision for the drawing, and each is much cheaper to settle on paper than after the body is made.
Skirting first. Online Bedrooms says to measure "wall-to-wall, ignoring any skirting boards or coving", which is how one retailer reads the width. The reason a drawing still has to know about skirting is that the body sits in front of it or the body is cut round it, and the filler runs against the same wall; the skirting is part of the surface the filler is scribed to. We record its height and depth on the sheet.
A switch or a socket inside the niche has three honest options: leave it uncovered at the side where a filler can be notched, move it before the body goes in, or accept that it will sit inside the cupboard. Moving an electrical point is an electrician's job, not part of our wardrobe work, so tell us before the drawing is approved and not after. An AC grille or a pipe is different, because it cannot be blocked: the wardrobe is drawn to stop short of it or to leave the grille uncovered, and the wardrobe musty smell guide explains why airflow and damp are worth thinking about when a cupboard shares a wall with a cooling unit or a bathroom. For a wardrobe on a bathroom wall, read the bathroom wall guide first.
Closing the gap: filler panels and scribing
A body built to the narrowest reading leaves a gap to a wall that is wider. A filler is the strip that closes it: Stegbar describes it as "a narrow strip or panel of material" used to "fill the gap between the wardrobe and the wall or other obstacles". It sits between the body and the wall, and from the room it looks like a plain edge of the wardrobe.
Scribing is how a filler is made to fit a wall that is not straight. Stegbar says "scribing is the process of 'tracing' the contours of your wall, skirting board or other uneven features". The steps it gives are to set the body in place and level it, "measure the distance between the wall and the tower in 3 spots", mark those readings on the filler, remove the waste along the line and then, "once the timber fits snugly against the wall", fix it to the body. Online Bedrooms, selling a different product, allows 100 mm in its width calculation for "the 2 side scribe panels that will connect the cabinet to the wall", and tells the customer that side scribes may need cutting to size. That figure is its own allowance, not a standard, and we do not claim a filler width of our own: the drawing gives the width of each filler and the body, and you can see both before you approve it.
The finish of the filler matters as much as its fit. A filler in the same laminate as the doors reads as part of the wardrobe; one in a different colour looks like a patch. Door finishes compared helps with the choice, and floor-to-ceiling wardrobes shows the top edge, where the same trade-off applies.
Doors that fit between walls: sliding or hinged
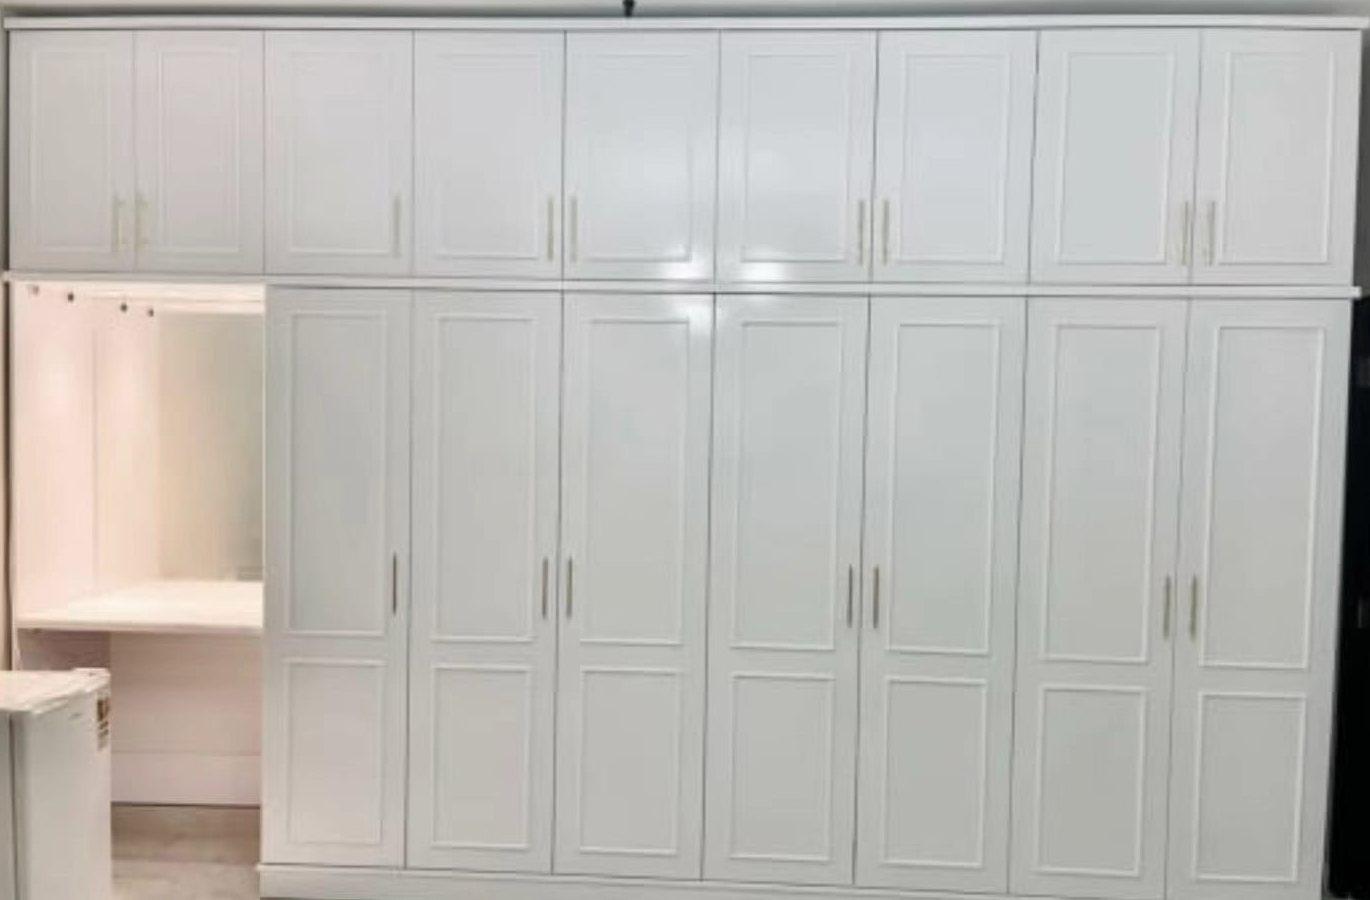
In a niche the door choice has one extra question: what does the door do at the walls? A hinged leaf next to a side wall needs room to swing past it, and a sliding set needs a track that runs the whole width. Interior Insider says that "hinged doors need an open area in front of them that is at least as wide as the door itself", and Spaceslide puts it as "hinged doors require clearance in front of the wardrobe equal to the width of the door panel". The room in front of the niche has to take the swing, which the door clearance guide shows how to test with tape on the floor.
Sliding doors need "zero external space to open", in Interior Insider's words, and that is why they suit a niche opening onto a bed or a passage; the cost is that "you can only access one half of the wardrobe at a time", and the track takes some depth. Sliding wardrobe door systems and sliding track types compare the systems, and the hinged versus sliding doors guide sets the two side by side.
A hinged niche asks one more thing of the fillers. A leaf mounted next to a wall can only open fully if the hinge side is clear of it, so a filler at the hinge side is sometimes a door-swing decision as much as a gap-closing one, and the handle needs room to be grasped. A slim handle or a recessed pull helps; the wardrobe handles guide covers them. A hinged door that later rubs the wall or the next leaf is a common complaint, and a sticking wardrobe door shows the first checks. How many hinges a leaf needs is in the wardrobe hinges guide.
Doors in a niche at a glance
Floor in front
- Hinged leaves
- Needs about the width of one leaf to swing
- Sliding doors
- Needs none to open
Access
- Hinged leaves
- The whole inside opens at once
- Sliding doors
- One half at a time
At the side walls
- Hinged leaves
- The hinge side needs clearance; a filler can give it
- Sliding doors
- The track ends at the walls and runs the full width
Depth
- Hinged leaves
- The door sits on the body front
- Sliding doors
- The track takes extra depth
Best when
- Hinged leaves
- The room has floor in front of the niche
- Sliding doors
- The niche opens onto a bed, a passage or a tight room
Our summary of the sources named above (Interior Insider, Spaceslide). Each describes its own product or advice; ask the drawing to show which door type and which swing.
Lighting and ventilation in a niche: ask, do not assume
A niche is darker than an open wall, because it has three sides and a ceiling and no window of its own, so lighting inside is worth planning. We install LED lighting inside wardrobes with our own team, and what suits a niche (a strip at the front edge, a profile, a light that switches on with the door) depends on the site and the drawing, not on a standard. LED strip or profile lighting compares the two, and wardrobe lighting ideas shows the options. Our team plans how the light is connected and marks it on the drawing, so say early where a socket or a switch is.
Ventilation is the other thing to ask about, and it depends on the walls the niche has. A niche on an inside wall in a dry room has a different history from one on an outer wall or beside a bathroom. We do not state a ventilation opening or a back gap as a standard of our workshop; we do not have one to quote. Ask the quotation what is provided for air, and see moisture-resistant wardrobe boards for the boards we select for the application. If a smell is already there, check the musty-smell guide before the new wardrobe closes it in.
What a measuring visit confirms in a niche
The free visit is where the readings are taken and the plan is checked on the actual walls. For a niche we measure the width and depth at several points, the height at the left, middle and right, the plumb of each wall, the level of the floor and the ceiling, and the position of every switch, socket, grille, pipe and skirting. We also look at what is in front of the niche: the swing space for a hinged leaf, or the room for a sliding track. The visit comes with samples, and the drawing and the itemised price are approved before production.
Ask the drawing to show five things: the widths of the body and of each filler, the depth, the door type with its swing, what is done about each switch or grille, and how the top is closed. The wardrobe quotation checklist lists what else to compare. If your niche sits in a bigger plan, apartment wardrobe ideas shows where it fits, and small bedroom wardrobe ideas covers the bedroom as a whole.
What we do about an alcove wardrobe
We build wardrobes into alcoves and wall niches to the readings we take, with hinged or sliding doors, from our workshop in Sharjah, Al Shuwaiheen. Our published entry specification is from AED 550 per sqm, installed, for MDF laminate with hinged doors; sliding doors, mirror or glass fronts, lighting and a niche that needs special fillers or a top closure change the figure and we give no number for them: ask for a quotation after the free visit. After measurements and details are agreed, a 60% advance is paid and production starts once it is received; the remaining stage is agreed with you. Production takes up to about 10 days depending on size and design, and the workmanship carries a 24-month written workmanship warranty.
The built-in wardrobes and sliding door wardrobes pages show finished examples. We serve the UAE; the Sharjah wardrobe page shows our home area. The pricing guide helps plan a budget, custom closets and wardrobe prices explains what changes the cost, and you can book a free measuring visit or start from the custom wardrobes page.
After the recess is measured, the five-step wardrobe plan takes you through doors, interior and finish.
Common questions
How do I measure an alcove for a wardrobe?
Measure the width at three heights, and at the back and the front, the depth at the left, middle and right, and the height in three places, then note the smallest width and the tallest height. Online Bedrooms gives the same three-height advice. See our wardrobe measuring visit guide.
What if the alcove walls are not straight?
The body is built to the narrowest reading and filler panels are scribed to the walls to close the gaps. Stegbar suggests scribing when a wall is more than 3 mm out of plumb, which is its advice for its own panels. See our floor-to-ceiling wardrobe guide.
Are sliding or hinged doors better in an alcove?
Sliding doors need no floor in front but open only half the wardrobe at a time; hinged leaves open all of it but need swing space equal to the leaf width, per Interior Insider and Spaceslide. See our hinged versus sliding doors guide.
What do I do about a switch, socket or AC grille in the alcove?
Put it on the drawing: a grille is left uncovered, a switch or socket can be worked around or moved by your electrician before the body goes in. We do not move electrical points. See our wardrobe quotation checklist.
Can I put lights inside an alcove wardrobe?
Yes. We install LED lighting inside wardrobes with our own team; the type depends on the site and the drawing. Say where the socket or switch is early. See our LED strip versus profile guide.
Does an alcove wardrobe need ventilation?
It depends on the walls the niche has, an inside wall in a dry room or an outer or bathroom wall. We do not quote a standard opening, so ask what is provided for air in the quotation. See our musty-smell guide.
How much does an alcove wardrobe cost?
Our entry price is from AED 550 per sqm, installed, for MDF laminate with hinged doors; sliding doors, mirror or glass, lighting and special fillers change it, so ask for a quotation after the free visit. See our wardrobe price guide.

Sources & specifications
Manufacturer information applies to the named products and systems. Sources reviewed on 4 November 2026.
- Online Bedrooms (UK retailer), How to build a fitted wardrobe in an alcove: measure the width at 3 heights, note the smallest; measure the height in 3 places, note the tallest; allow for 2 side scribe panelsonline-bedrooms.co.uk(opens in a new tab)
- Online Bedrooms, Fitted wardrobes for alcoves: measure width, height and depth at three separate points; side scribes and plinths may need cutting to sizeonline-bedrooms.co.uk(opens in a new tab)
- Stegbar (Australian door maker), How to scribe: tracing the contours of an uneven wall; scribing recommended if a wall is more than 3 mm out of plumb; gaps read in 3 spotsstegbar.com.au(opens in a new tab)
- Stegbar, support page on scribing: a filler is a narrow strip or panel used to fill the gap between the wardrobe and the wallstegbar.com.au(opens in a new tab)
- Interior Insider, IKEA PAX sliding doors vs hinged doors (9 February 2026): hinged doors need an open area at least as wide as the door; sliding doors need no external space; only one half accessible at a timeinteriorinsider.com(opens in a new tab)
- Spaceslide (UK maker), Hinged wardrobes: hinged doors need clearance equal to the door width; hinged wardrobes can be fitted into alcoves and adapted to uneven wallsspaceslide.co.uk(opens in a new tab)
Want this planned for your home?
Consultation and measurement are free. Tell us the rooms, location and what you need; we arrange a sample visit and define the measured quotation.