Media Walls · 22 min read · 5 November 2026
Home theatre media wall: speakers, screen, rack and light
What a home theatre media wall has to carry: the 5.1 speaker layout and angles, centre and side bays, the subwoofer, an equipment rack, light scenes and cables.

By Ali Haider Basra, Founder, Al Tareeq Decor · Contact our workshop

Key takeaways
- A home theatre wall carries five jobs: the screen, the front three speakers, the subwoofer, an equipment rack with air, and controllable light.
- Published layouts put the front speakers at about 22 to 30 degrees from the main seat and the surrounds at about 110 to 120 degrees, a little higher than the fronts (The Home Cinema Guide, ITU-R BS 775 on Wikipedia).
- Give the centre speaker a bay directly under or over the screen, the sub a cabinet away from corners, and keep the front wall symmetrical where the speakers are.
- Run conduits to the surround and height speaker positions before the wall closes; Dolby recommends professional installers for overhead speakers.
- Send a photo of the wall, the room from the seat and your sound plans on WhatsApp; we build the carpentry and lighting, not the speakers, and make no soundproofing claim.
On this page
- Key takeaways
- A home theatre media wall: what it is and what it is not
- What the front wall carries: five jobs
- The layout: five speakers, a sub and the angles from the seat
- The centre speaker: the one that decides the dialogue
- Left and right speakers: bays, not holes
- The subwoofer: where bass is helped and where it is hurt
- Surrounds and height speakers: the cables the wall has to deliver
- The screen: how big, and TV or projector
- The equipment rack: heat, access and the remote
- Light scenes: one wall, five settings
- Finish and colour in a dark room
- Cables for a cinema wall: more of everything
- Three rooms, three plans
- Mistakes that spoil a cinema wall
- What we do about it
- Send us the room on WhatsApp
- Common questions
A home theatre media wall: what it is and what it is not
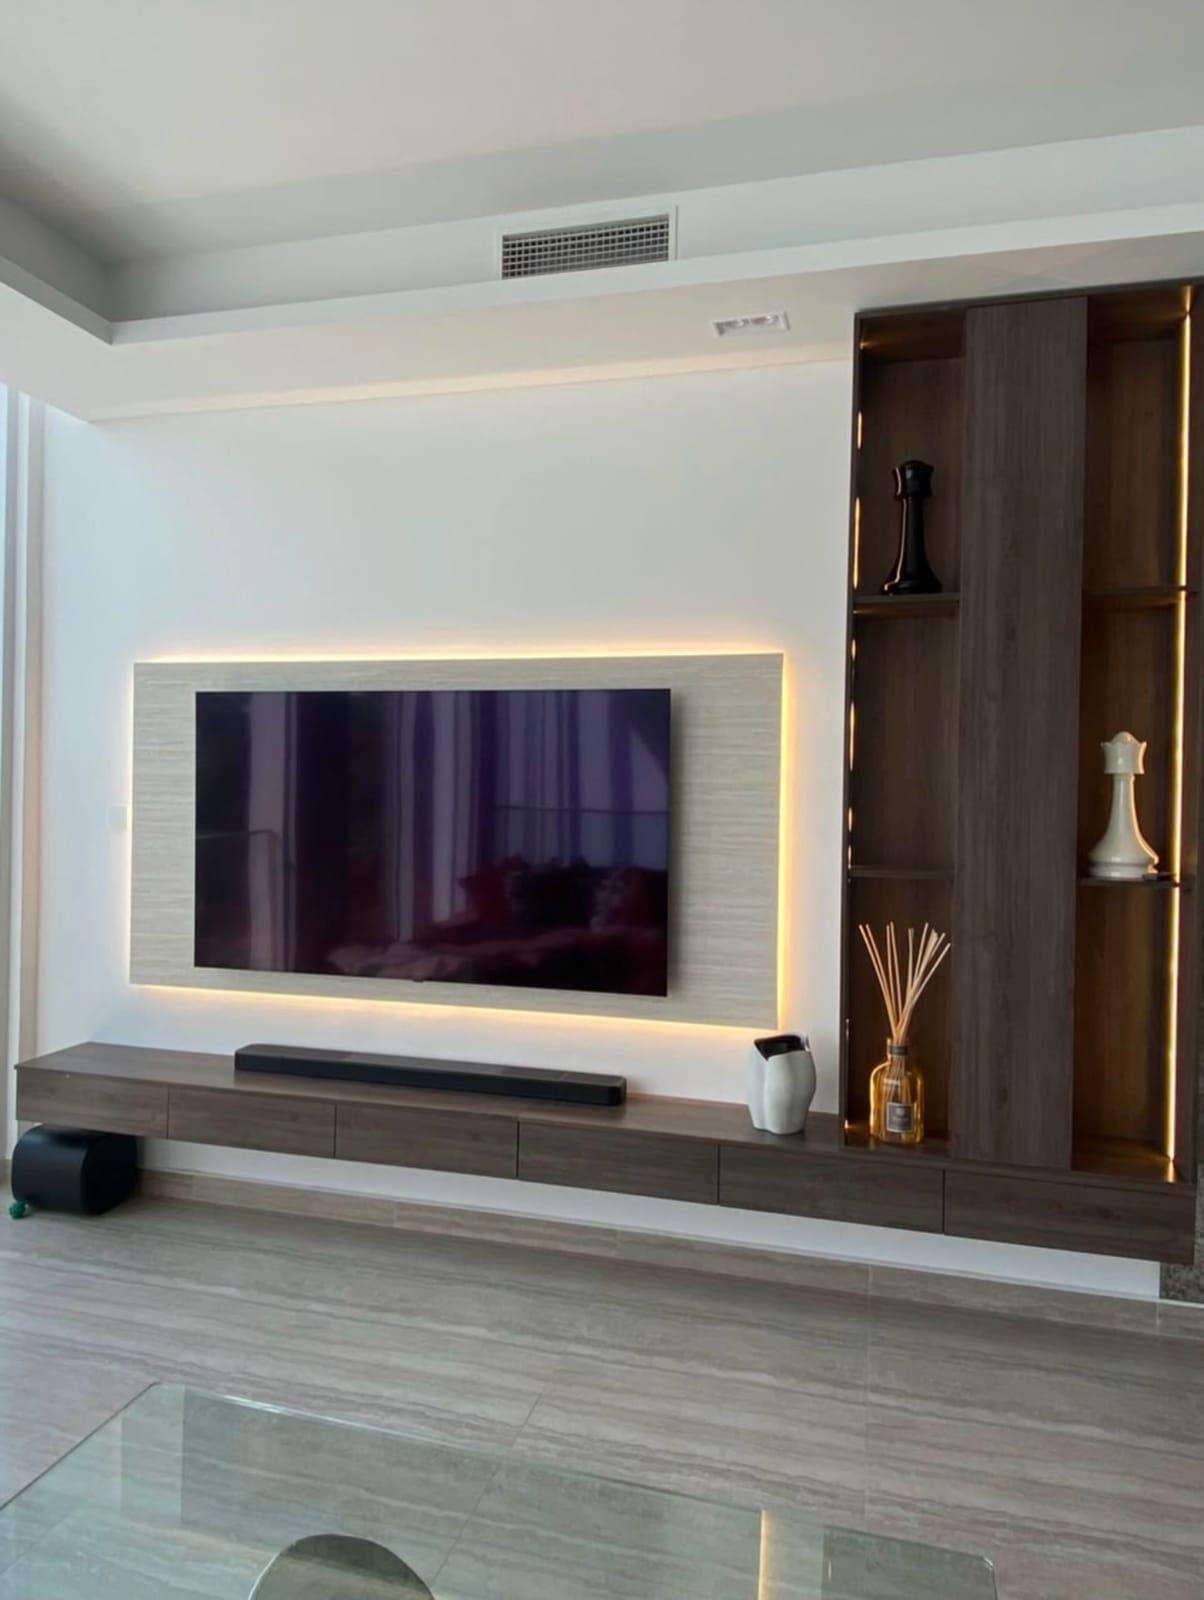
A home theatre media wall is a media wall designed first for films and sound and second for everything else. The difference from an ordinary living room TV wall is not the size of the screen. It is that the wall has a job beyond holding a TV: it has to carry the front speakers, give the subwoofer a good place, house an equipment rack that breathes, and let you control the light so the room can go dark. Everything else, the finish, the shelving and the display niches, is built round that job.
Wikipedia's entry on home cinema describes it as an audio-visual system that seeks to reproduce a movie theatre experience and mood in private homes, and lists the minimum requirements as a large television set or good quality video projector plus an audio system. That is the right way to think about the wall: it is the front of a small cinema, and the cinema is a system of screen, sound, source, seating and atmosphere. The wall cannot supply the seating or the room's acoustics, but it decides where the screen and front sound go and how tidy the system is.
This guide takes the front wall. It covers the speaker layout and its angles, where each front speaker lives in the wall, what to do about the surround and height speakers that are not in the wall at all, the equipment rack, light scenes, finishes that suit a dark room and the cabling that has to be right before the wall is closed. It does not recommend equipment or give a speaker size, a price or a loudness, and it does not claim our wall insulates against noise. If you only need a bar under a TV in a living room, soundbars and speakers in a media wall is the better read; this guide is for the room where films are the point.
What the front wall carries: five jobs
Start by listing what the wall has to do, because each job becomes a piece of carpentry. The first is the screen: a TV at the right size and height, or the surface for a projector, which the projector guide covers. The second is the front speakers: left, right and centre, in positions that suit the seats. The third is the subwoofer, which needs a place that is not the corner and not the middle. The fourth is the equipment: an amplifier or receiver, a player, a streaming box and the cables between them, in a rack with air. The fifth is the light: the ability to bring the room from bright to dark and to keep the wall's own lighting from fighting the picture.
Two things the wall does not carry are worth saying plainly. The surround speakers sit beside and behind the seats, in other walls or on stands, and the height speakers sit in the ceiling; the wall's job there is only to deliver the cables to them. And the wall does not make the room quiet. Wikipedia notes that higher-end home theatres commonly also have sound insulation to prevent noise from escaping the room, which is a construction project on the room, not a feature of a media wall; we make no soundproofing claim for any of our panels, including the acoustic fluted slats among our listed materials.
With the jobs listed, the planning becomes a matter of putting each in its place, in the order the cables and the sight lines require. The rest of the guide goes through them in that order, and the drawing below shows the whole front wall in one view so you can see how the pieces share the space.
The layout: five speakers, a sub and the angles from the seat
The common name for a basic surround system is 5.1, and Wikipedia's entry on 5.1 surround sound explains it: five full-bandwidth channels and one low-frequency effects channel, the point one. Those are a front left, a front right and a centre channel, a surround left and a surround right, and the low-frequency channel designed for a subwoofer. The International Telecommunication Union recommends a playback layout in ITU-R BS 775, which the same entry summarises: the centre at 0 degrees, the fronts at plus and minus 22.5 degrees for movies and 30 degrees for music, and the surrounds at plus and minus 110 degrees, with the five speakers of the same size and at an identical distance from the listeners.
The Home Cinema Guide gives practical ranges in the same spirit: aim for a 22 to 30 degree angle between each front speaker and the central seat, place the surrounds at 110 to 120 degrees for a 5.1 layout according to Dolby's recommendations, though THX suggests 90 to 110 degrees, and mount the surrounds slightly higher than the fronts, about 1 to 2 feet above seated ear level. It also says the rear speakers of a 7.1 layout go at 135 to 150 degrees. These are guidelines from published sources, and your room, your speakers' manual and your ears are the final judges.
For a media wall what matters is that the angles turn into positions. From the main seat, a 22 to 30 degree angle puts the left and right speakers a certain distance either side of the screen's centre, and that distance decides how wide the front wall's speaker zones are. The drawing below shows the plan of a 5.1 layout with the angles from the seat, and it is the first thing we ask to see, because it tells us how wide the wall has to be.
- 1. The front three speakers sit on the screen wall.
- 2. The surround speakers sit beside or behind the seat at 110 to 120 degrees.
- 3. The subwoofer sits away from the corner and the middle.
- 4. The guideline angles come from published sources; your room decides.
The centre speaker: the one that decides the dialogue
Most of the dialogue in a film comes from the centre channel, so the centre speaker earns the most careful placement of all. The Home Cinema Guide advises placing it directly above or below the middle of the screen, keeping it close to the screen within a couple of feet, pointing it at the main seat and aligning its tweeter height with your ears and the front speakers if possible. On a media wall the usual position is directly under the screen, in a bay of its own, or above it on a slim shelf.
The bay matters. A speaker shut into a cupboard with a solid front sounds muffled, and a bay open to the room but too small for the speaker's cabinet is no better. The speaker's own manual says how much space it wants round the cabinet, and the drawing should leave that space plus a margin. The front of the bay is usually a thin acoustic cloth in a frame, which lets sound through and hides the speaker. Ask the speaker's maker or supplier in writing what front they accept, because a perforated or slatted front changes the sound.
The centre speaker also competes for space with a floating console and with a soundbar, if one is planned for daily use. If the TV sits low, the speaker may have to go above it, and the TV's height and the speaker's height then have to be balanced; TV height on a media wall helps with the eye-level logic, and TV size and viewing distance helps with the size. For a theatre wall, we often draw the screen a little higher than a living room wall would, with the centre bay beneath it, because a seated viewer's sight line to a larger screen is better served that way.
Left and right speakers: bays, not holes
The left and right speakers sit either side of the screen at the angle from the seat. In a media wall that usually means a tall bay on each side, framed to match the wall and faced in acoustic cloth. The bay should be wide enough for the speaker and its manual's clearances, tall enough to bring the tweeter to ear height, and deep enough that nothing presses on the back of the cabinet. If the speaker is a floorstanding model, the bay runs to the floor; if it is a smaller one, it sits on a shelf at the right height.
Some people prefer speakers built into the wall. In-wall speakers need an enclosure of the right size and a mounting method that the maker specifies, and the wall has to be built for them from the start: a frame, a back box, the cable route and a front that is flush and paintable. Whether it suits your room is a question for the speaker's maker and a sound installer; we can draw and build the carpentry once the maker's mounting drawing is in hand. We do not offer speaker selection or sound tuning.
A word on symmetry. A wall with a speaker bay on one side and a display tower on the other looks balanced and sounds lopsided, because the two front speakers are meant to be at the same distance from the seat and in a similar surround. The ITU layout summarised on Wikipedia asks for the five speakers at an identical distance from the listeners. The wall should therefore be symmetrical where the speakers are, and decorative on the outside of them, not between them.
- 1. The centre speaker bay sits directly under the screen.
- 2. Left and right bays stand either side at the angle from the seat.
- 3. The subwoofer has a cabinet of its own away from the corner.
- 4. The equipment rack at the side has air and a front the remote passes.
- 5. A lit cove along the top gives the wall its own light.
The subwoofer: where bass is helped and where it is hurt
A subwoofer produces the low-frequency channel, and its position changes how the bass sounds more than any other speaker's. The Home Cinema Guide advises against putting it right in the middle of the room and suggests placing it closer to one end, and warns that in a corner the low frequencies can become overpowering and harder to control. Those are rules of thumb from one guide. Your subwoofer's manual may say more.
For a media wall this gives a clear plan. The subwoofer gets a cabinet of its own at the side of the front wall, away from the corner, with its front and any port open to the room and enough air round it. A subwoofer boxed in by shelves and doors, or pushed into a corner by a tall unit, works against the very bass you bought it for. Ask the manual how much clearance a ported or sealed cabinet wants, and draw that clearance on the plan.
Do not hide the subwoofer behind a solid door to make the wall look tidy. A grille or acoustic cloth is fine; a panel is not. And remember it is heavy and vibrates, so the drawing should show the shelf or floor it stands on and what it is fixed to, if anything. The load rules in heavy panels and weight apply to the cabinet as they do to a TV.
Surrounds and height speakers: the cables the wall has to deliver
The surround speakers are not in the front wall, but the front wall is where the amplifier lives, so the cables to them start there. Plan a conduit from the equipment cabinet to each surround position, along the floor, through the wall or over the ceiling, and leave a draw string in each. The positions come from the layout above: beside the seat at about 110 to 120 degrees for a 5.1 system, or a pair beside and a pair behind for a 7.1 system. Their height should be slightly above the front speakers, as the Home Cinema Guide suggests.
Height speakers add the third dimension. Wikipedia's entry on Dolby Atmos says it expands on existing surround sound systems by adding height channels as well as free-moving sound objects, that the first cinema systems used in-ceiling speakers and that upward-firing speakers were introduced as an alternative for consumer products, and that a name like 7.1.4 means a conventional 7.1 layout with four overhead or Atmos-enabled speakers. If you want ceiling speakers, the ceiling needs a cable route and a place for the speaker's back box, and in a gypsum false ceiling that is a design decision of its own; see our guide to gypsum false ceilings.
A caution from Dolby's own guide page: the configurations in the guide are illustrative, and Dolby recommends that any overhead speaker installation be performed by professional installers. That is the right attitude for the ceiling: we build the carpentry and the conduits, and the choice and installation of speakers is a job for a sound installer who also tunes the system. Tell us early if you want ceiling speakers, because the false ceiling and the wall have to be planned together.
The screen: how big, and TV or projector
A cinema wall usually wants the biggest screen the room can carry. The size is set by the distance from the main seat, and our guide to TV size and viewing distance shows how to work it out. The wall then has to carry that screen: a larger TV is heavier, and TV bracket types explains the bracket and the backing it needs, since a long lever on a big TV pulls hard on the fixings.
A projector gives a bigger picture for the space, but asks more of the room. Wikipedia lists a large television set or good quality video projector as the picture side of the minimum home theatre, so both are legitimate. The projector guide covers the screen, the throw distance and daylight. The short version for a film room is that a projector wants a room you can darken, which is easier to arrange in a dedicated room than in a living room that doubles as the family's daytime space.
Whichever you choose, give the screen a dark, matt surround. Wikipedia's home cinema entry notes that wall colour can be optimised, which in a film room means a surface that does not reflect light onto the screen or into the viewers' eyes. Colour and finish for a media wall explains the finishes and how they behave in a dark room.

The equipment rack: heat, access and the remote
A home theatre has more equipment than a living room TV: an amplifier or receiver, a player, a streaming box, perhaps a network switch, and the cables between them. They produce heat, and the amplifier produces the most. The rack that holds them has to let air in at the bottom and out at the top, leave space above each box as its manual states and let the remote reach the sensors. TV ventilation in a niche explains the logic of air in and air out for a TV; the same logic applies, more strongly, to a rack.
The front of the rack is the part people get wrong. A solid door looks tidy and stops the remote and the heat. A glass door passes the remote but traps heat. An open slot or an acoustic cloth front passes both. Plan the front with the equipment's manuals in hand, and plan the back as well: a gap for the cables to leave, a conduit to the surround speakers and a conduit for the network cable, which the network points guide explains. If the router also lives here, hiding a router and a console covers the front.
The drawing below is a side section of a rack with air in low, air out high and cables leaving at the back. The notes beside it are the three rules we draw to: air at both ends, space above each box, and a front the remote passes. It does not show brands or sizes, and your equipment's own manuals give the real clearances.
- 1. The amplifier sits where it has the most air above it.
- 2. Cool air enters low at the front.
- 3. Warm air leaves high and carries the heat away.
- 4. Cables leave at the back through a conduit.
Light scenes: one wall, five settings
A film room lives in several lights, and the media wall is where most of them are controlled. Our media walls use warm and neutral LED channels, 3000K or 4000K, with dimmers, and concealed wiring; the lighting guide (media wall lighting ideas) shows the options. For a theatre wall the useful idea is the scene: a setting for arriving, one for settling, one for the film, one for a pause and one for the credits.
The film setting is the darkest the room goes, with perhaps a faint glow at the wall's edge so the screen is not the only light in the room. Lit shelves and display niches, lovely for guests, have to dim or switch off. The pause is brighter. The point of dimmers is that one room serves a bright family hour and a dark film, and the control is a decision on the drawing: which lights are on which dimmer and where the controls sit.
The drawing below is a bar chart of illustrative levels across an evening for three layers: ceiling lights, the wall's LED channels and a glow at the screen's side. The levels are not measurements; they show how the layers trade places. Daylight is the other half of the story: curtains that close completely, as blackout curtains and light gaps explains, are part of the light plan, and motorised curtains make a scene possible at one button.
- 1. Arrive: the ceiling lights are bright and the wall glows.
- 2. Settle: the ceiling lights come down.
- 3. Film: the ceiling lights are off and only a faint glow remains.
- 4. Pause and credits bring the lights back up.
Finish and colour in a dark room
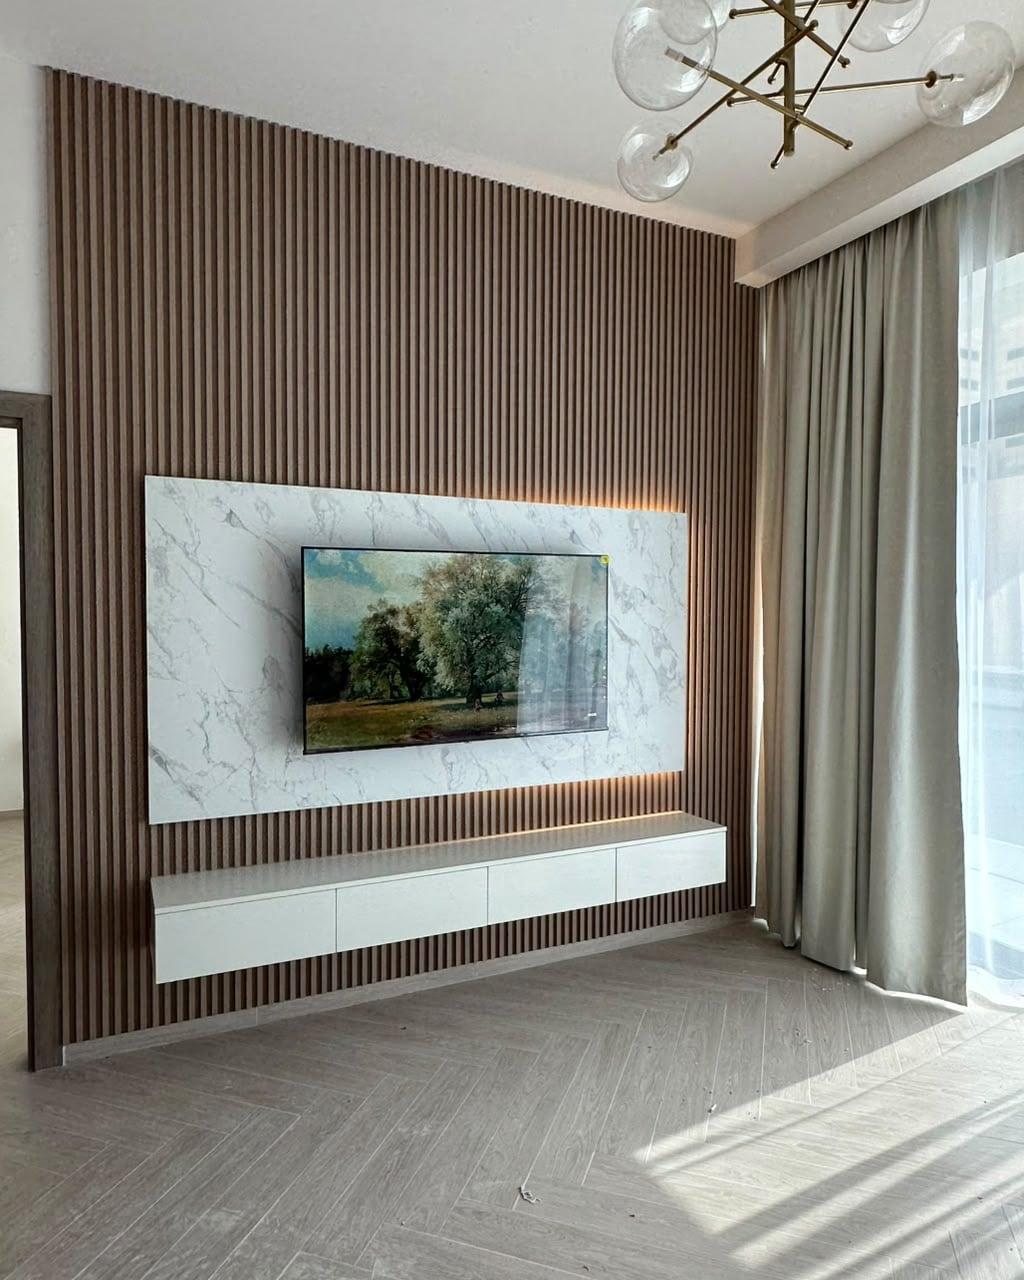
In a film room the finish matters twice: how it looks when the lights are on, and what it does to the picture when they are off. A dark matt surround absorbs stray light and keeps the screen as the brightest thing in the room. A glossy surface, a mirror, a polished marble-effect panel next to the screen can show the picture back at the viewers and throw reflections across the screen. Marble-effect panels are beautiful, and marble TV walls shows how to use them, but beside the screen of a film room a matt or honed surface is the safer choice.
Slatted and fluted panels suit the film wall: they are matt, they hide cables and speaker bays, and fluted TV wall panels covers the profiles. Acoustic fluted slats in oak, walnut or charcoal are among the materials we list. They are a finish with a felt backing, not a soundproofing system, and we make no claim about how much sound they absorb; ask for a sample board and judge it in the room. Shelving on a TV wall helps you decide how much display belongs on a wall whose main job is the picture.
The sample approval step matters more here than anywhere, because dark finishes look different at night. See finish sample approval for how to judge a sample in the actual room, with the lights you will use.
Cables for a cinema wall: more of everything
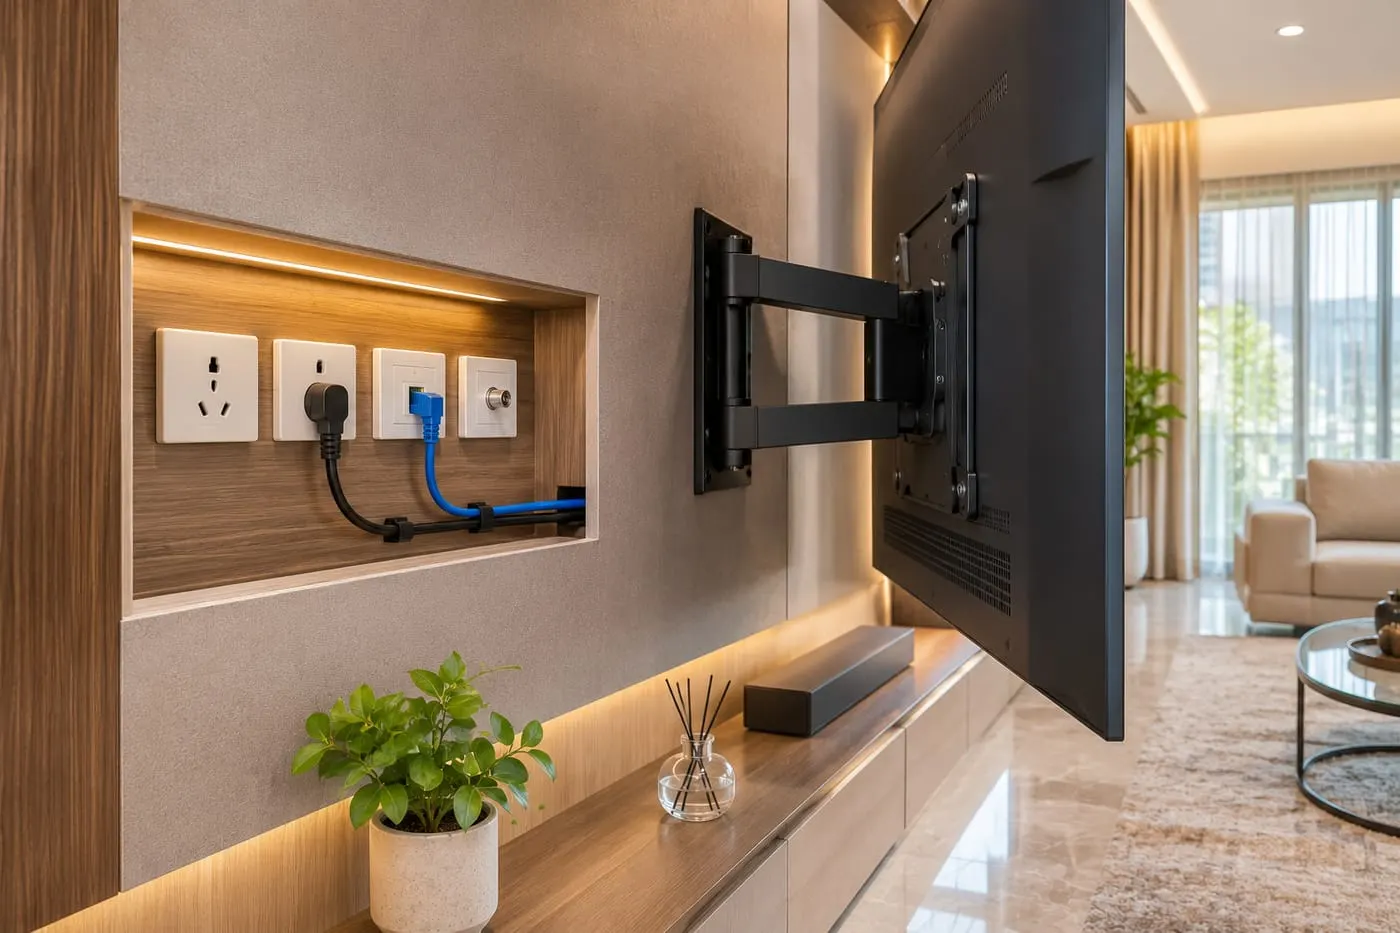
A cinema wall has more cables than a living room TV wall, and they come in more kinds: HDMI between the sources, the receiver and the screen; speaker cable from the amplifier to every speaker; power for each box; and network cable. The rules from cables and service access apply without exception: conduits, not buried cable, a draw string in each, power and signal kept apart, and a labelled end to every run.
The extra work is the speaker cables, which run longer than the others and to more places. Draw each one from the amplifier to its speaker with the route, and note the cable's thickness if the speaker's maker specifies one. Sockets and power shows how many sockets the rack needs, and the network guide covers the data side. And the drawing should show the cables to the surround and height speakers even if those speakers are bought later, because a conduit costs little before the walls close and a great deal after.
Three rooms, three plans
The first room is a spare bedroom in a flat turned into a film room, with a sofa about three metres from the wall. The plan is a compact wall with a large TV, a centre bay under it, two slim side bays and a small sub cabinet, dark matt panels and an equipment rack in a side cabinet. The surrounds sit on stands for now, with conduits left in the walls for a later in-wall pair, and the lighting is a single warm channel on a dimmer.
The second is a villa family room with a ceiling that can be planned and a projector. The wall is wide and symmetrical, with a drop-down screen housing, two tall side bays and a centre bay below the screen. The rack is in a side cabinet with conduits to the ceiling and to the surrounds. The false ceiling carries a cove light and a cable route for height speakers, to be fitted by a sound installer, and the curtains are blackout with a motor.
The third is the living room of a family that watches films in the evening and has guests in the daytime. The wall is a living wall that becomes a cinema at night: a TV on a tilt bracket, a soundbar for everyday and an amplifier cabinet for film evenings, lit niches on a dimmer and curtains that close. It is a compromise, and it is a good one. A living room TV wall shows the daytime side, and our media wall guide pulls the whole subject together.
Mistakes that spoil a cinema wall
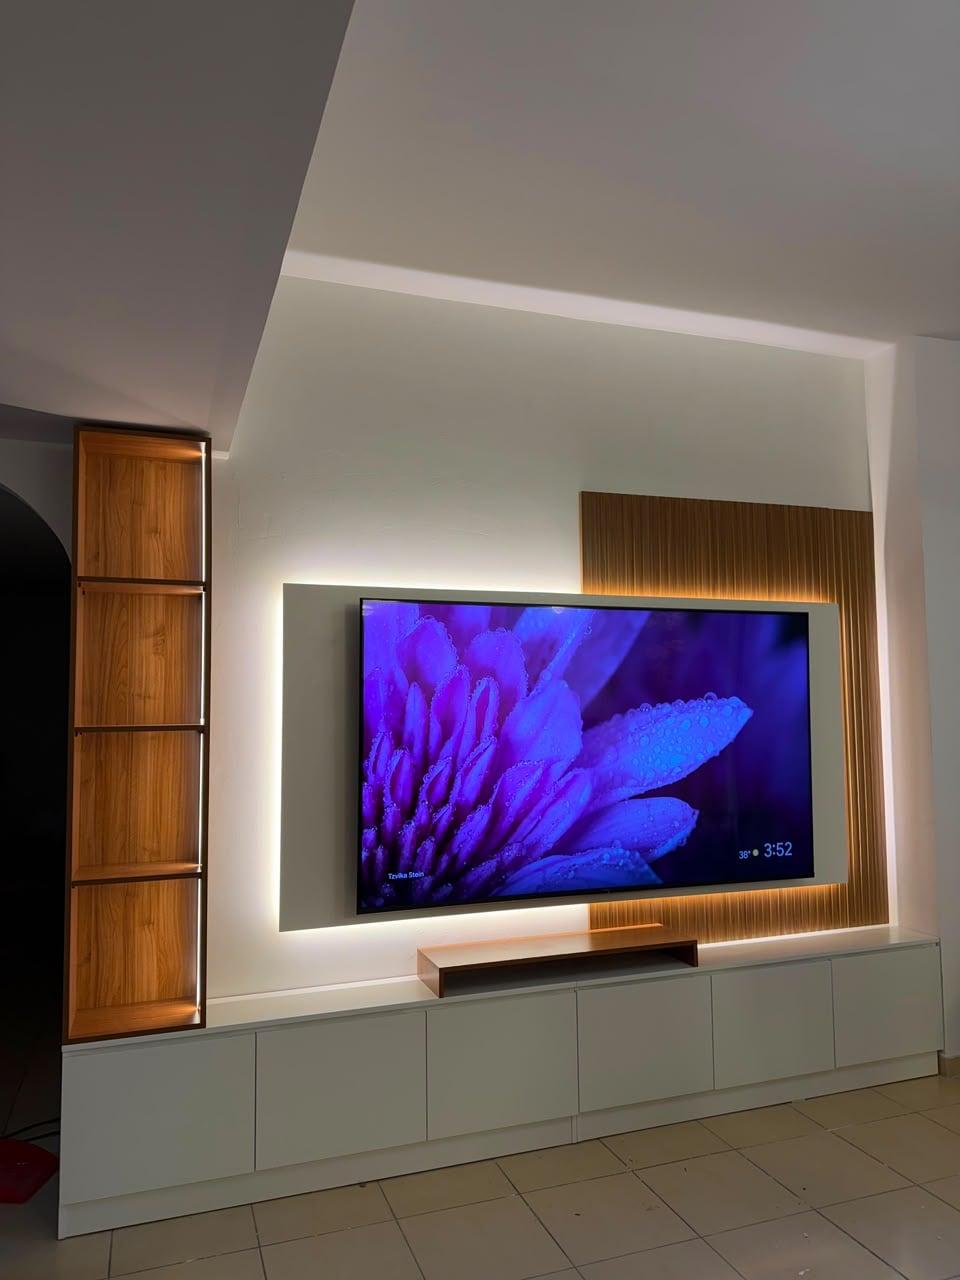
The first is designing the wall around the TV and adding the sound later: the bays, the rack and the conduits have to exist before the panels. The second is an asymmetrical front wall, with a tower on one side and a speaker on the other. The third is shutting the centre speaker into a cupboard or covering it with a solid panel. The fourth is putting the subwoofer in a corner or behind a door. The fifth is a rack with a solid front and no air.
The sixth is leaving out the cables to the surround and height speakers because they are bought later. The seventh is a glossy surround that reflects the screen. The eighth is light that cannot go dark: lit niches without a dimmer and curtains with gaps. The ninth is expecting the wall to make the room quiet; it does not. And the tenth is deciding the speaker layout from a catalogue photo instead of from the room's plan and the seat positions.
What we do about it
At the free measuring visit we measure the wall, note the seat position and the room's openings, and ask what equipment you have or plan. The drawing shows the screen, the speaker bays, the sub cabinet, the rack, the conduits to every speaker position, the lighting channels and the dimmers, and the quotation lists the carpentry and lighting line by line. We build the wall; the choice, supply, installation and tuning of the speakers and the amplifier are done by you or your sound installer, and the quotation says so. Once you approve the drawing and agree the details, a 60% advance is paid and production starts when it is received; the remaining stage is agreed with you.
Our media walls start from AED 3,500 per project for a compact panel with a floating console in standard laminate. The final figure depends on the wall size, the finish (laminate, veneer or lacquer), marble-effect panels, lighting and any electric fireplace, and most are made in up to about ten days depending on size and design. The workshop is in Sharjah, we fit across the UAE, and the founder, Ali Haider Basra, has ten years in the trade. Wood-based boards carry a 5-year limited warranty on the boards only; hinges, runners, labour and misuse are excluded. The quotation checklist shows what a clear quotation lists, and the price guide explains how the figure builds up.
Browse the media walls page, see TV wall units and floating consoles, try the pricing tool and see the Dubai media walls page for visits there.
Send us the room on WhatsApp
The easiest first step is a message. Send a photo of the wall you would like to use, a photo of the room from where you will sit, the TV or screen size, whether you want a projector, and what sound equipment you have or plan: a soundbar, a 5.1 set, anything with height speakers. Say whether you own or rent. That is enough for us to suggest a layout and book the free visit; the consultation guide lists the rest.
Common questions
What does a home theatre media wall need?
A screen, a centre and two side speaker bays, a subwoofer cabinet, an equipment rack with air and dimmable light, with conduits to the surround positions. Soundbars and speakers in a media wall.
Where should the front speakers go?
Published guides put them at roughly 22 to 30 degrees either side of the main seat, with the centre directly above or below the screen. Your manual and room decide. TV size and viewing distance.
Where should the subwoofer go?
Away from the middle of the room and away from a corner, with its front open to the room and air round it. TV ventilation in a niche.
Can ceiling speakers be added later?
Only if the ceiling and wall are planned for the cable route and back boxes; Dolby recommends professional installers for overhead speakers. Gypsum false ceilings.
Do your panels soundproof a room?
No: we make no soundproofing claim; acoustic fluted slats are a finish, and a sample board should be judged in the room. Fluted TV wall panels.
Should I choose a projector or a TV for the film room?
A TV is easier; a projector gives a bigger picture but needs a room you can darken and a screen planned in the wall. Projector media wall.
How do I keep the amplifier from overheating?
Air in low and out high, space above each box and a front the remote passes, following each manual's clearances. Media wall cables and service access.

Sources & specifications
Manufacturer information applies to the named products and systems. Sources reviewed on 13 November 2026.
- The Home Cinema Guide: Surround sound speaker placement (modified 27 Oct 2023)the-home-cinema-guide.com(opens in a new tab)
- Dolby: Surround sound speaker setup guidesdolby.com(opens in a new tab)
- Wikipedia: 5.1 surround sound (ITU-R BS 775 layout; edited 13 Nov 2026)en.wikipedia.org(opens in a new tab)
- Wikipedia: Home cinema (components and room)en.wikipedia.org(opens in a new tab)
- Wikipedia: Dolby Atmos (height channels, 7.1.4 naming)en.wikipedia.org(opens in a new tab)
Want this planned for your home?
Consultation and measurement are free. Tell us the rooms, location and what you need; we arrange a sample visit and define the measured quotation.