Media Walls · 21 min read · 28 September 2026
Moving a media wall to a new home: what can be reused, and how
Can you take a media wall to a new home? Often in part: panels, shelves and the console may be reused, lighting and cut-outs remade. A fit check, six dismantling steps and what to send.

By Ali Haider Basra, Founder, Al Tareeq Decor · Contact our workshop
Key takeaways
- A media wall is drawn for one wall, so it rarely re-hangs as it was; the parts move, the layout is redrawn.
- Panels, shelves, doors and the console carcass are often reused; lighting, cut-outs and damaged parts are usually remade.
- Measure the new wall and learn its type before you dismantle the old one.
- Photograph, remove in order, bag and number every piece, wrap corners and edges, and refit in reverse.
- Ask for both a relocation quotation and a new-wall quotation, and ask in writing how the warranty terms apply.
On this page
- Key takeaways
- Can you take a media wall to a new home?
- Why a media wall is not a wardrobe or a sofa
- Three questions before you start
- Fit check: lay the old wall over the new one
- What usually survives a move, and what does not
- Part by part: reuse, adapt or remake
- Dismantling in six steps
- Wrapping and carrying the pieces
- The new wall decides the fixings
- Lighting, sockets and cables at the new home
- Three worked examples
- Mistakes that make a relocation expensive
- A relocation checklist
- Moving it or starting again: how to decide
- What we do about it, and what to send us
- Common questions
Can you take a media wall to a new home?
Sometimes, and more often in part than in whole. A media wall is made to fit one wall: its width, its height, the position of its sockets, the line of its lighting, and the way it was fixed. When you move, the new wall has different numbers, so the media wall can almost never be hung again exactly as it was. What can move are the parts: flat panels, shelves, doors, the console carcass and the fittings that still work. What usually has to be made again are the parts cut for the old wall: the lighting channels, the cut-outs for sockets and anything damaged on the way.
So the honest question is not whether the wall can move but how much of it is worth moving. The answer comes from three checks: the condition of each part, the size and type of the new wall, and the cost of moving compared with the cost of a new wall. We cannot tell you the third without seeing the photographs, and we do not publish a price for relocation. What we can do is explain how the decision is made, and how to take a wall apart so that the parts survive.
Everything in this guide is about the wall as an object: dismantling it, wrapping it, moving it and fixing it again. If you are leaving a rented flat, and what the landlord wants done with the wall is the open question, start with our guide to moving out and putting the wall back as it was. If you own the wall and the next home is yours too, read on.
- Panels, shelves, doors and the console carcass can often be reused.
- Lighting, cut-outs and anything damaged are usually remade.
- The new wall's size and type decide how much fits.
- Photographs of every part let us judge the condition before a visit.
Why a media wall is not a wardrobe or a sofa
A sofa moves as it is, and a freestanding wardrobe moves as it is. A media wall is closer to a fitted kitchen: drawn for one room. Its modules are cut to the wall's height with allowances for the ceiling edge and the floor line. Its console is sized to the TV and the sockets. Its feature panel is centred on a window or a door, and its lighting is routed to a transformer behind a service panel. Take it out of that room and every one of those decisions is wrong.
That does not make moving it pointless. The materials are expensive to make and quick to damage, and a wall that has taken ten days to build and a few hours to dismantle is a lot of work to put on a skip. If your wall has sound board, undamaged faces and a design you still like, reusing it can be a sensible choice. It simply starts with a new drawing for the new room, in the same way that a new wall would.
There is a second difference. The five-year limited warranty we give covers the wood-based boards, subject to its terms, and it was given for a wall in a particular place. If a wall is taken apart and refitted in a different building, ask in writing how the terms apply, and keep the reply. The workmanship line is separate again. We do not guess about warranty in a different home, and we would not want you to.
Three questions before you start
The first question is ownership. If the wall was installed by you as the owner, it is yours to move. If you are a tenant, the wall may belong to the building, and the starting point is a written question to the landlord. Our guide on leaving a flat with a media wall explains how to ask. Do not unscrew anything until the answer is in your hands.
The second question is the new wall. How wide is it, how high, what is it made of, where are the sockets, and is there a window or door that will compete for attention? Those facts decide whether the old wall fits, and they are best learned before the wall is dismantled, not after. If the new home is still being fitted out, ask for the finished wall dimensions, not the drawing dimensions, because plaster and paint change the numbers.
The third question is the cost of the alternative. A relocation involves labour to dismantle, a vehicle, protection, a refit, perhaps new boards for the missing parts and new lighting. A new wall involves a measured design and a build. Ask for both quotations, so that the comparison is real rather than assumed. Our guide to comparing media wall quotations lists what each should name, and what a media wall costs explains the factors.
Fit check: lay the old wall over the new one
The simplest test is to draw the old wall's outline at the same scale as the new wall and lay one over the other. The drawing uses example dimensions: an old wall 4.2 m wide and 2.7 m high, a new wall 3.4 m wide and 2.6 m high. The old wall is 0.8 m too wide and 0.1 m too tall. That is not a failure; it is a design instruction. It says that one module has to go, and the top rail has to be re-cut.
In real life the check is done with four numbers from each wall: width, height, the position of the sockets and the position of anything that interrupts the wall, such as a door frame, a window or a column. Bring your measurements and photographs to a measuring visit, or send them on WhatsApp first. Our measuring visit guide explains what is measured and why, and the same list works for the new wall.
Remember the TV. A different wall may change the right viewing height and the right TV size for the room. Check TV height on a media wall and TV size and viewing distance before fixing anything at the new home, because a move is a chance to get those numbers right.
What usually survives a move, and what does not
Parts fall into three groups, and the group depends on condition rather than on age. Flat panels with undamaged faces and edges, shelves, doors, drawer fronts and the console's carcass are usually reusable. They are made of board and laminate or veneer, they were fixed with screws and cam fittings rather than glued in place, and they come away in one piece if the work is careful. Hinges and fittings that still work come with them. Our guide to panel materials explains how each board type behaves.
A second group is adapted. Width is re-cut to the new wall, sockets and cut-outs are made again in new positions, and fixing points are re-drilled. Adapting is where a workshop earns its keep, and where a wall that has been dismantled by an amateur loses value: an edge that has been chipped cannot be re-cut cleanly, and a panel that has lost its label cannot be put back in order.
The third group is remade. LED strips and channels are almost always replaced because they were cut and fixed for the old routes, and because lighting is the part most likely to have been disturbed in dismantling. Edges that have chipped or swelled are replaced. Parts cut specially for the old wall, such as a panel with a notch for a window frame, are rarely useful in a new place. Our guide to media wall lighting explains why the lighting is planned afresh with the wall.
Be wary of anyone who promises that everything moves. It is not true, and the surprise at the new house is expensive. The drawing below is a general picture, and photographs of your own wall let us make it specific.
Part by part: reuse, adapt or remake
Flat feature panels
- Usual outcome
- Reuse or re-cut
- Why
- Board and surface survive careful removal
- What to photograph
- Faces and all four edges
Slat panels and fluted faces
- Usual outcome
- Reuse if intact
- Why
- Fixing rails may need renewing
- What to photograph
- The back, the rails and any cracks
Shelves and doors
- Usual outcome
- Reuse
- Why
- Simple parts, easy to wrap
- What to photograph
- Edges, hinge holes, glass if any
Console carcass and drawers
- Usual outcome
- Reuse, then re-fit
- Why
- Large and heavy: two people
- What to photograph
- Corners, runners, drawer boxes
Marble-effect or porcelain faces
- Usual outcome
- Case by case
- Why
- Brittle: edges and corners decide
- What to photograph
- Every corner, close up
LED strips and channels
- Usual outcome
- Remake
- Why
- Cut for the old routes
- What to photograph
- The route behind the panel
Cut-outs for sockets and plates
- Usual outcome
- Re-cut
- Why
- The new wall has other positions
- What to photograph
- The old socket layout
TV bracket
- Usual outcome
- Check, usually reuse
- Why
- Depends on the new wall and the new TV
- What to photograph
- The plate and the TV's fixing holes
Illustrative: each part is judged on its own condition. We do not promise an outcome from photographs alone.
Dismantling in six steps
Dismantling is the installation backwards, and the aim is to arrive at the new home with a set of labelled parts, not a pile. The drawing shows six steps. Photograph first: the wall, each joint, the wiring route, and each piece as it is removed. A photograph taken in the moment is worth more than a memory a week later. Move-out guidance from a moving company's blog says the same: label each part and keep the screws in bags, and it recommends photos for reassembly.
Empty and switch off: the TV, the soundbar and the console equipment come out first, and the lighting is switched off. The transformer and wiring are for a qualified person to disconnect, because a wire pulled from a box is a hazard. Then remove in order. Shelves and doors first, then drawers, then the console, and finally the wall panels from the top down, so that no panel is left leaning on a fixing that has already been released.
Bag and label as you go. A bag for each piece, with the screws and fittings that held it, and a label on both the bag and the piece with a number from your plan. Draw a simple front sketch of the wall and write the numbers on it, so the refit follows the sketch. Then wrap and protect: corners and edges first, because they are what breaks. Last, refit in reverse. The last piece off is the first piece on.
If we built the wall, we know how it was assembled, and we can tell you what to expect before you start. Send us the photographs and we will say where the screws and cam fittings sit, and which parts need two people. We cannot promise to dismantle it for you, and a wall built by someone else may hide different fixings, but a photograph is a good start.
Wrapping and carrying the pieces
Panels break at their corners and edges. Cover each corner with foam or cardboard, wrap the face against scratches, and place panels face to face with a layer of soft material between them. Stand long panels on their long edge when you carry them, rather than flat, because a flat panel flexes in the middle. Heavy items belong in the vehicle first and at the bottom, not on top of lighter ones. Keep glass doors, marble-effect faces and anything brittle separate, and say so to the movers.
Weight is a safety matter as well as a damage matter. The UK Health and Safety Executive's guidance on manual handling says there are no safe weight limits as such, and it lists handling done by a team among the cases that need a fuller assessment. The practical reading is simple: treat a console or a tall panel as a two-person job, plan the route and the landing before you pick it up, and do not lift something you cannot see around. We explain what the pieces weigh in our guide to heavy panels and weight.
The route matters as much as the carry. A tall panel that will not stand upright in a lift may travel tilted, and one that cannot turn on a landing needs another way. These are the same questions as at delivery, and they are covered in our guide to lift and delivery access. Ask the new building about its lift booking and protection rules in writing before moving day.
Finally, do not rely on the movers to know the parts. They know furniture, and they do not know that the small bag taped to a panel contains the cam fittings for the console. Tell them which pieces are fragile and which bags must travel with you, not in the truck.
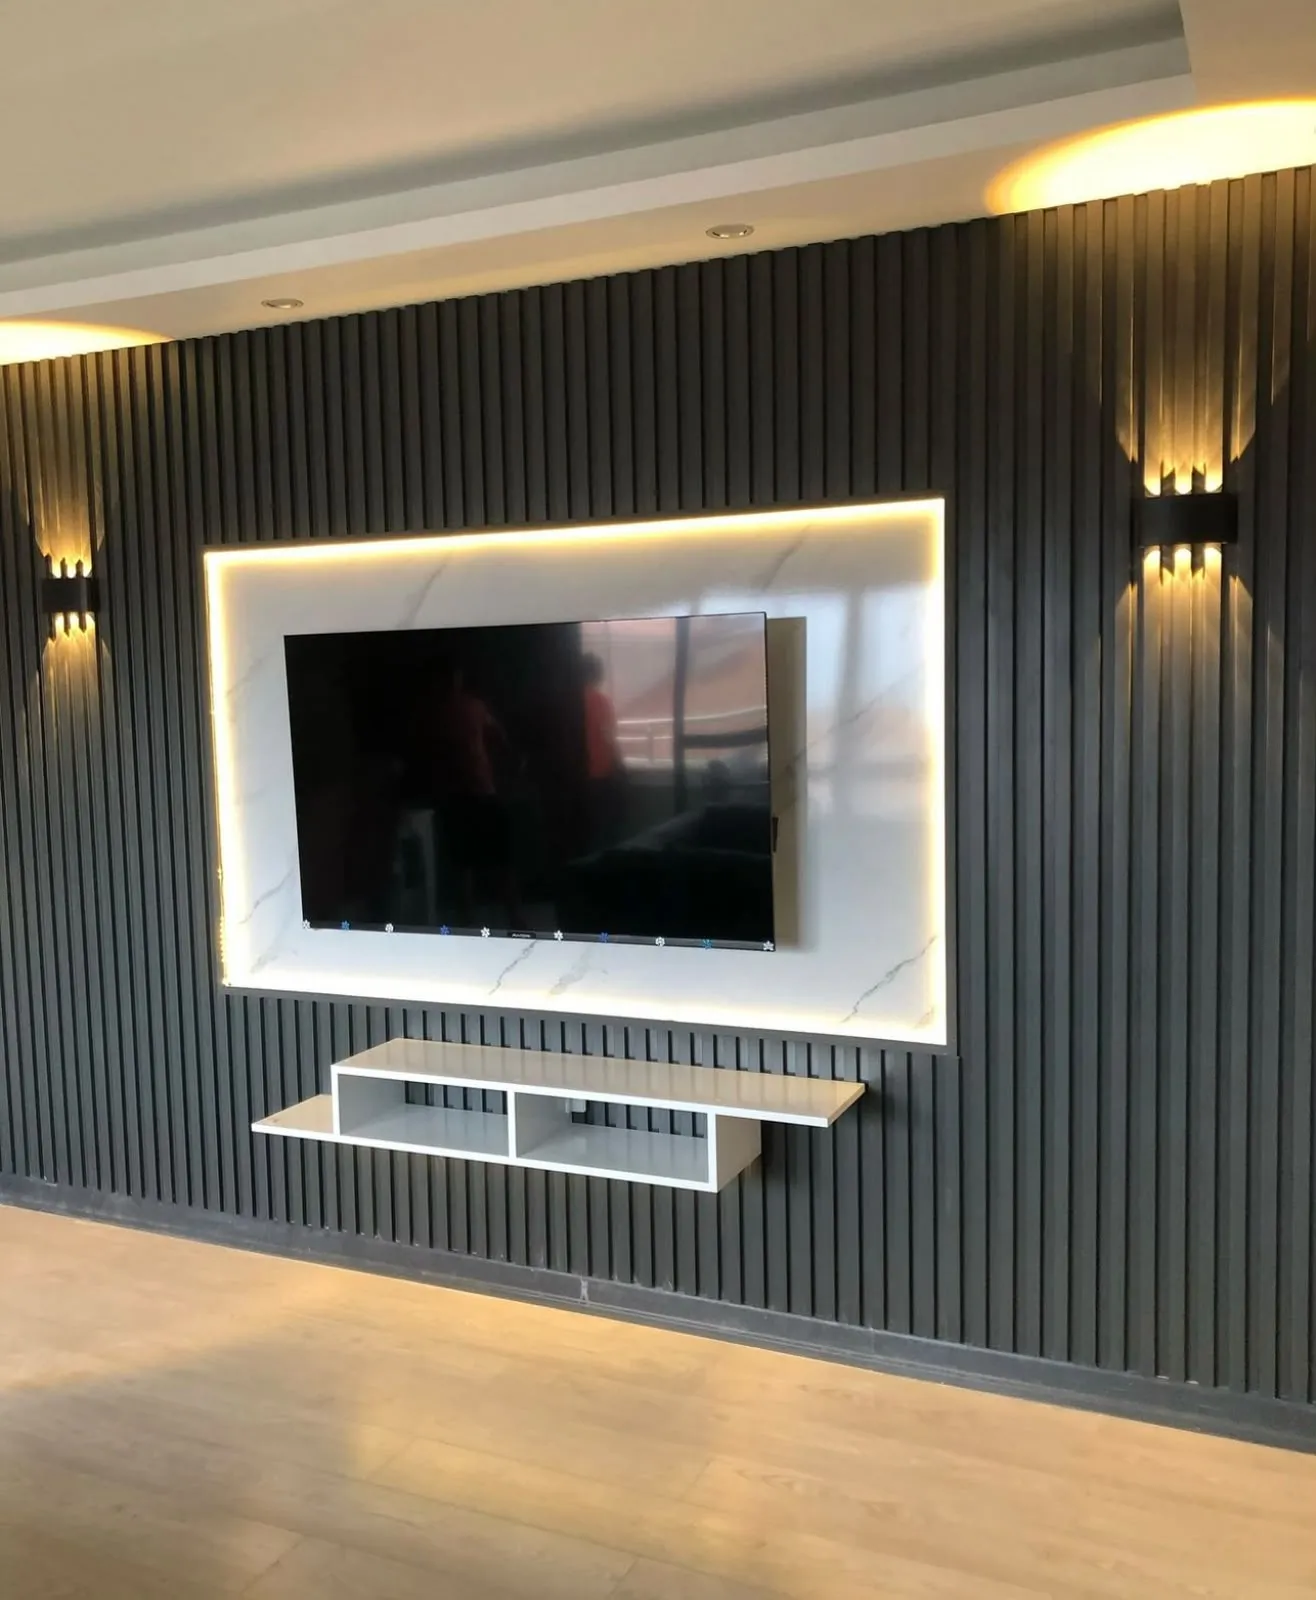
The new wall decides the fixings
Fixings are chosen for the wall they go into. A furniture maker's customer-service page explains it in plain words: different wall materials need different screws and fittings, and the needs differ depending on whether you have plaster, concrete, wood or another material. A block manufacturer's page makes the same point from the other side, advising solid dense blocks where heavy-duty fixings are required. The same wall of fixings can behave very differently in a new home.
This is why the type of the new wall matters as much as its size. The drawing is a two-by-two table: a block wall to a block wall is usually the same method with a check on plug length; block to gypsum needs a new plan, because a board fixed to a partition needs backing or studs behind it; gypsum to block means the fixings change to plugs; gypsum to gypsum is the same method again with the studs found anew. Our guide to block and gypsum walls explains how to find out which wall you have, and why it matters for a TV and a wall of weight.
Do not assume the new wall is like the old one because the building is similar. Different walls in the same apartment can be different things: a block wall to the corridor and a gypsum partition to the bedroom. Ask the developer or the landlord in writing, and let us see photographs. We would rather tell you before the refit that the wall behind your chosen position is not suitable than discover it with a drill.
Lighting, sockets and cables at the new home
The electrical side of a media wall is planned for one room. The sockets behind the TV, the AV plate, the route down to the console and the position of the lighting transformer were all drawn for the old wall. At the new home each must be drawn again, and the first question is where the existing sockets are. Our guide to sockets and power explains why we plan them with the wall, and cable routes and service access shows why each route has to be reachable.
Lighting is almost always remade. Strips and channels are fixed to suit one panel layout, and when the layout changes, they cannot simply be moved. Our own team installs the lighting inside our walls, which means no separate electrician is needed for lighting within our agreed scope; the quotation says what is included. We do not carry out stand-alone lighting or socket jobs, so the sockets at the new home need to be ready, and your landlord or building management may have rules about electrical work that you should ask about in writing.
If your new TV is bigger or smaller, the bracket position and the cable route may change. Our guide on changing the TV later explains how to leave room for that, and buying the TV first explains why we want the TV's size before a wall is drawn. A move is the best moment to fix both.
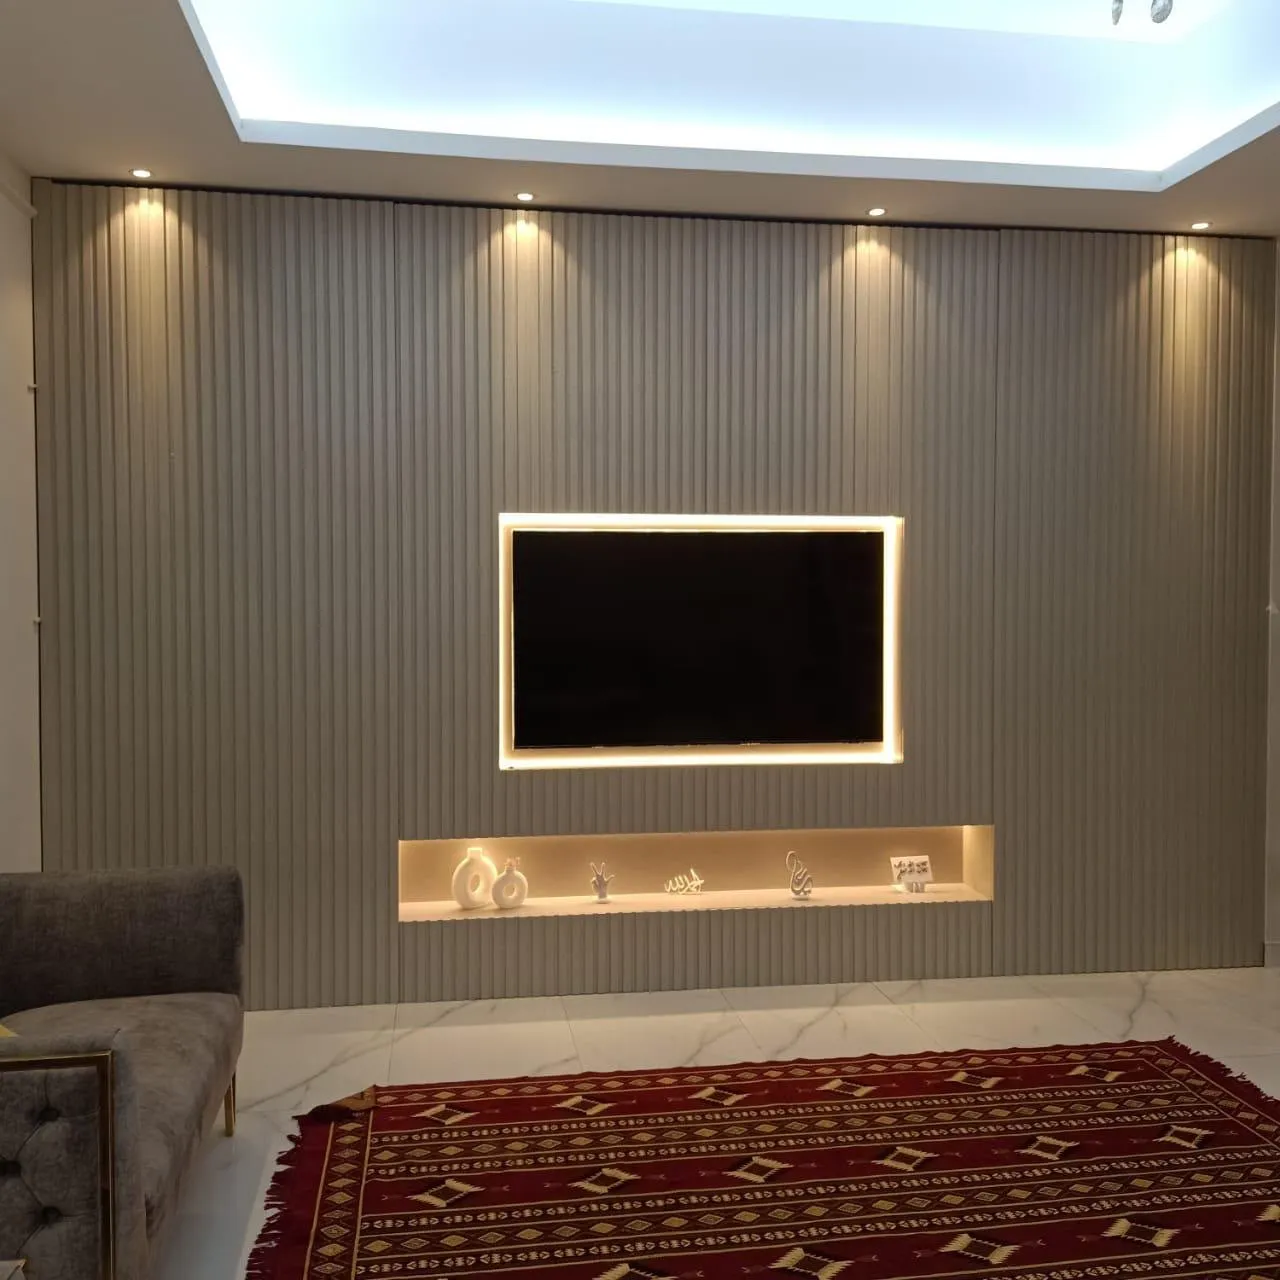
Three worked examples
Example one: a villa to a smaller apartment. The old wall is a full-width feature wall with slats and two tall bookcases, 4.2 m wide. The new living-room wall is 3.4 m wide with a window on one side. The slats are in good condition, the bookcases are solid, and the LED strips have been disturbed in dismantling. The plan: reuse the slat panels re-cut to the new width, keep one bookcase and a shorter shelf unit, remake the lighting and the cut-outs, and redraw the layout around the window. The result is a smaller wall made mostly from the old one.
Example two: apartment to apartment, similar wall. The old wall is a compact panel with a floating console, 2.6 m wide. The new apartment has a wall 2.8 m wide, also block. The panel and console are in good condition. The plan: photograph, dismantle, wrap, refit with new plugs for the block, re-cut the panel's cut-outs for the new socket position, and replace the lighting. This is the easy case: the parts move, the fixings are the same method, and only the electrical details change.
Example three: a wall that does not survive. The old wall used a marble-effect face with a chipped corner and a console that swelled at the base after a leak. The owner would like to take it, but the condition is poor. The plan: salvage the shelves and hardware, make a new face and console for the new room, and reuse the TV bracket. This is a realistic outcome, and it is better to say so early than to pay for a move that produces a wall nobody is happy with.
Mistakes that make a relocation expensive
The first mistake is dismantling before measuring the new wall. If the new wall is narrower or lower, you may learn it only after the old wall is in pieces. The second is not photographing. The third is removing the lighting by pulling wires. The fourth is throwing away the small bags, which hold the fittings that were made for the wall.
The fifth is trusting the movers with fragile faces: say which pieces are fragile and carry the bags yourself. The sixth is forgetting that the lift in the new building has its own rules. The seventh is assuming the new wall is the same as the old one. The eighth is expecting the old warranty terms to follow the wall without asking. The ninth is leaving the refit to whoever is available, rather than someone who knows how a wall like this is fixed.
The tenth mistake is not asking us early. A short WhatsApp message with a few photographs costs nothing and often saves a visit. We would rather say that a wall is not worth moving, if that is the truth, than see it dismantled for no result.
A relocation checklist
Run through the list in order and keep the result with your photographs.
- Ownership confirmed in writing, if the home is rented.
- New wall measured: width, height, sockets, windows, doors.
- New wall type known: block or gypsum, in writing.
- Old wall photographed: wall, joints, wiring route, each piece.
- Quotation for relocation and for a new wall both requested.
- Contents out and lighting switched off; wiring left to a qualified person.
- Parts removed in order, bagged and numbered, with a front sketch.
- Corners, edges and faces wrapped; fragile faces flagged to the movers.
- Two people for the console and tall panels; route and lift booked.
- Refit drawn for the new wall before anything is fixed.
- Lighting and cut-outs remade; TV position checked.
- Photographs of the finished wall, and written warranty terms for the new place.
Moving it or starting again: how to decide
The decision is easier if you separate the wall you have from the wall you want. If you still like the design and the parts are in good condition, moving is worth pricing. If your taste has changed, the new room is a different shape, or you planned a bigger TV, a new wall may be a better use of the money. Look at media wall design ideas before you decide, because a move is the one moment when changing the look costs only the parts you replace.
Size is the second test. A full wall of slats and shelves needs a large, plain wall to look right, and many apartments do not have one. If the new living room is small, a compact media wall or the ideas in small living room media walls may suit it better than a squeezed copy of the old wall. A fixed wall is not the only choice either: a media wall compared with a TV unit explains when a piece of furniture that moves with you is the better answer.
Finish is the third test. A wall built in one light can look different in another, and the new room may be warmer or cooler than the old one. Read the guide to colour and finish and ask for a sample in the new room before you commit to re-using a face. If you are building a new wall for the new room, the living room TV wall guide shows how the wall relates to the sofa, the window and the door.
Finally, ask who will do the work. A maker who knows how the wall was built is the right person to dismantle and refit it, and our guide on choosing a media wall contractor lists what to ask. Use the pricing guide for a feel of the cost of a new wall, and compare it with the relocation quotation line by line.
What we do about it, and what to send us
Our media walls start from AED 3,500 per project for a compact panel and floating console in standard laminate, and the final figure comes from the quotation: wall size, finish (laminate, veneer or lacquer), marble-effect panels, lighting and an electric fireplace all change it. We make them in our Sharjah workshop and our own team installs them across the UAE. Once measurements and details are agreed, a 60% advance is paid and production starts when it is received, up to about 10 days depending on size and design. The founder is Ali Haider Basra, with ten years in the trade, and the 5-year limited warranty covers wood-based boards only; hinges, runners, labour and misuse are excluded.
For a move, send us photographs of the old wall from the front and from each side, of each part you want to keep, and of the new wall, with its width, height and type if you know them. We will tell you whether the wall looks movable, what we would expect to be reused, adapted or remade, and whether a visit is needed first. We do not promise a result from photographs alone, and relocation is an enquiry we assess case by case. The range we make is on the media walls page, and a Sharjah example is on our Sharjah media walls page.
The simplest next step is a WhatsApp message: a photo of the wall, the TV size, a photo of the room, and the new home's wall size if you have it. Orders are confirmed on WhatsApp, so the thread, the photographs and the quotation stay together. A checklist of what to include is in what to send before a consultation.
Common questions
Can I move my media wall to a new house?
Often in part. Panels, shelves, doors and the console carcass can usually be reused, while lighting and cut-outs are remade for the new wall. Our moving-out guide covers the exit side.
Is it cheaper to move a media wall or build a new one?
It depends on condition, size and how much must be remade, so ask for both quotations and compare line by line. How to compare media wall quotations shows what each should name.
How do I dismantle a media wall without damaging it?
Photograph first, switch off the lighting, then remove shelves, doors, drawers, the console and finally the panels from the top down, bagging and numbering each piece. The installation day checklist shows the order in reverse.
Will my media wall fit the wall in my new home?
Lay the old wall's outline over the new wall at the same scale: any excess width or height means a module is removed or re-cut. A measuring visit explains what is measured.
Does the type of wall in the new home matter?
Yes: block and gypsum walls need different fixings, so moving between them changes the plan. Block versus gypsum walls for a TV explains how to find out which you have.
Does the warranty move with the media wall?
Ours is a 5-year limited warranty on wood-based boards only, given for a wall in a particular place; ask in writing how it applies after a move. The wardrobe warranty guide explains the same board-only logic.
Can Al Tareeq Decor help move a media wall?
Send photos of the old wall and the new wall on WhatsApp and we will say whether it looks movable and what we would need to see; relocation is assessed case by case. Our media walls page shows what we build.

Sources & specifications
Manufacturer information applies to the named products and systems. Sources reviewed on 10 November 2026.
- Taskrabbit: DIY furniture disassembly when moving (label each part, bag the screws, take photos)taskrabbit.com(opens in a new tab)
- IKEA Sweden customer service: why wall fixings are not included (different wall materials need different fittings)ikea.com(opens in a new tab)
- Thomas Armstrong (Concrete Blocks): fixings for concrete blocks (solid dense blocks for heavy-duty fixings)thomasarmstrongconcreteblocks.co.uk(opens in a new tab)
- HSE (UK): Manual handling at work, a brief guide, INDG143 (no set weight limits; team handling needs a fuller assessment)hse.gov.uk(opens in a new tab)
Want this planned for your home?
Consultation and measurement are free. Tell us the rooms, location and what you need; we arrange a sample visit and define the measured quotation.