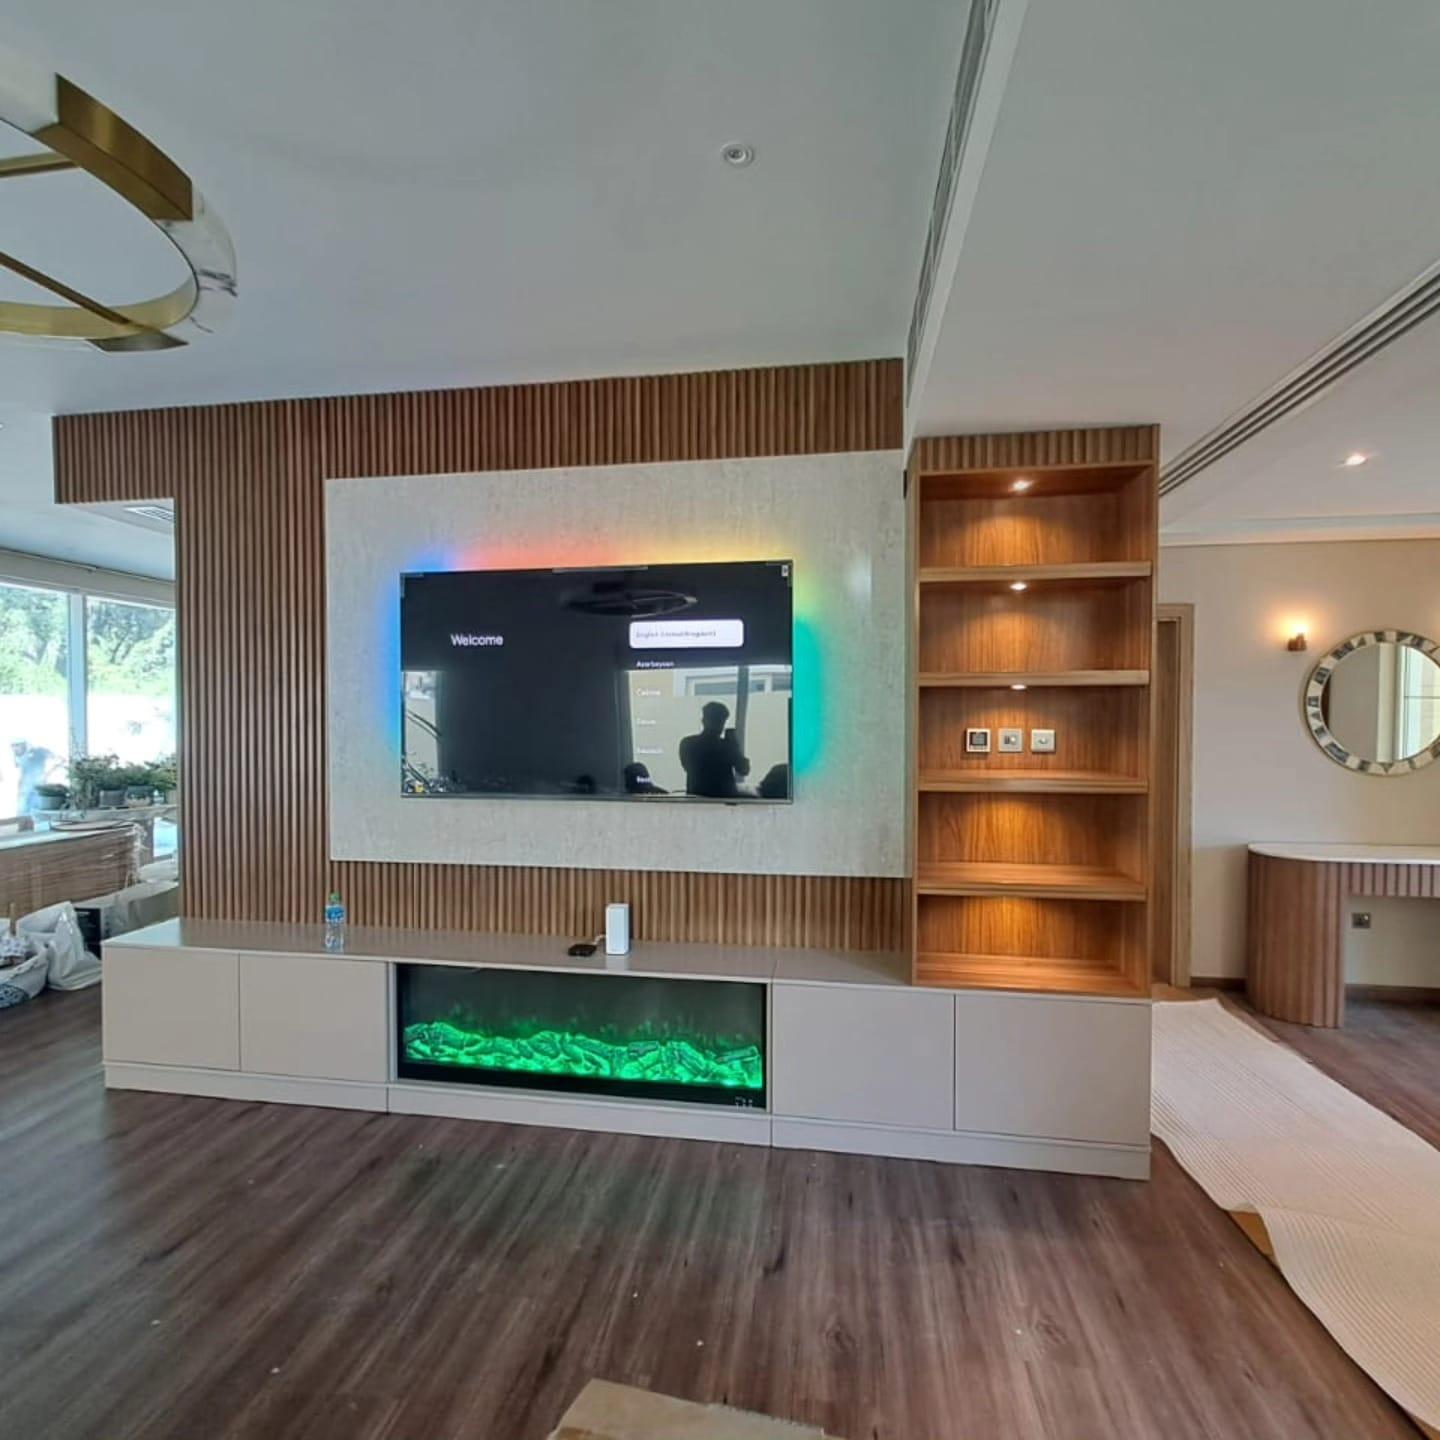
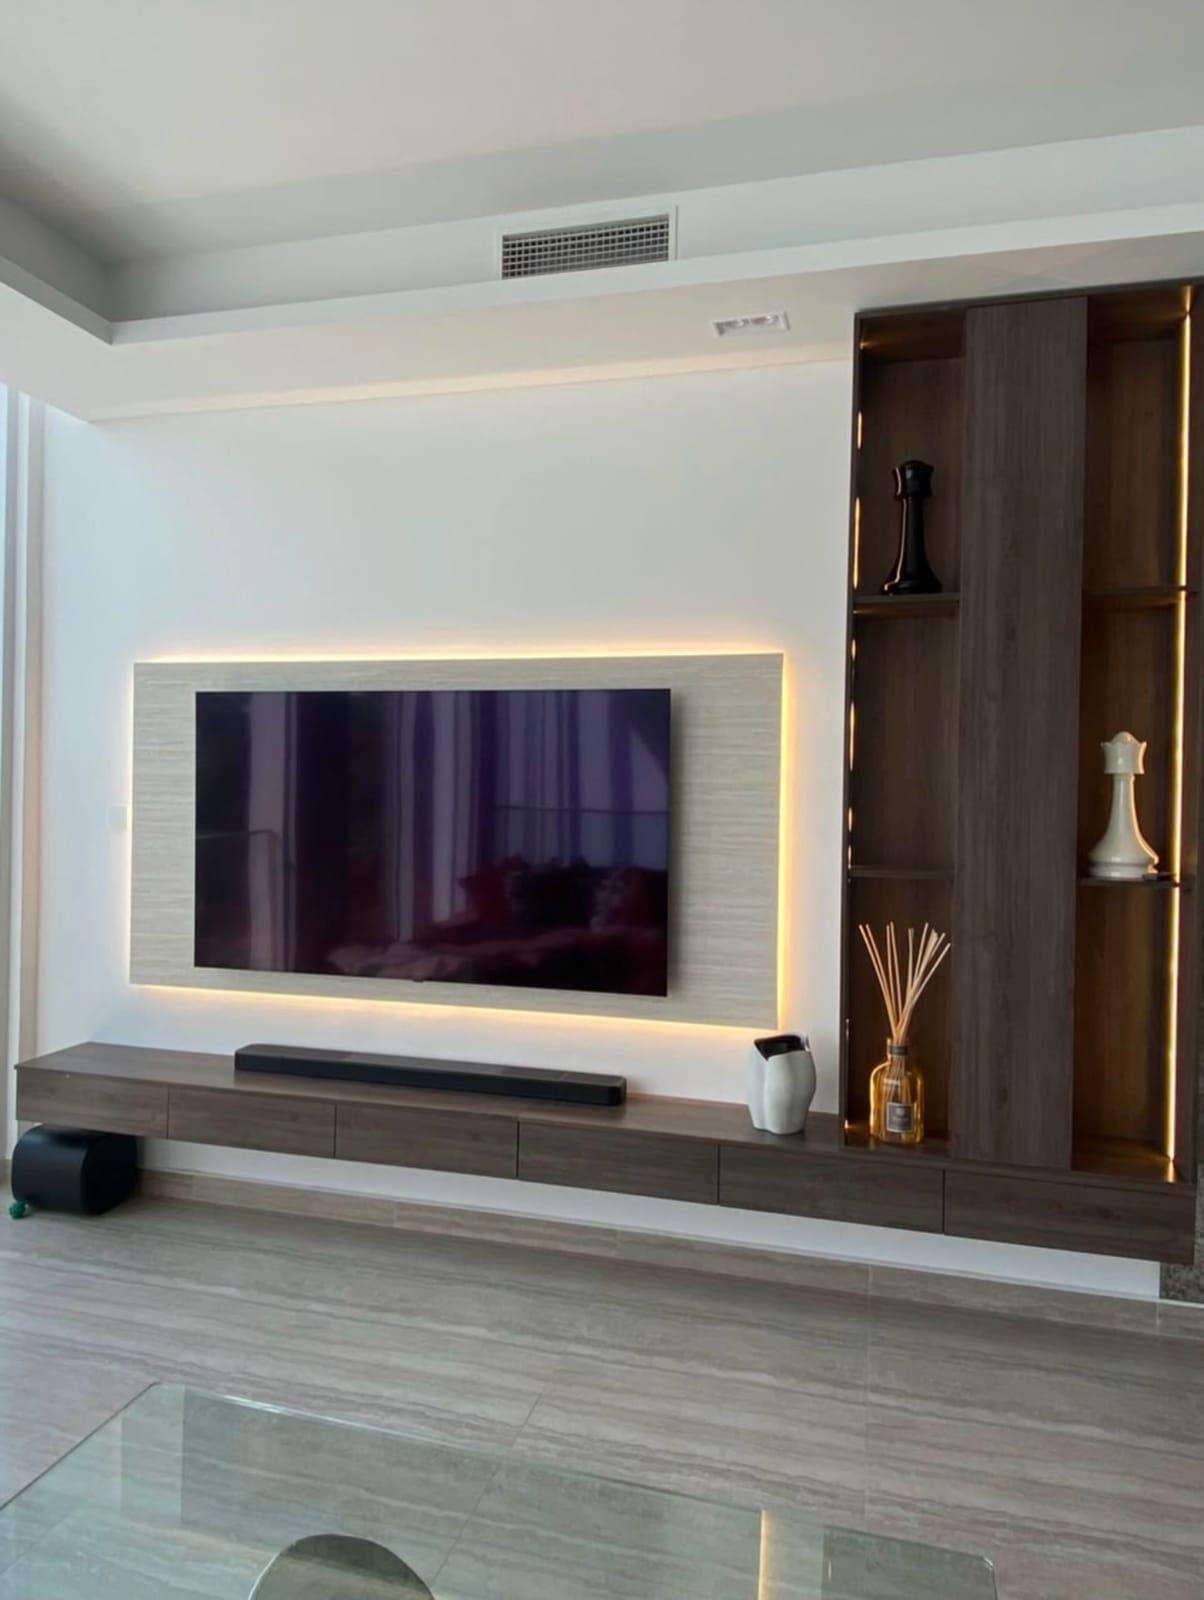
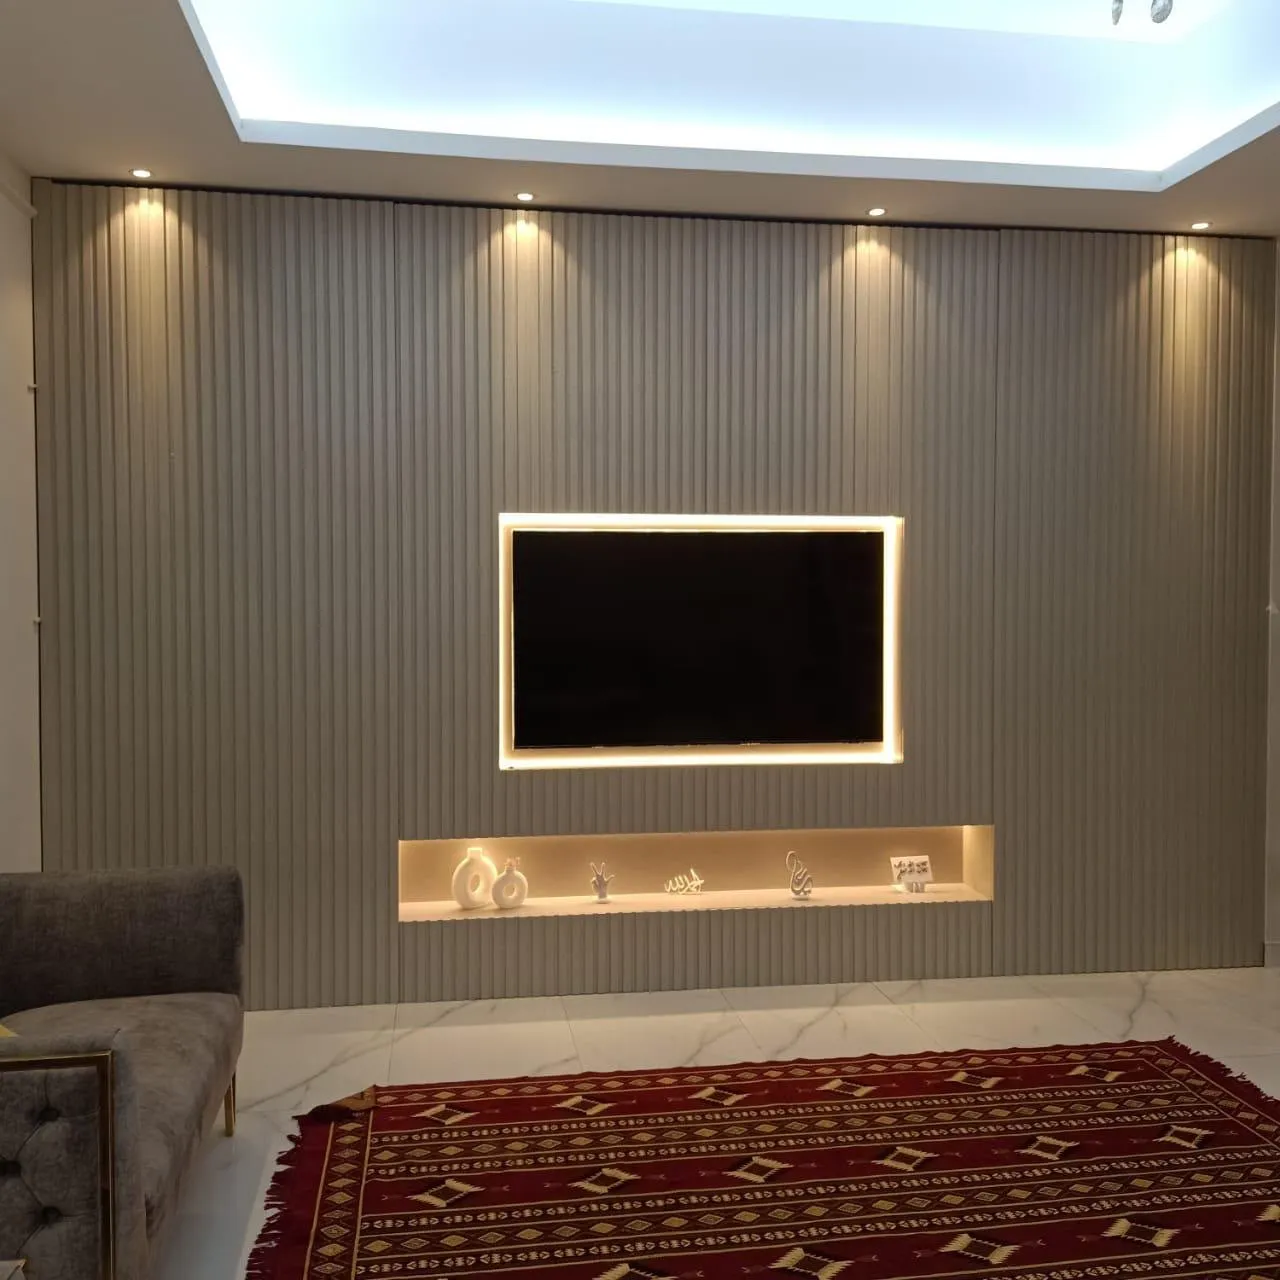
Media Walls · 18 min read · 12 October 2026
Media wall 3D design and drawing: how to read and approve it
How to read and approve a media wall drawing: what a 3D view can and cannot show, six checks on the front view, plan and section, and how to mark up changes.

By Ali Haider Basra, Founder, Al Tareeq Decor · Contact our workshop
Key takeaways
- Approve the drawing, not a picture: it fixes sizes, positions, routes and finishes before any board is cut.
- Read three views: the front for sizes, the plan for the room and seat, the section for depth, air and cables.
- Every shelf, niche and drawer needs a size, and every socket and the AV plate need a position.
- Ask what base wall the drawing assumes and how the frame is fixed to it.
- Mark every change once, on the drawing, and approve only a dated version.
On this page
- Key takeaways
- What you are really approving when you sign a media wall drawing
- Drawing, render or 3D view: what each one can tell you
- What each kind of picture shows
- The front view: six things to read on the elevation
- Is the TV drawn at the size you will buy?
- The plan: the wall, the seat and the door
- The section: depth, air and the route behind the panel
- Shelves, niches and drawers: every box needs a size
- Power, signal and lighting: what the drawing must show
- What a drawing cannot say: the base wall and the fixing
- Gaps, reveals and why boards need a little room
- Finish, sample and name: the last line of the drawing
- How to approve: six checks, then approve or mark up
- Things not to approve, and what to ask instead
- Warning signs on a drawing and the question to ask
- Four things that go wrong on paper, and how a careful reading catches them
- A fifteen-minute routine for the day the drawing arrives
- What a good reply to the drawing looks like
- After approval: what happens next, and what we do
- Common questions
What you are really approving when you sign a media wall drawing
When we say a media wall is fabricated after you approve the drawing, the drawing is the only moment at which a wall can be changed for the price of a pencil. After it, the boards are cut to match it. So the approval is not a formality: it is the single decision that fixes the width of the panel, the height of the screen, the size of every shelf, the position of every socket and the finish on every face.
People search for "3D design" because they want to see the wall before it exists. That is a fair wish, and this guide explains what each kind of picture can and cannot tell you. It then walks through the three views of a working drawing, the front, the plan and the section, with six checks for each, and ends with the way to mark up changes so that the next version is right. Nothing here needs technical training. It needs the drawing, a tape, ten quiet minutes and the habit of asking when a number is missing.
Drawing, render or 3D view: what each one can tell you
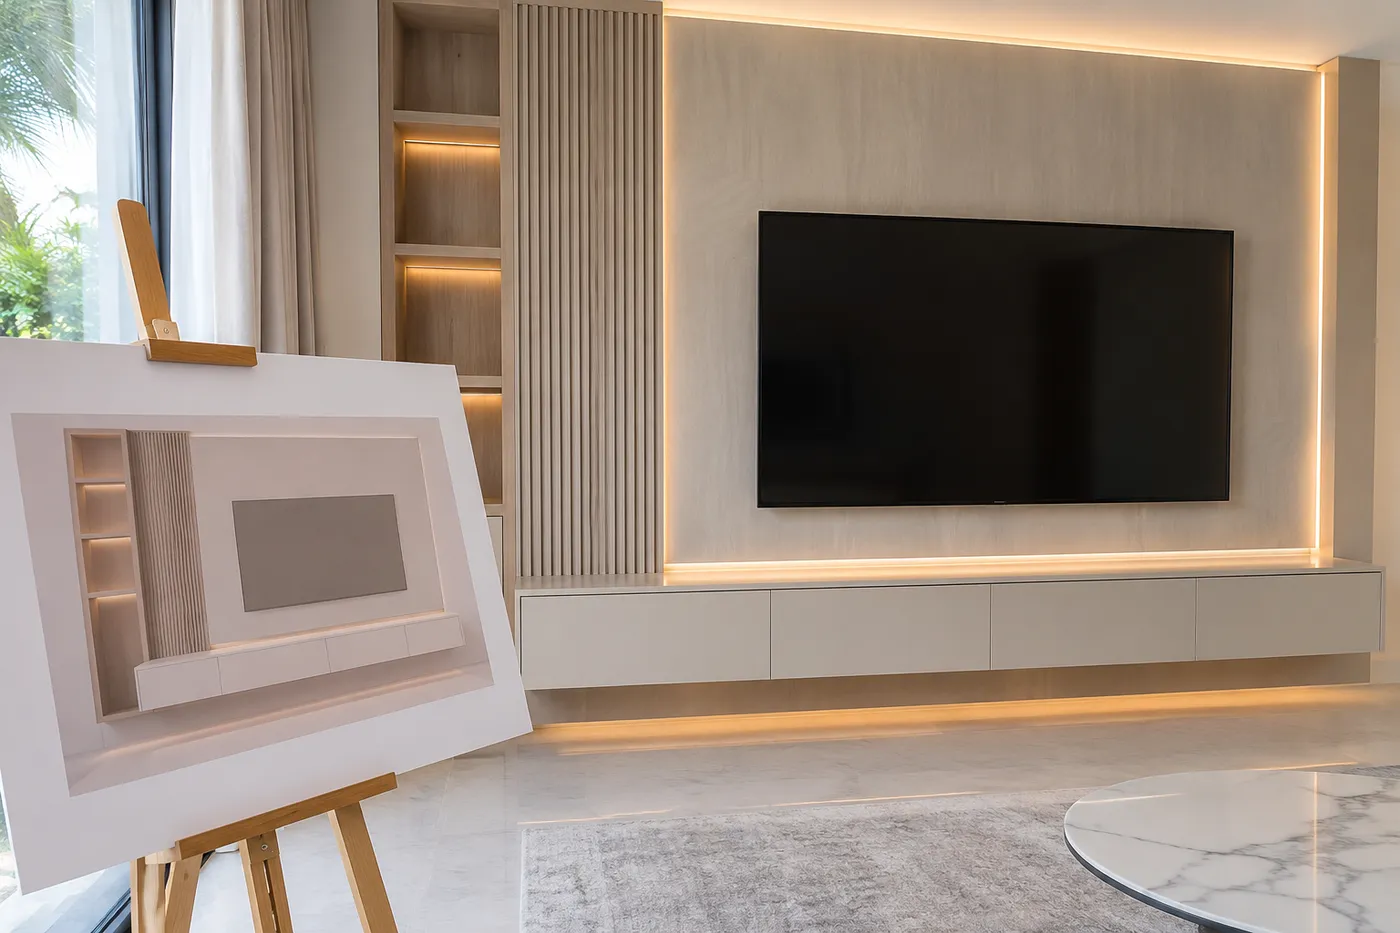
A working drawing is flat and exact: it carries dimensions, positions and names of materials. A render or a 3D view is a picture of how the finished wall might look, with light and colour. They answer different questions. The render tells you whether you like the idea. The drawing tells you whether it fits your wall and can be built.
We publish that every wall is approved on a drawing before the workshop cuts anything. We do not publish a 3D rendering service, so if you want a 3D view of your wall, ask in your first message what views come with your quotation and write the answer down. A pretty image is not an approval document: it rarely shows the depth of the wall, the cable route, the screw positions or the gaps. Approve the drawing, and treat any picture as an extra.
What each kind of picture shows
Front elevation
- Good for
- Widths, heights, positions of TV, shelves, console
- Cannot tell you
- How far the wall projects
- Approve on it?
- Yes, with the section
Plan (from above)
- Good for
- Where the wall stands, seating distance, door swing
- Cannot tell you
- Heights
- Approve on it?
- Yes, with the elevation
Section (from the side)
- Good for
- Depth, niche, air gap, cable route
- Cannot tell you
- Colour and finish
- Approve on it?
- Yes
3D view or render
- Good for
- Mood, colour, proportions at a glance
- Cannot tell you
- Exact sizes, routes, fixings
- Approve on it?
- No, only as an extra
Photo of another wall
- Good for
- Inspiration
- Cannot tell you
- Anything about your wall
- Approve on it?
- No
Ask which views your quotation includes before you choose a maker.
The front view: six things to read on the elevation
The elevation is the wall as you would see it standing in front of it. Start with the outer size and compare it with the wall you measured or that our team measured with a laser; a wall that is two centimetres shorter on paper than in the room means one of the measurements is wrong, and it is easier to learn that now. Then look for the centre height of the TV, measured from the floor. That one number decides whether you will look up or straight ahead from your sofa, and the TV height guide explains how to pick it.
Next find every shelf, niche and drawer and check that each has a size. A shelf with no height is a shelf that will be decided on site. Look at the lighting channels, which should be drawn as lines with a note of where the lighting starts and stops, and at the sockets and the AV plate behind the TV. Finally read the notes: they should name the finish and the sample you approved. The drawing below marks the six things; the letters stand for numbers that appear on your own drawing.
- 1. Wall width and height as measured
- 2. TV centre height from the floor
- 3. Panel and screen outline
- 4. Shelf and niche heights
- 5. Lighting channels
- 6. Sockets and AV plate behind the TV
Is the TV drawn at the size you will buy?
Check the screen outline against the model you intend to buy. Drawings often show a standard rectangle; the real screen has a frame, a depth and a stand fitting you will not use. If the TV is not bought, say so, and ask for the niche to be drawn for the largest size you might fit; the guide on buying the TV before the media wall explains the trade-off, and changing the TV later shows how to leave room.
Ask which bracket is assumed. A fixed bracket sits close to the wall, a tilting one needs more depth, and a swivel arm needs a clear zone. The mounting holes on the back of a TV follow a standard spacing measured centre to centre in millimetres, and the bracket must match both that pattern and the weight. The size of the screen against the distance to your seat is covered in TV size and viewing distance, and the width of a compact panel against a full wall is the subject of full wall or compact media wall.
The plan: the wall, the seat and the door
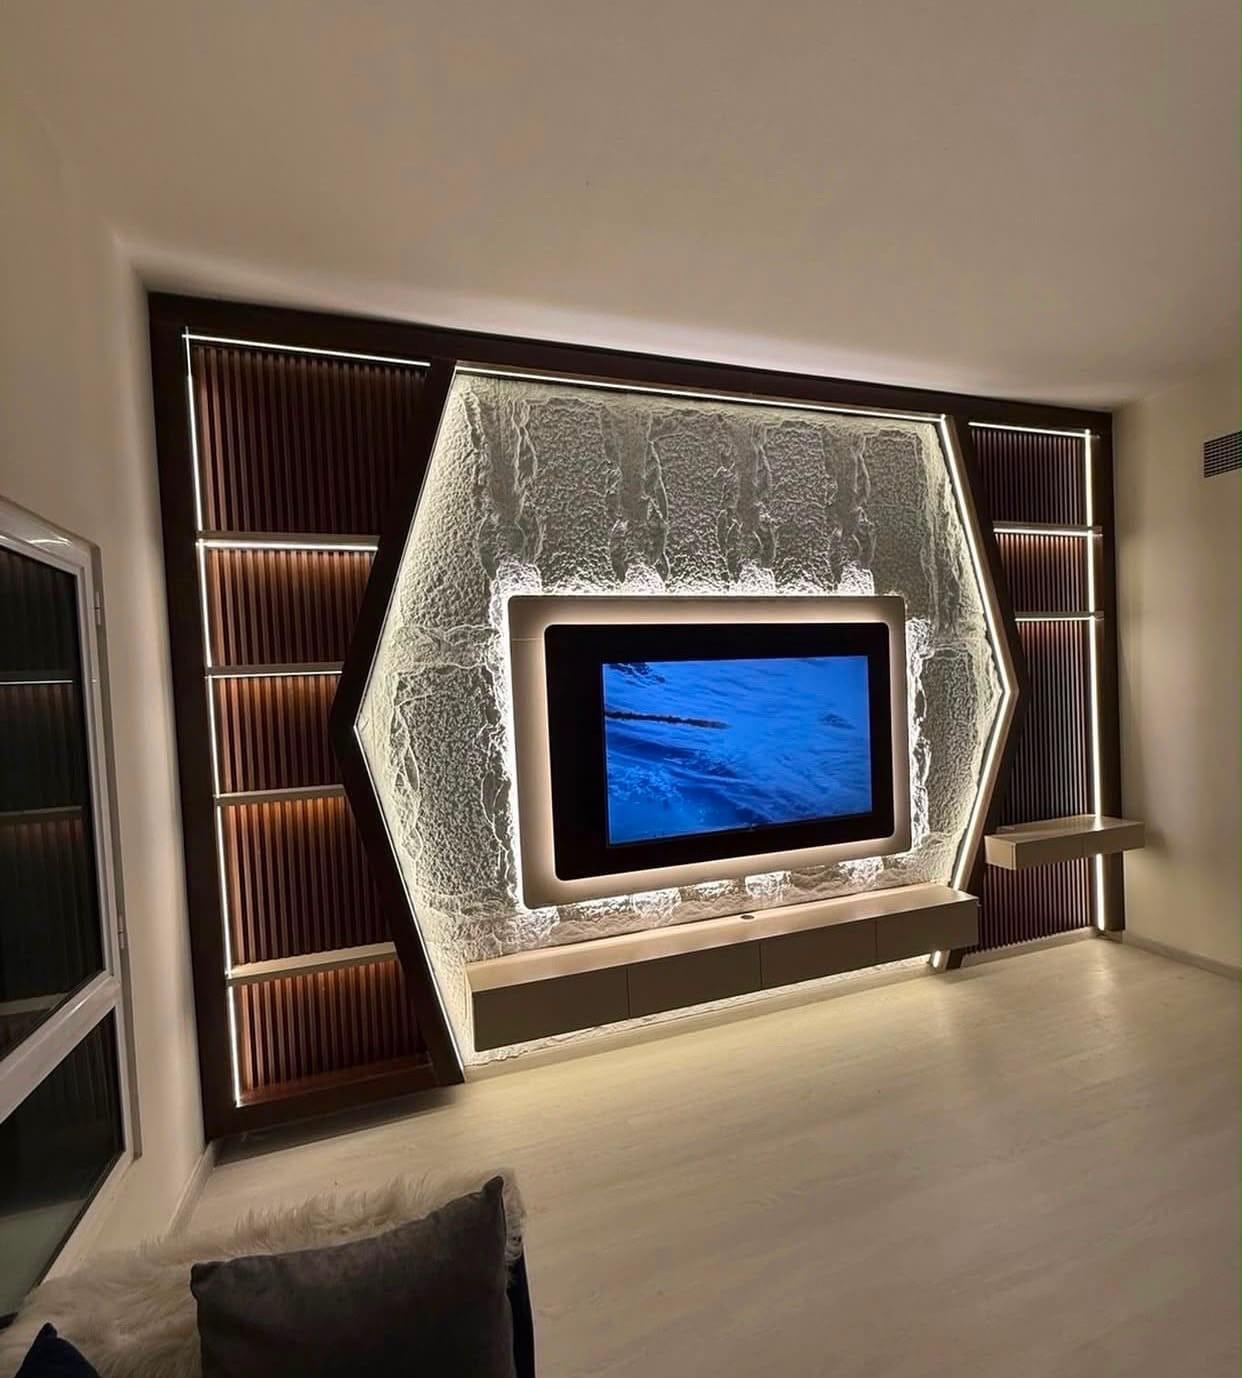
The plan is the wall seen from above, and it answers questions that the elevation cannot. How far does the wall project into the room, and does that leave a comfortable path to the door? Does a door swing hit the end of the console? Where is the window, and will it throw light across the screen in the afternoon? How far is the sofa from the screen? These questions only appear on a plan, which is why a drawing that has only an elevation is half a drawing.
Draw a line from your usual seat to the centre of the screen and check that nothing on the plan blocks it. If the room has a balcony door, check that the open door and the media wall do not collide. In a majlis the seating is on several walls; the majlis TV wall guide shows how the plan changes. In a small room the projection of the wall matters more than the finish, as the small living room guide explains.
- 1. Media wall and its projection into the room
- 2. Seating and viewing distance
- 3. Door swing and clear path past the wall
- 4. Window light that may reflect on the screen
- 5. Space for a side table or a speaker
The section: depth, air and the route behind the panel
The section cuts the wall from top to bottom and shows it from the side. It is the view people skip and the one that prevents the most surprises. It shows how deep the wall is, how the TV sits relative to the panel, whether there is an air gap above and around the screen, where the lighting channel runs and which way the cables travel behind the panel down to the console.
The cable route deserves its own look. A signal conduit should be wide enough for the plug and not only the wire, and power should have its own route; the cable management guide explains why, and sockets and power shows where each outlet usually goes. The air around the screen matters too, because a TV in a closed niche can run hot; our TV ventilation guide explains what to ask for. If the section shows none of this, ask for it.
- 1. Depth the wall projects into the room
- 2. Frame and rails fixed to the structure
- 3. TV on its bracket, with its own depth
- 4. Air above and around the TV
- 5. Lighting channel at the panel edge
- 6. Cable route inside, down to the console
Shelves, niches and drawers: every box needs a size
A drawing that says "shelves" is not a drawing. Each shelf needs a width, a depth and a height from the floor, and each niche needs an inside height that suits what you will put in it: books, a router, a speaker, a decorative object. Work out what lives there before you approve. Many households discover that a lit niche looks wonderful empty and awkward with a router in it; the shelves guide goes through what to store where.
Drawers and doors in the console should show how they open. If there are soft-close hinges, the swing needs clearance; if a door covers a vent, the vent must still work. Ask what happens at the corner where two doors meet, and whether a door can open fully when a speaker stands next to it. These are all questions that a quiet look at the drawing answers in a minute and a finished wall answers only with a screwdriver.
Power, signal and lighting: what the drawing must show
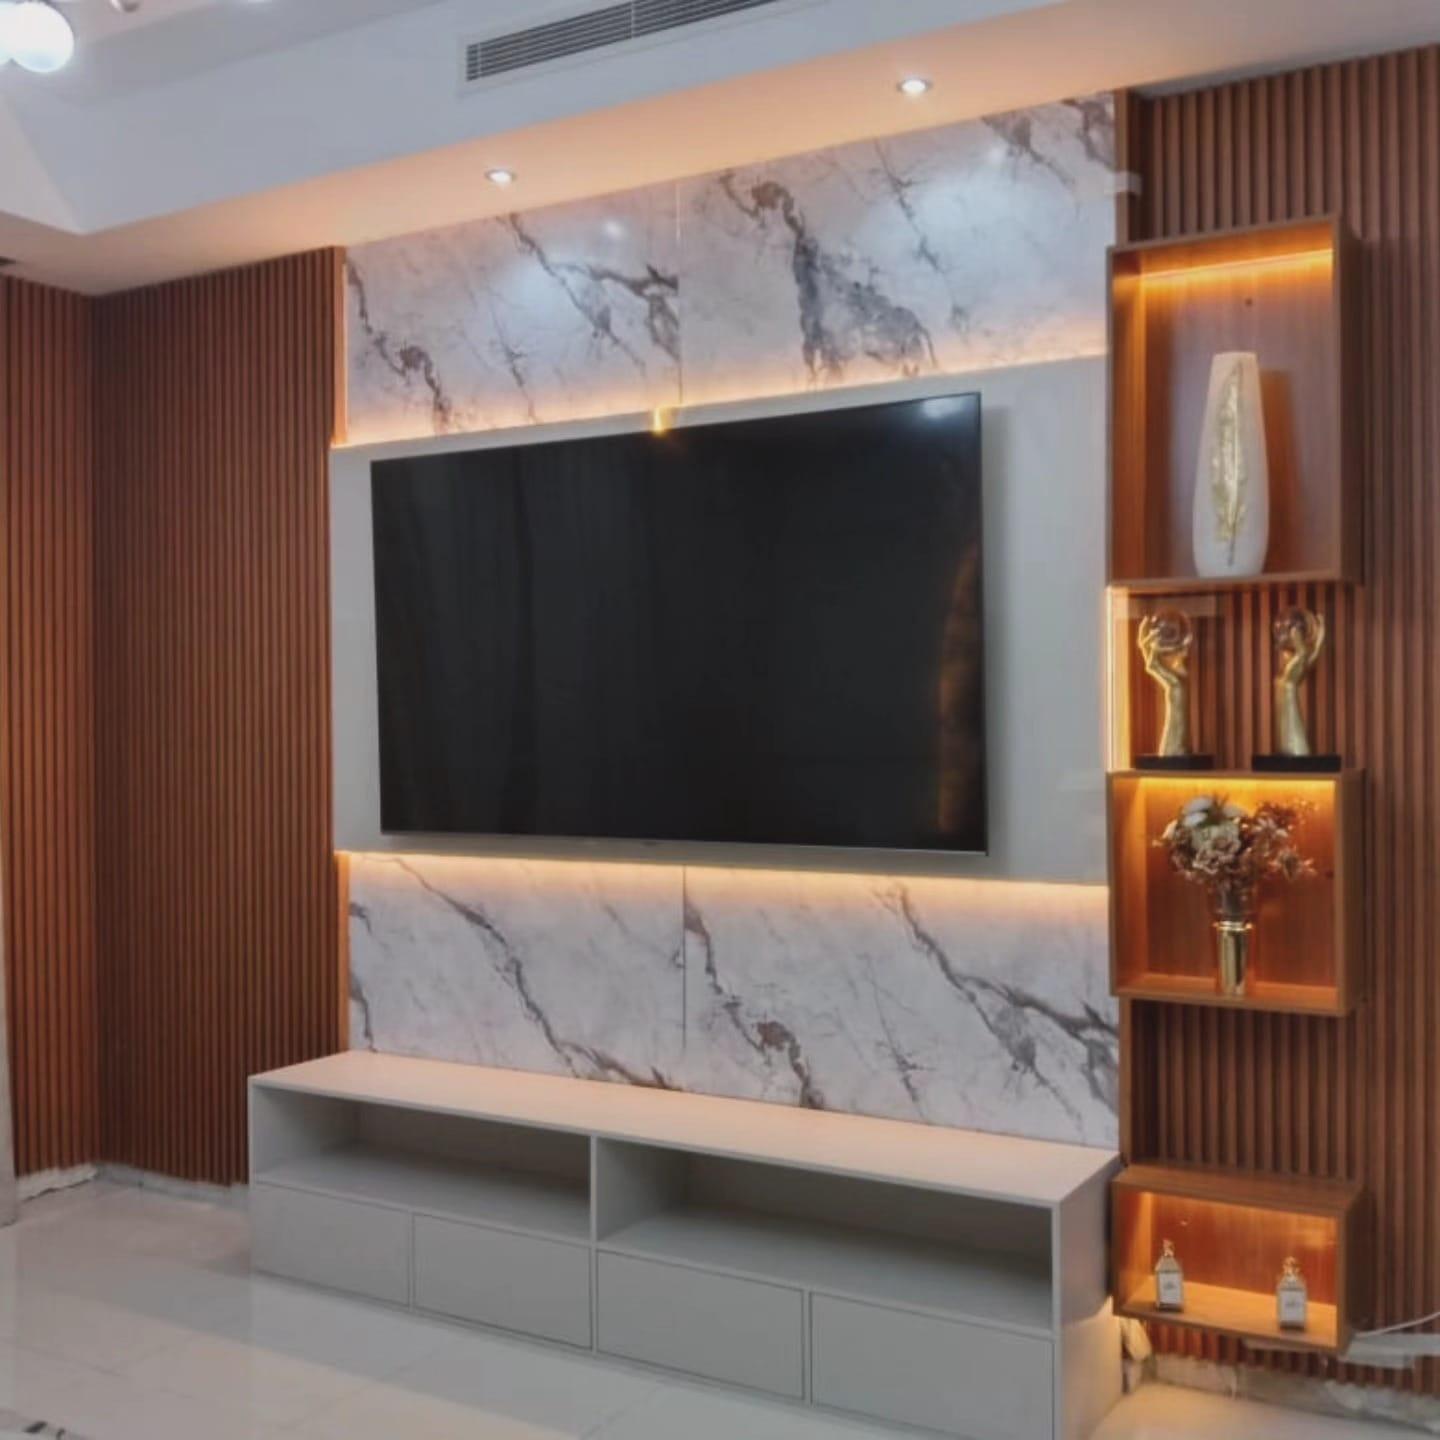
Walk the drawing as a cable would. Where does power come in? Where is the plate that the TV plugs into? Where does the soundbar plug in? Where is the router? Where do the lighting drivers live, and can they be reached without breaking the wall? A well-drawn wall has every one of these marked, because everything else that is hidden behind the panel depends on them.
The lighting needs its own look. LED lines at the edge of a panel are drawn as a channel, the colour temperature is named, and the position of the switch or dimmer is shown. The lighting ideas guide shows the common arrangements, and if the wall includes an electric fireplace, the fireplace guide explains the extra power point it needs. Equipment that sits inside the console, such as a receiver or a games box, is the reason for the ventilation notes in the soundbar and speakers guide.
- Every socket and the AV plate have a position and a height.
- Signal and power routes are shown separately.
- The LED driver has a reachable place.
- Switch or dimmer positions are marked.
- Any electric fireplace shows its own power point.
What a drawing cannot say: the base wall and the fixing
A drawing shows the new wall, not the wall behind it. Whether the base is solid block, hollow block or a gypsum partition decides which fixings are used, and a fixing maker is clear that the loads in its tables assume correct installation and a base of the stated quality. fischer's universal plug page, for example, says the plug suits solid, hollow and board building materials, while its safety page notes that holding values depend on correct installation, the base material and the conditions. The lesson is not to read fixing tables yourself; it is to ask what base the drawing assumes.
Ask the team to say, in a sentence on the drawing or in the quotation, what the base wall is and how the frame will be fixed to it. If the wall is old plaster, a partition or unusual, say so at the measuring visit. The note on block walls and gypsum walls for TVs explains why this matters. A wall that will carry a heavy panel is a different job from one that carries a light one, as the marble TV wall guide explains.
Gaps, reveals and why boards need a little room
Look for the small gaps on the drawing: the reveal between a panel and the ceiling, between a door and its neighbour, between the console and the wall. These are not mistakes. Wood-based boards move with humidity, and the European Panel Federation's guidance on MDF gives a worked example of a 600 mm wide panel swelling by about 1.5 mm when conditions change from 35% to 85% relative humidity. A drawing with no gaps anywhere is a drawing that expects boards to stay still.
Ask where the gaps are and what covers them. Some are left visible as shadow lines on purpose, some are hidden by a trim, and some are in the ceiling junction. The humidity and MDF guide and the ceiling and wall junction details show how finishes behave at such lines. A tidy drawing shows them and a tidy wall keeps them straight.
Finish, sample and name: the last line of the drawing
The notes on the drawing should name the finish of each face, and the name should match a sample you have handled in the room. A line such as "grey laminate" leaves room for argument; a line with the finish name and the sample reference does not. How to review a sample, in daylight and under your evening lighting, is in the finish sample approval guide, and the colour and finish guide compares what each finish does over time.
If the drawing includes fluted or slatted panels, check the direction and the spacing; the fluted TV wall panels guide and the slatted TV wall guide explain why direction changes the look. A marble-effect face needs the joint pattern drawn; the marble TV wall guide explains joins.
How to approve: six checks, then approve or mark up
Do the checks in order, on the day the drawing arrives, with the drawing and a pen. If every check passes, approve in writing and make sure the drawing's version and date are in your message so that nobody builds from an older copy. If anything is unclear, mark the changes on the drawing, send them once, and wait for a new version before approving.
Send everything in one message. Ten separate messages produce ten partial answers; one message with the drawing marked in red produces one clear revision. Mention the number of the drawing and the page, because three versions of a wall can exist in a week of enthusiastic emails. The order of the checks below matters: size first, because everything else depends on it, and finish last, because it is the easiest to change.
- 1. Wall size matches the laser measurements
- 2. TV size and centre height match your seat
- 3. Every shelf, niche and drawer has a size
- 4. Sockets, plate and cable route are drawn
- 5. Lighting channels and switch positions
- 6. Finish named, with the sample you approved
Things not to approve, and what to ask instead
Do not approve a drawing with a missing dimension, a drawing that shows only one view, a drawing that has no version or date, or a drawing that has changed silently since you last saw it. Do not approve under time pressure; a day of reading costs less than a week of rework. The table below gives the question to ask for each problem.
Warning signs on a drawing and the question to ask
No version or date
- Ask
- Which version is this, and what changed from the last?
Only a front view
- Ask
- Can I see the plan and a section?
A shelf with no height
- Ask
- At what height from the floor, and how deep?
No cable route
- Ask
- Where does each cable go, and how is it replaced?
No air around the TV
- Ask
- How does heat leave the niche?
"Finish as discussed"
- Ask
- Which finish name and which sample?
No base wall noted
- Ask
- What is the wall made of, and how is the frame fixed?
Four things that go wrong on paper, and how a careful reading catches them
These are illustrations rather than customer stories, but each one is a mistake that a drawing can contain and that a calm reading can catch before a board is cut. They are worth reading even if your own drawing looks perfect, because the point is the habit of asking, not the particular case.
The first is the swapped TV. A drawing is approved with a niche for a 55-inch screen, then a larger model is bought in a sale. The niche is a few centimetres short on each side, and the only solutions are a smaller TV or a rebuilt panel. The catch is simple: write the model number you intend to buy beside the screen outline on the drawing, and if it is not decided, ask for the niche to be drawn for the largest size you might fit.
The second is the shelf that cannot hold the router. A lit niche is drawn at a pleasant, shallow depth, and on handover day the household discovers that the internet box, its power block and the cables need more room than the niche has. The catch is to list what lives in each niche before you approve, with its real size, and to check that the drawing leaves a route for the cables and a little air around anything that gives off heat.
The third is the door that meets the wall. The plan shows the wall projecting into the room, and nobody notices that a balcony door opens towards its end. The catch is to trace the swing of every door and drawer on the plan with a pencil. If a door cannot open fully, either the wall moves, the door is changed, or the projection is reduced, and all three are cheap on paper.
The fourth is the socket behind the console. A socket is drawn in the wall exactly where a console drawer will later cover it, so the plug cannot be reached once the unit is in. The catch is to look at every socket on the elevation and ask what will stand in front of it. A good drawing puts sockets where a hand can reach them or says plainly that they are served by a lift-off panel.
A fifteen-minute routine for the day the drawing arrives
Reading a drawing is easier when you follow the same route every time. The routine below takes about a quarter of an hour, and it works best when you do it at a table with the drawing printed or on a large screen, a pencil and a tape measure. Resist the urge to reply at once with "looks great". An early reply that says what you checked is worth more than a fast one that says nothing.
Start by reading the title block: the wall or room, the date and the version. Then take the tape and measure the one dimension you trust most in the room, such as the width of the wall, and compare it with the drawing. If it matches, the rest of the dimensions are more likely to match too. Then walk the three views in the order of this guide, front, plan and section, and put a small tick beside each item that has a number and a small circle beside each that does not. Finish with the notes at the bottom and the finish names.
Count the circles. Each one is a question, and the number of questions is the measure of how finished the drawing is. A few circles are normal; a page full of them means the drawing is not ready to approve, and it is the maker's job to complete it. Send the circled items back in one message, with the version number, and wait for the next version before you approve anything.
- Read the title block: room, date and version.
- Measure one trusted dimension in the room and compare it.
- Tick every item that has a number; circle every item that does not.
- Trace every door swing and every drawer with a pencil.
- Ask what stands in front of each socket.
- Send all circled items back in one message, naming the version.
What a good reply to the drawing looks like
A short, structured reply gets a short, structured answer. Begin with the version you are replying to. List the items you checked and found right, so that the maker knows they were looked at. Then list the questions in the order of the drawing, one line each, with the page or view named. End by saying what you will do next, for example that you will approve the new version within a day of receiving it.
This is not bureaucracy; it is the cheapest way to avoid a misunderstanding that costs a week. It also gives you a written record of what was asked and answered before production, which is useful if a question arises later and which sits naturally in the folder described in the warranty guide. If you are unsure how much to ask, use the checks in this guide as the list and add anything particular to your room, such as a piece of furniture that must stay where it is.
After approval: what happens next, and what we do
Once the drawing is approved and the details are agreed, a 60% advance is paid and production starts when it is received; the remaining payment stage is agreed with you. The timeline guide shows how this sits in the calendar, and the installation day checklist prepares the room. If a change is needed afterwards, tell us in writing straight away; some changes are still possible, and none are possible if nobody asks.
Our media walls start from AED 3,500 per project, with the final figure on the quotation, which depends on the wall size, finish, any marble-effect panels, lighting and an electric fireplace. The measuring visit is free, we make the wall in our Sharjah workshop and fit it across the UAE, and the media walls service page has the details. To begin, send a WhatsApp message with a photo of the wall, the TV size and the room; the guide on what to send lists the three photos that help most. The measuring visit guide shows what we record before we draw.
Common questions
Do I get a 3D design of my media wall?
Every wall is approved on a drawing before it is cut. If you want a 3D view as well, ask which views your quotation includes. Media wall quotation checklist.
What should I check first on a media wall drawing?
The overall size against the measurements, then the TV centre height and every shelf and socket position. TV height on a media wall.
Can I change the drawing after approving it?
Before the advance, yes: the drawing is reissued and approved again. After production starts it depends on what is cut. How long a media wall takes.
Why does the drawing need a side section?
It shows depth, air around the TV and the cable route, none of which show on the front view. Hidden cables.
Is a render good enough to approve?
No. A render shows mood and colour but not exact sizes, fixings or routes. Planning a media wall.
What if I have not bought the TV yet?
Say so; ask for the niche to be drawn for the largest size you might buy. Buy the TV first.
Do you measure before you draw?
Yes: the measuring visit is free and the drawing comes from the laser measurements. Media wall measuring visit.

Sources & specifications
Manufacturer information applies to the named products and systems. Sources reviewed on 11 November 2026.
- fischer: universal plug UX 5 x 30 (suits solid, hollow and board building materials; 5 mm drill diameter)fischer-international.com(opens in a new tab)
- fischer: Safety first (holding values depend on correct installation and the base material)fischer-international.com(opens in a new tab)
- European Panel Federation: Controlling moisture content (MDF movement, 600 mm panel example)mdf-info.eu(opens in a new tab)
- WoodWeb: Adjusting hinges (door adjustments are interactive and are re-checked after installation)woodweb.com(opens in a new tab)
Want this planned for your home?
Consultation and measurement are free. Tell us the rooms, location and what you need; we arrange a sample visit and define the measured quotation.